

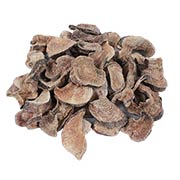


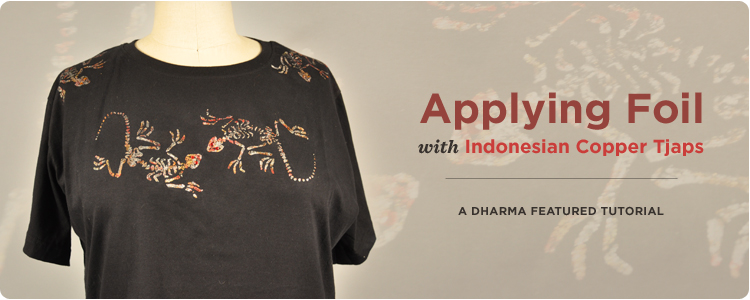
Indonesian Tjaps
If you have, or are thinking of getting, some of our amazing Copper Tjaps, there are other fantastic things you can do with them besides using them to stamp wax for batik. Folks who are collecting the imported used ones are discovering exciting additional applications. One of these new uses is to stamp foil designs, creating a picture as beautiful as the Tjap itself, or even more so!
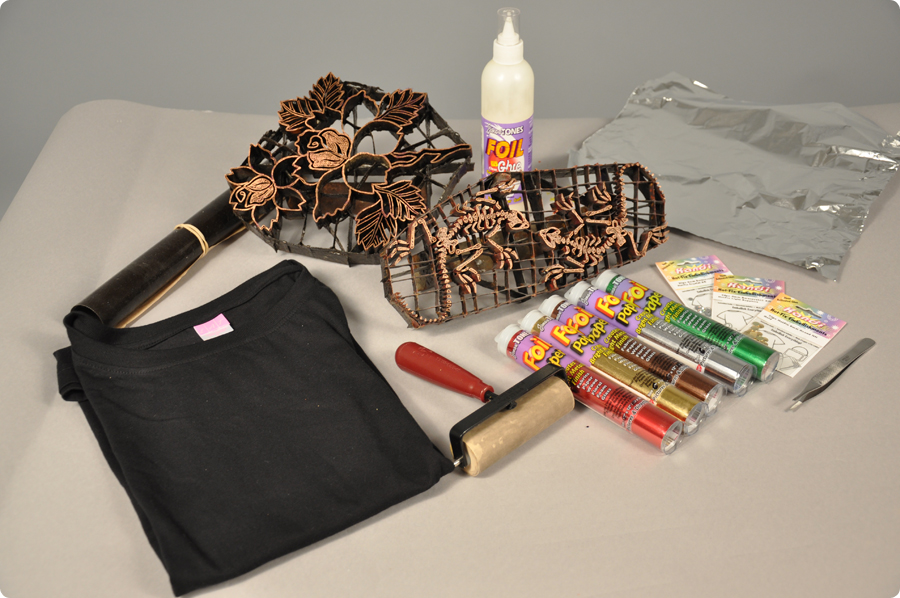
Shopping list:
- Indonesian Copper Tjap - for the best detail. You can use hard rubber stamps too, if you press really hard. The hard surface of the Tjap face gives superior results.
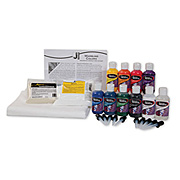
- iCraft DecoFoil- at least 1 color, but multiple colors on the same piece are much more exciting!
- iCraft Deco Foil Glue - get the bigger bottle, depending on the size of your tjap and how many pieces you want to do. Foil glue drys tacky.
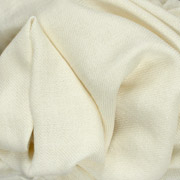
- Black or dyed clothing or fabric to stamp on. Results with foil are most striking on black and other dark colors.
- Soft rubber Brayer
- Plastic Glass or tinfoil to put the glue on for application on to the brayer
- Burnishing Tool or large heavy spoon
- Hand or small bath towel or other padding to put under the fabric or between the layers of a garment so the tjap can be rocked to produce a more complete print, and so glue won't bleed through the front to back of the garment.
- Optional: HotFix Swarovski Crystals, or nailheads - complement the foil in a stunning way
- Optional: HotFix applicator or iron
Let's get started!
Before you start, though...
You will want to pre-wash/shrink your garment or fabric, as shrinking after the fact will make your foil design wrinkly. The fabric should also be clean for optimal glue coverage. Check out Bread Bag Dyeing for a fun quick way to dye up something before stamping.
Here's what you do:
1. Fold the towel in a block that is slightly bigger than the Tjap. Put it under the fabric you are stamping, or between the front and back of the garment you will be stamping.
2. Apply a glob of foil glue to your plastic glass or aluminum foil and roll your brayer back and forth over the glue until glue is uniformly distributed over the brayer.
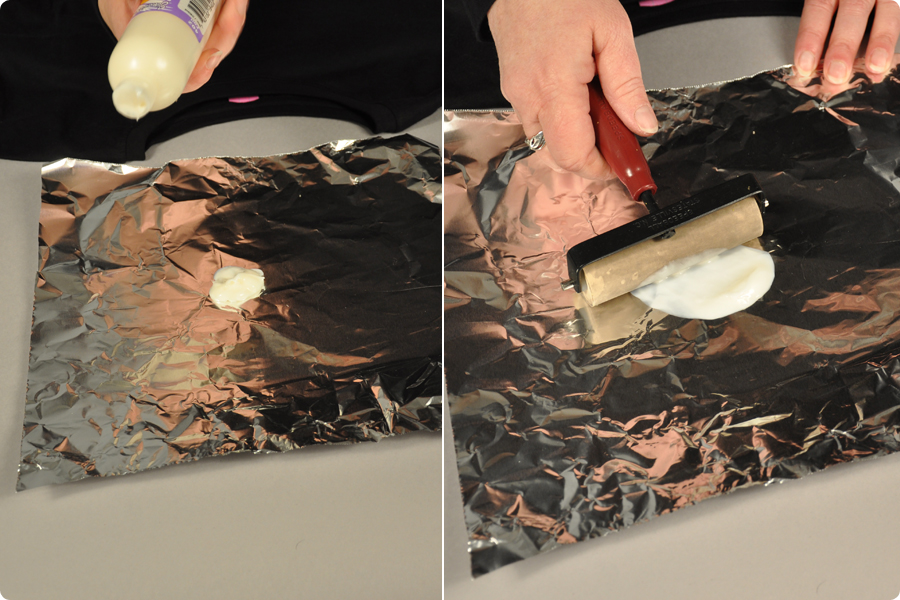
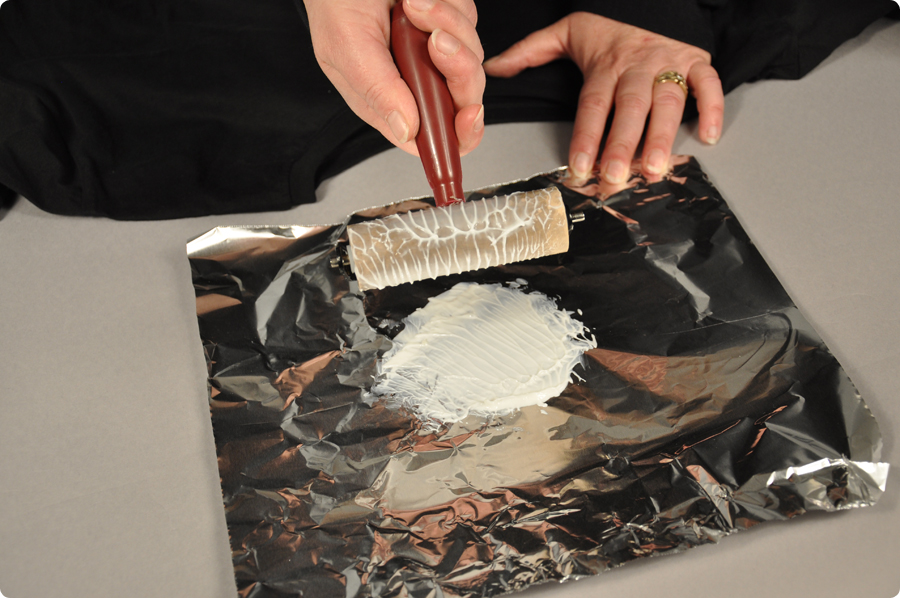
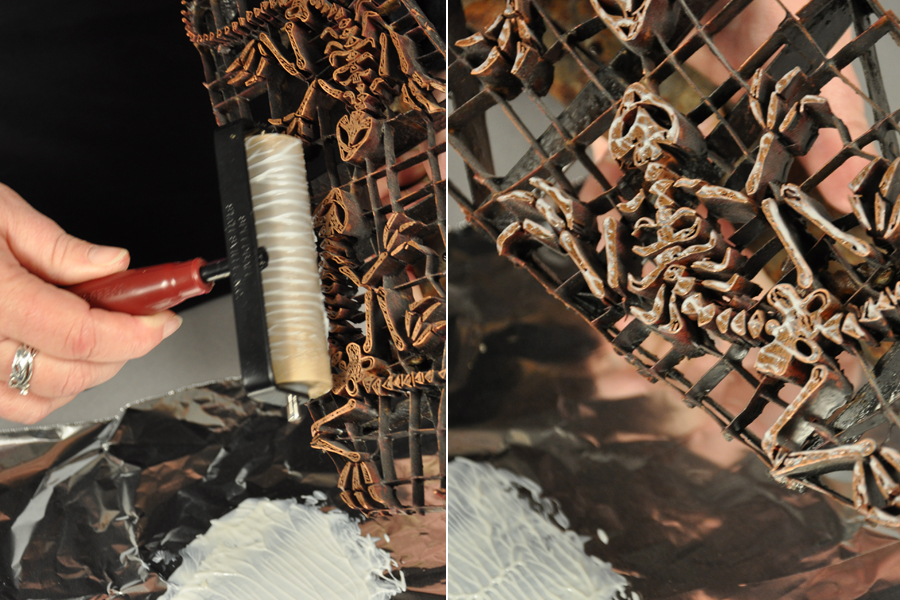
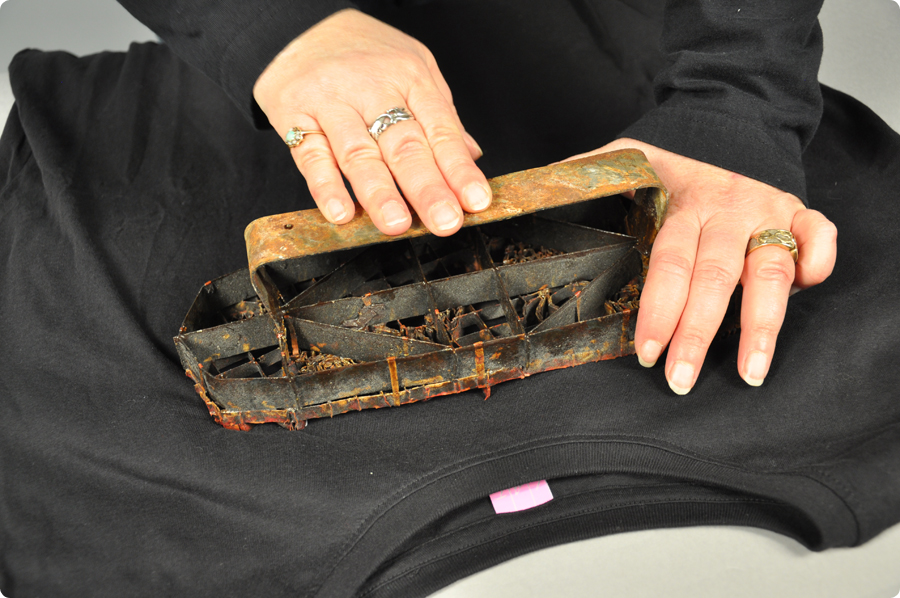
3. Roll the glue covered brayer back and forth over the face of your beautiful Tjap. (Eek! Don't panic, the Tjap can be cleaned.) Make sure the glue has been applied to every part of the design, but don't put on so much that you start building up globs of it in the spaces of the design.
4. Visually line up the Tjap in the place you want the print, then place it on the fabric.
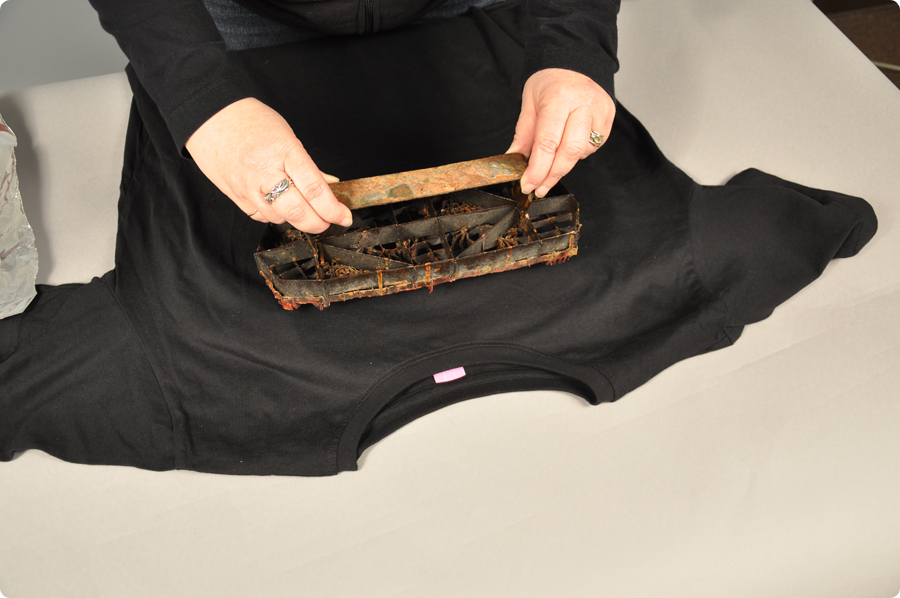
5. Without moving the tjap on the fabric, push the handle down and also push on other places of the Tjap, top, bottom, sides, even slightly rocking it in the pillow of the towel without actually moving its contact with the fabric.
6. Lift the Tjap up carefully so as not to smear the design.
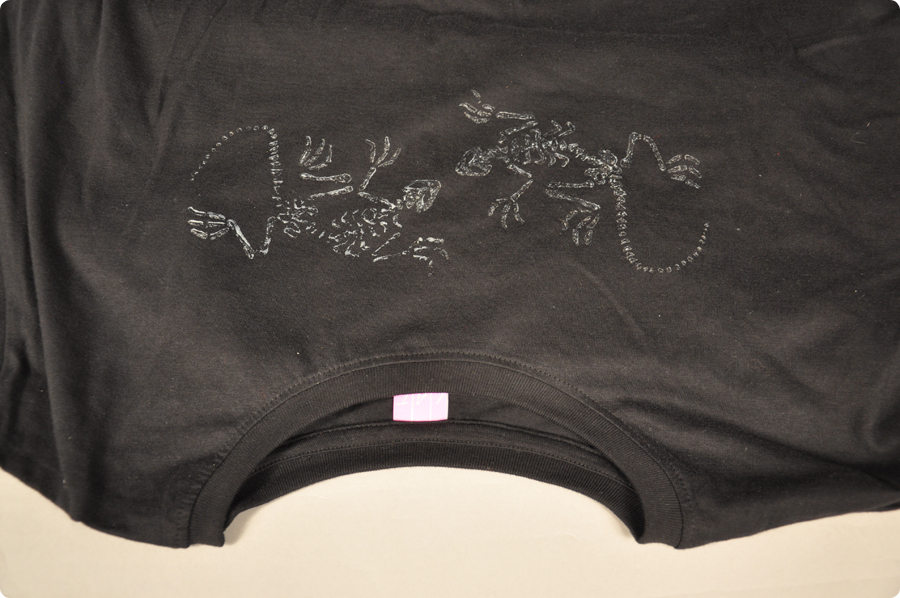
7. While the glue is drying to tacky on the fabric, immediately wash the surface of your Tjap with warm water and a soft brush to get all of the glue off before it dries on. It is good to dry the Tjap quickly so the steel handle and framework don't rust any more than they are, like out in the sun on a warm day or in the oven at a very low heat. Put the Tjap on some layers of newsprint, turn the oven as low as it goes and remove when dry. Make sure your exhaust fan is on in case any fumes come off of the tjap from an old residues of waxes or rosins that the Indonesians use. Also wash the glue off of your brayer and plastic glass before it dries.
8. When the glue on the fabric is dry, it is tacky, kind of like sticky notes. If you are using more than one color of foil, decide which colors you want as accents, and which, if any, you want to predominate. Start with the accent colors first.
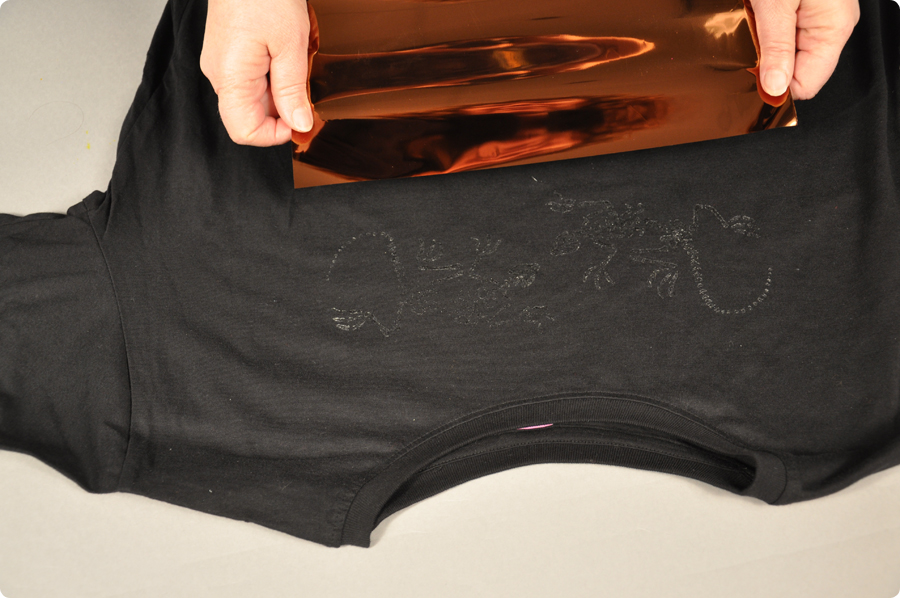
9. Lay the first color, color side up (!), neutral side down, onto the glue design. Use your burnishing tool, or the back of a spoon, or the back of your fingernail, to firmly but quickly press across the foil all over the design. Then pull up the foil. Depending on how hard you pressed and how fast or how slow you went, there will be some or a lot of the color that remains stuck to the glue. The idea is to do 2 or 3 colors quickly so that only some of each adheres to the design. Try not to push harder or slower in any one spot. These will be your accent colors.
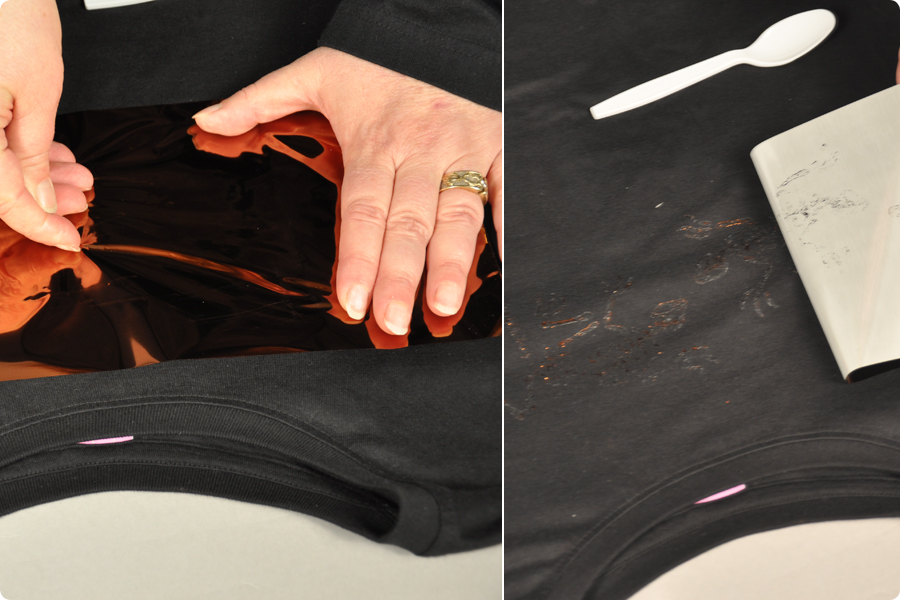
10. Apply the color you want to be dominant last, using more pressure and going more slowly, in every single area of the design, so that there are no spots left with exposed glue. The harder you rub, the more foil will stick. Remember, a sheet of foil can be used several times because there will still be a lot left if your design has more lines and less "solid" areas.


Notes and Hints:
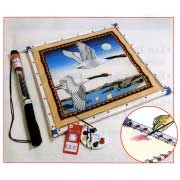
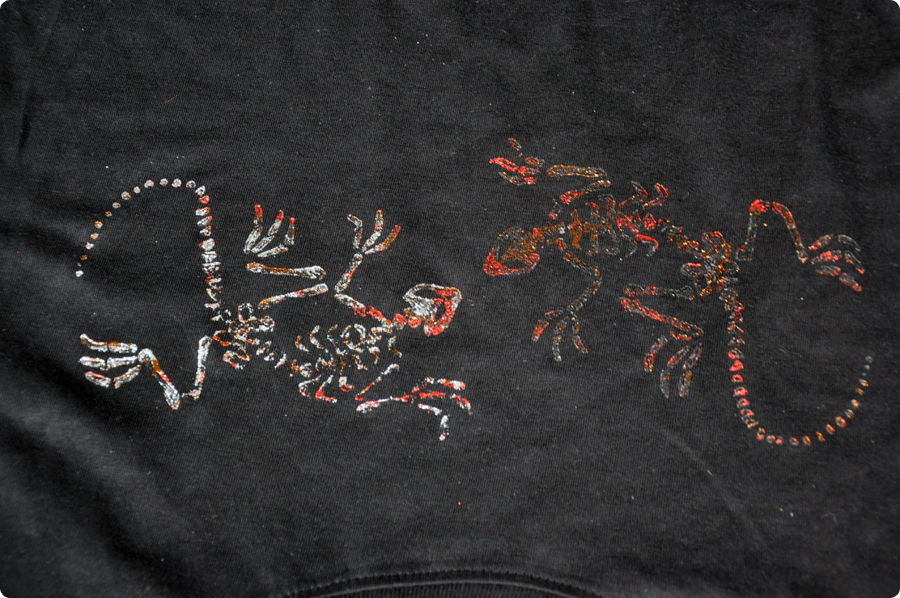
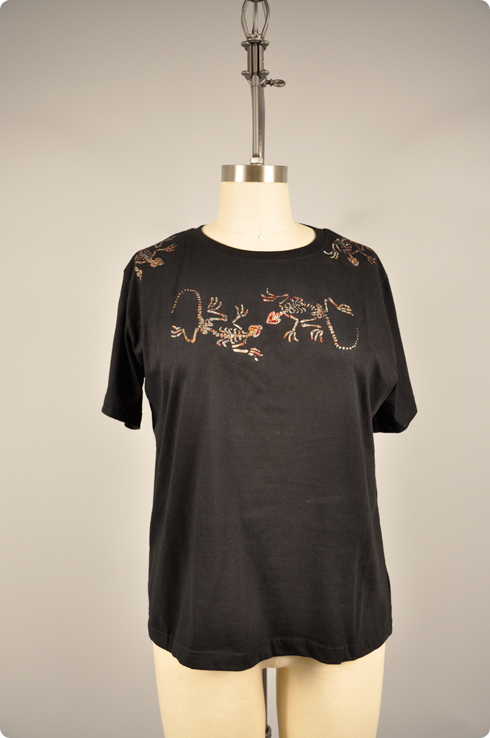
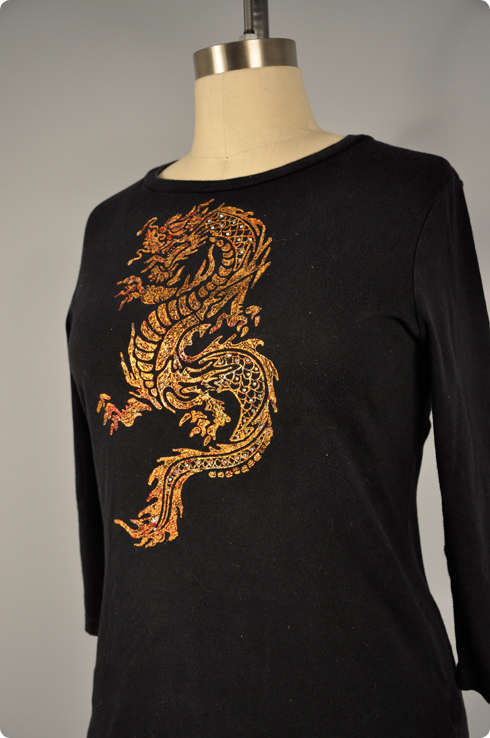
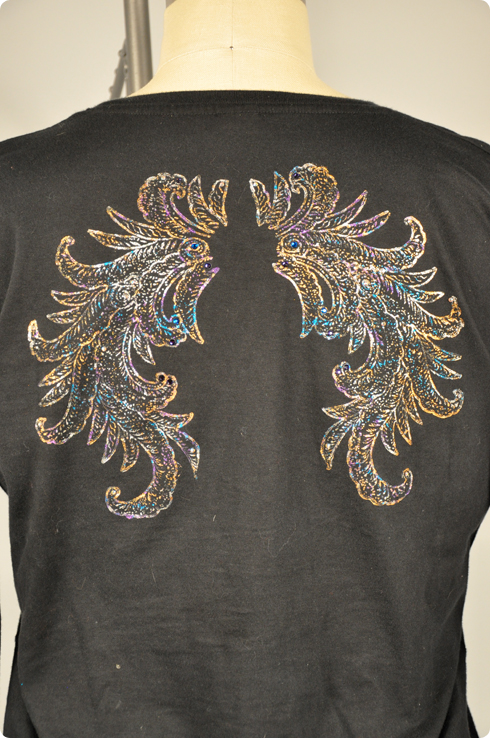
Some nice color combinations are copper with red, gold and silver accents, as in the dragon shown below, or silver with purple, blue and gold accents, as in the wings below. For the lizards, we used the same colors as the dragon only silver was done last and copper was one of the accents. Gold, copper and green are nice, gold, blue and green, etc. We found copper to be the most dominating and visible of all of the other colors, and it also seems to be the most durable.
You can also use different colors in different parts of a design, like red, copper and gold on a rose and green, silver and gold for the leaves.
Just burnish each color hard and carefully only in the areas you want it. Use a small piece of the foil or a corner. If it accidentally gets pressed in the wrong spot, it will stick. If you use something to block the foil from part of the design, like paper, it can take away some of the tackiness of the glue, so less foil will adhere in that area. Nothing should be touched to the glue except the foil itself.
Optional:
Add HotFix Crystals, Rhinestuds or Nailheads as final accents to the design with the HotFix Applicator or the tip of a hot iron (don't touch the foil). We added red crystals to the eyes and crystal AB to the scales of the dragon, and crystal AB, purple and blue crystals to the wings. Turns something beautiful into something exceptional! Only adhere the crystals to areas in the design without foil so that they are glued directly to the fabric. If adhered to foil, the crystals will eventually fall off.
See also our tutorials on using Tjaps to emboss velvet, and using them for traditional batik.


