


A couple months ago I started a private Pinterest board for Twinkie, and I've had such a good time getting a peek her head - her idea of beautiful and favorite things. Like for example, I never would have predicted that she would immediately pin dozens of pictures of stained glass windows. Stained glass windows! Who knew she had a thing for them?? There have been lots of surprises in there, I plan on making the board my jumping off point when I finally get around to decorating her bedroom. So fun, can't wait.
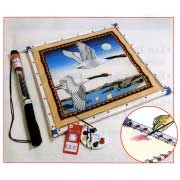
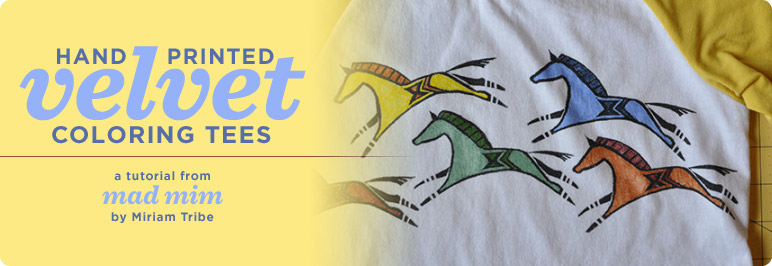
But as I was brainstorming her and Tito's back-to-school wardrobes I wanted to create a sort of stained glass window inspired tee for them that they could help color, because they're so into coloring the both of them and love to take part in the creative process. As I sketched ideas, the project also started to really remind of those velvet coloring posters, which is awesome because my kids dig those too. I also liked the idea of using a sort of dimensional paint so that the coloring lines actually had a raised tactile surface so as to act as a sort of bumper for their coloring.
Shopping list:
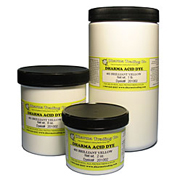
- Setacolor Fabric Paint - Suede Effect 45ml. - #320 Anthracite
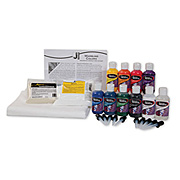
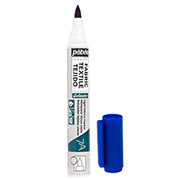
- Fabrico Dual-Tip Markers - 111, 115, 142, 160
- Fabrico Dual-Tip Fabric Marker Sets - Landscape
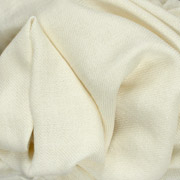
- Cotton Jersey
or
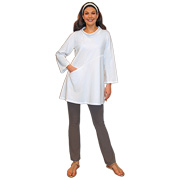
Kids Shirts - Eco Carving Plates
- Linoleum Cutter Set
Let's get started!
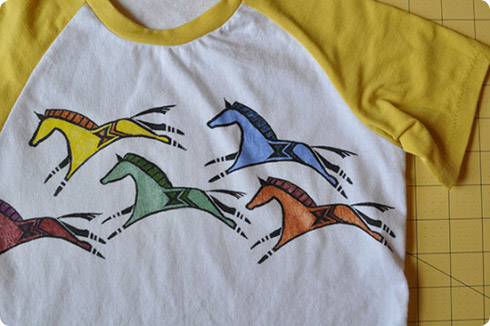
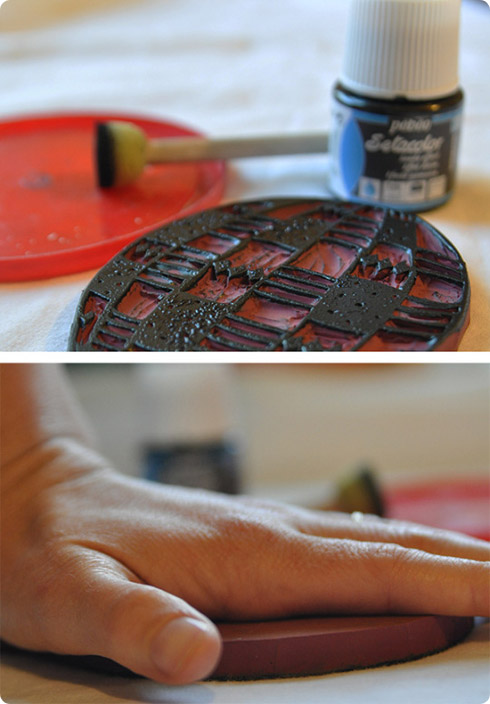
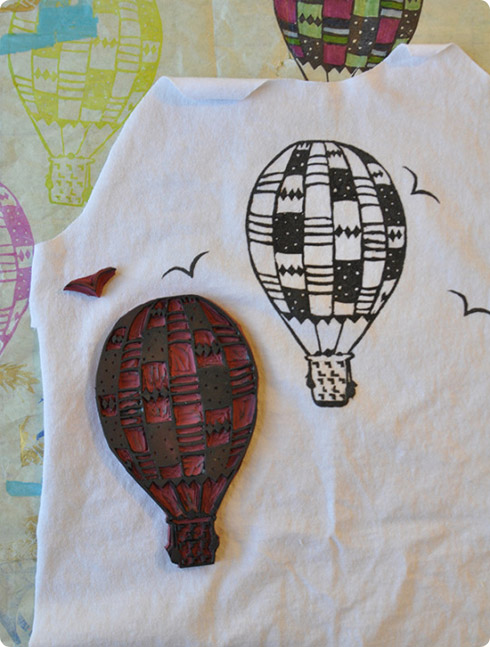
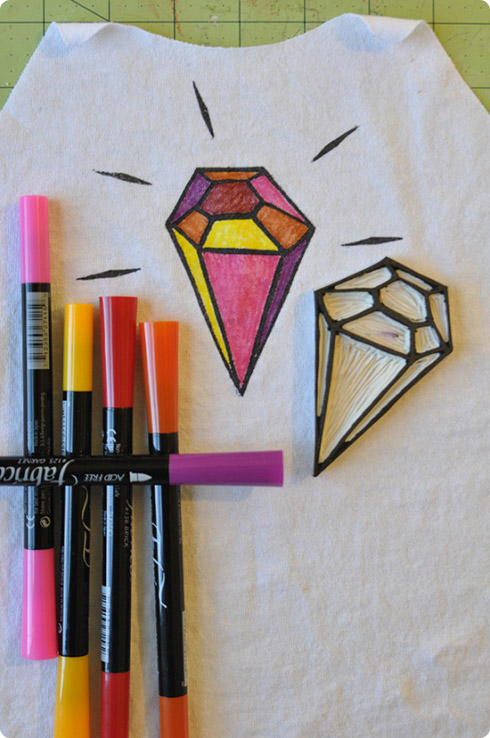
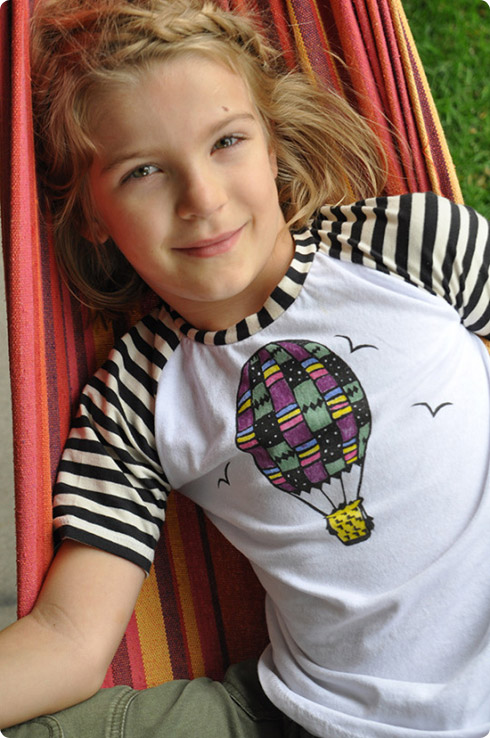
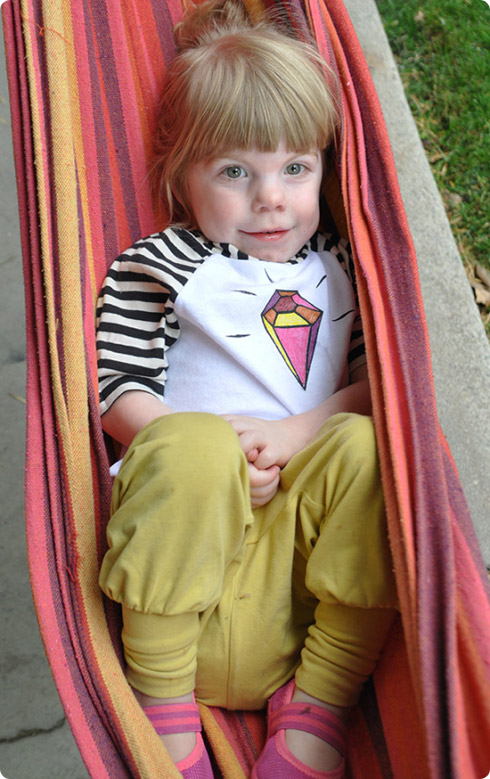
I started out by carving three different stamps that each had lots of negative space for coloring. These type of designs take longer to carve for sure, but I found that using sharp tools really helped, and I also used my utility knife a lot. I actually just bought Flexcut's slipstrope to sharpen my trusty Speedball cutter set, and am really pleased with the results - it brought them back to their former glory. I also used my favorite Eco Karve blocks to carve, they are so thick and smooth to cut. Because of their thickness, they worked particularly well with double sided stamps like the horse (I don't have a picture of the opposite side but it's the same just reversed (more on that later!). My balloon was pretty detailed, but the gem was a cinch and probably a great place to start with this technique. If your ambitious, google velvet coloring posters and get some ideas (a really detailed one would be epic, but I just had to lie down for a rest contemplating it).

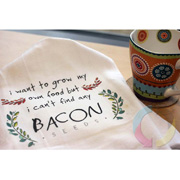
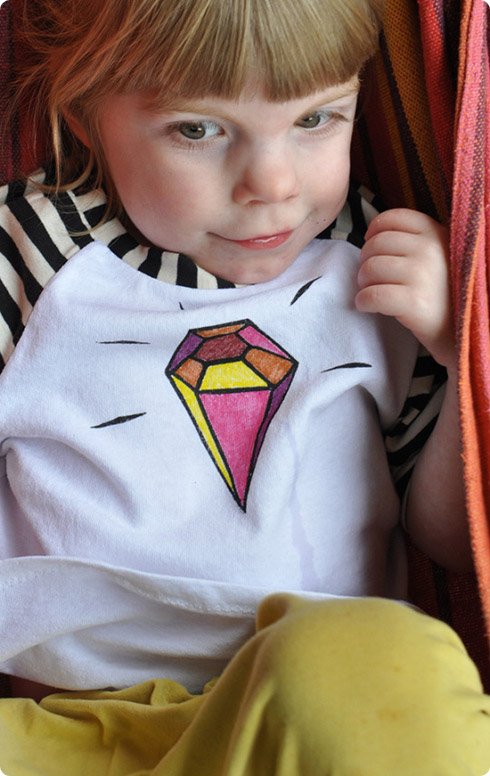
I decided to try Setacolor's suede effect paint, which when heat set changes into a velvety semi-raised, very tactile surface which was perfect for this project. Use a foam brush or sponge to dab on paint pretty heavily on your stamp (I found this worked better with this particular paint than my usual fuzzy roller), and then with firm, even pressure carefully print your design. It took two or three tests prints to build up the paint on my stamp enough to get really solid and saturated results. I printed on white cotton jersey knit pre cut into the tee Front using a simple raglan pattern from Ottobre.
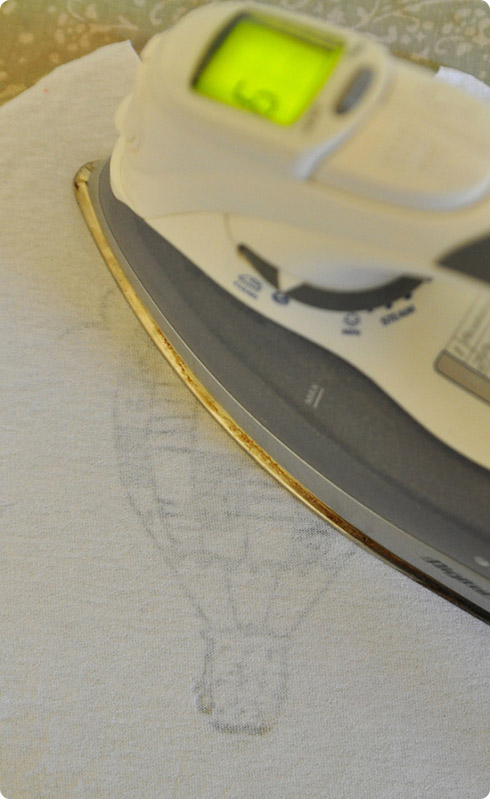
Allow to dry completely, and then on the wrong side, heat set this on your iron's cotton setting for about five minutes. This is when the paint raises and creates a super soft, textured surface that really is suede like, it's pretty cool.
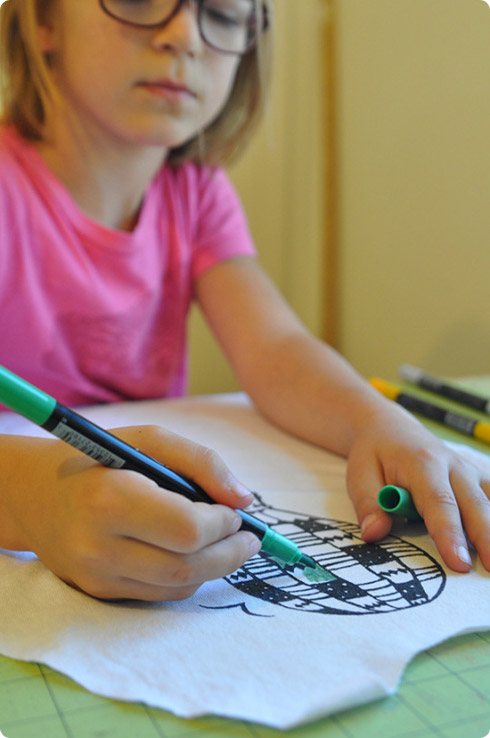
Then color! This was so fun, I forget how satisfying coloring can be. Twinkie rocked her coloring, the dimensional paint was really good for helping her stay in the lines. We used Fabrico Dual-tipped fabric markers and loved them! Lovely color and I loved the end with a long flexible tip, it was easy to fully saturate the coloring space.
I totally did the horse and and gem tee myself, I couldn't help it.
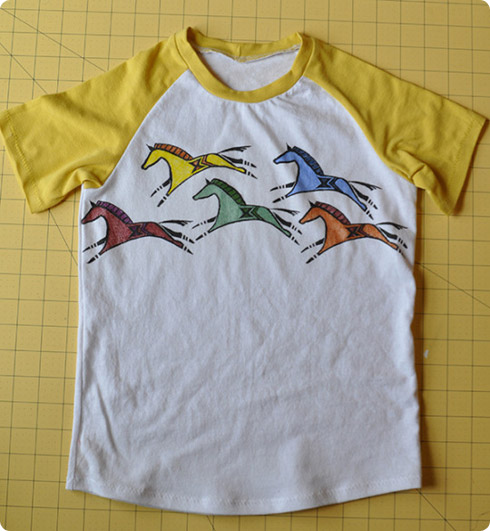

Ah, good times. My kids are adorable, PS, and so are these tees. These stamps have also been killer on paper for cards and such and the kiddos love coloring them in using different colors. And I actually really love the look of the designs printed with the black paint just as-is without being colored in, it's really striking. I think I'm going to print a baby blanket using that horse stamp with that technique, no coloring in. Gonna be good, maybe I'll try and instagram it.
This tutorial was provided by Miriam Tribe.


