


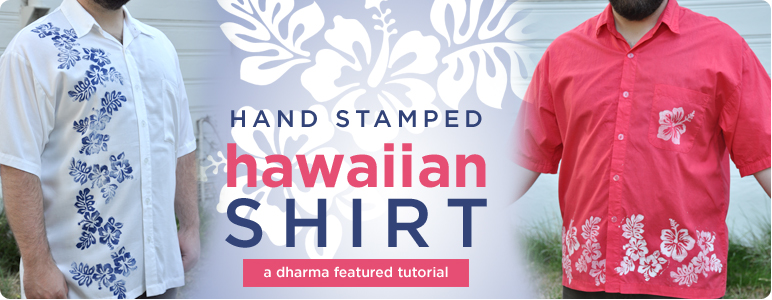
Aloha! Summer is almost here and while you may or may not be heading out to the Islands for some sun and sand we are sure you could use a great shirt for hanging out and staging your own backyard luau! For this project we will show you how to print your very own Hawaiian inspired shirt for all those summer parties! Every guy you know will be sure to want one and of course you can adapt this project for ladies too! Makes a great gift for Dads.
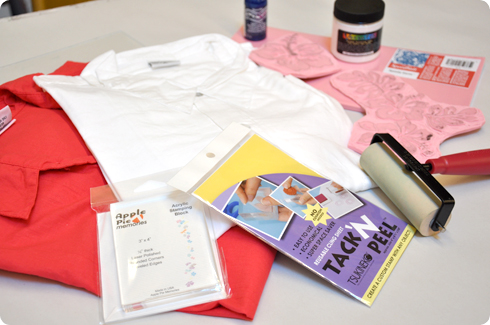
Shopping list:
- Maui Shirt
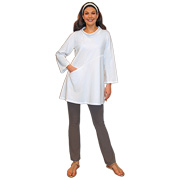
- Bali Rayon Shirt
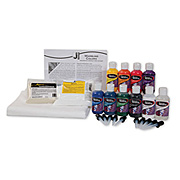
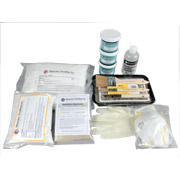
- Tie Dye Supplies
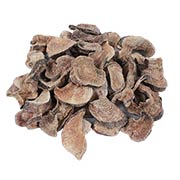
- Speedy Cut Stamps 6"x12"
- Linoleum Cutter Set
- Soft Rubber Brayer
- Clear Acrylic Stamping Blocks
- Printing Inks- we used our two softest (non-toxic so great for kids) inks, VPI 46 Super Opaque White and Deco Art So Soft 42 Primary Blue
- Plastic Glass
- Hawaiian Themed Clip Art Images
- Cardboard Scrap
- Scrap Paper
- Spoons
- #2 Pencil
- Iron
Let's get started!
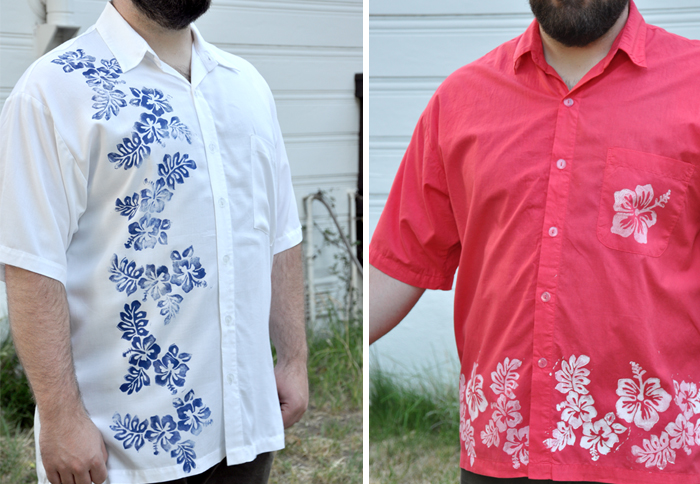
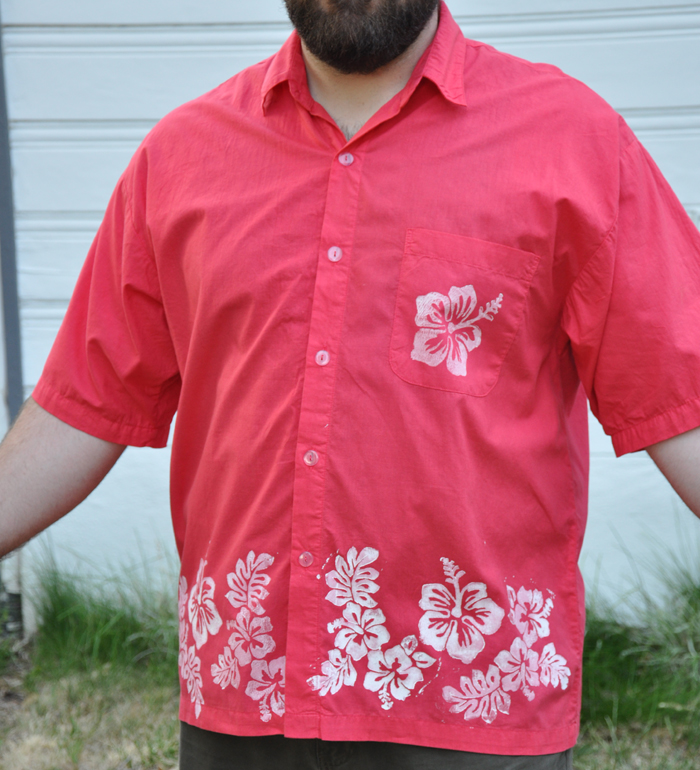
The first step is optional but if you want, dye your shirt a solid color with Fiber Reactive dye with the Tub Dyeing Method. We dyed the Maui Shirt (#BC55) with #10A Chinese Red, but you can pick any color you want. We used 2 different paints on 2 different shirts with the same stamps to show how they come out, also how it looks dyed vs. un-dyed.
Pro-Tip: Dyed or not, pre-wash and iron your shirt of choice to insure clean prints and good paint adherence.
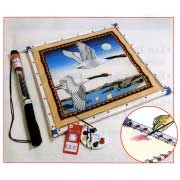
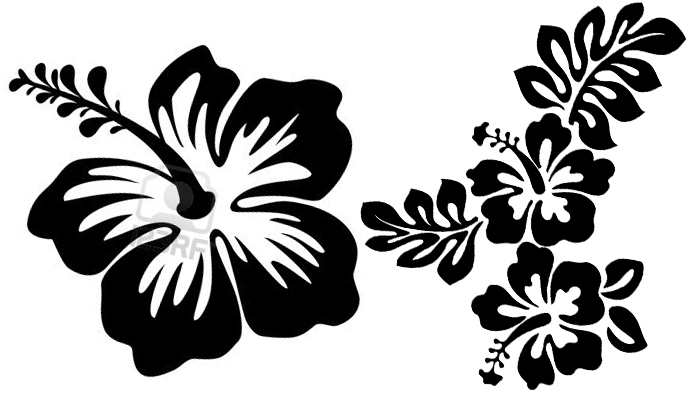
We selected two traditional hibiscus motifs to carve into our stamps. A simple single flower and a more complex set of flowers and leaves. Other motifs like lizards, birds, surf boards, hula girls etc. can also be fun. Don't be afraid to go crazy!
Before you can start carving you need to transfer your design. Keep in mind- If you are using a printed motif or clip art, the way it is printed out is how it will look when the image is stamped. If you are drawing right on the carving block the image will be reversed after it is stamped.
To transfer your design from a print out, trace the design with the #2 pencil. Flip the design down on the carving block and then burnish/rub it with the spoon.
You will have a transfer of the outline that you can then clean up with the pencil to make it clearer.
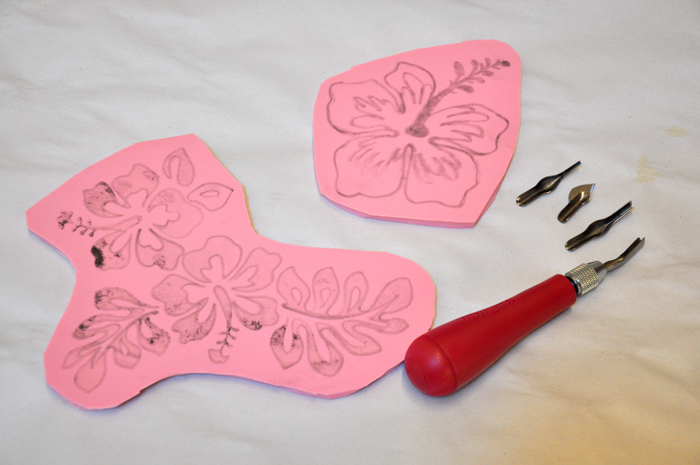
Fit the linoleum cutter with a smaller cutter head and cut out around the outlines of the main shapes. It is best to do smaller short cuts vs trying to cut around all at once.
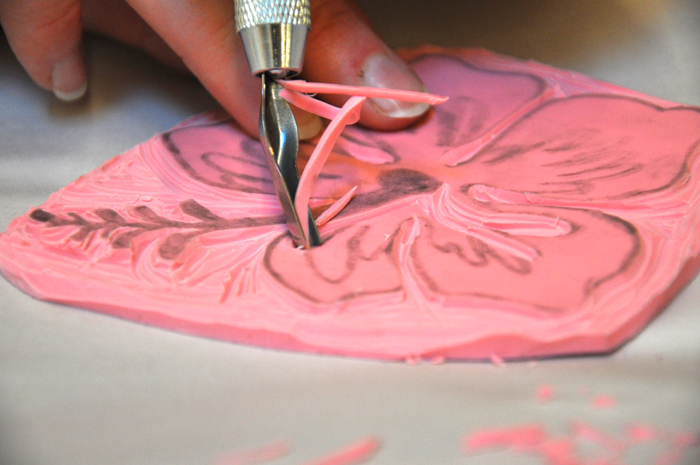
Cut along or away from the edges of the design you want to keep to avoid cutting into your design, otherwise you have to tweak the design or start over.

Keep going and carve out your details from the center of your design. If you haven't already, you can use regular sharp scissors to cut away excess block from around the outside of your design. This will help you have a better idea how the design is positioned as you stamp vs just having a rectangle.
Once it looks like everything is carved down it is time to make a test print on some scrap paper.
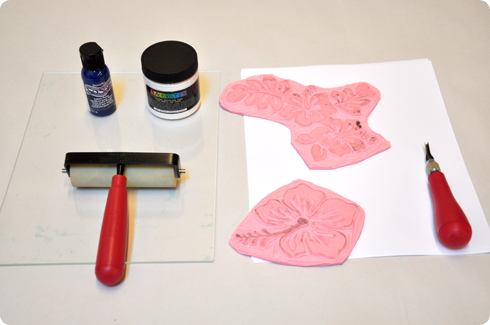
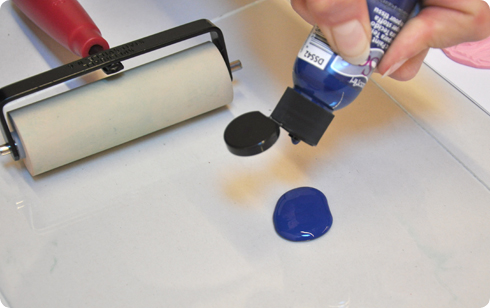
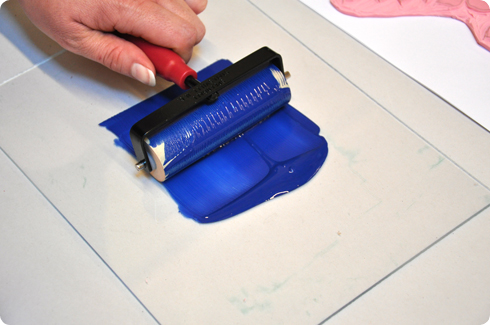
Take the plastic glass and squeeze/spoon a bit of paint on it. Roll it out with your brayer to evenly coat the roller.
Gently roll the brayer across your stamp, back and forth a few times. You want to ink the stamp as evenly as you can.
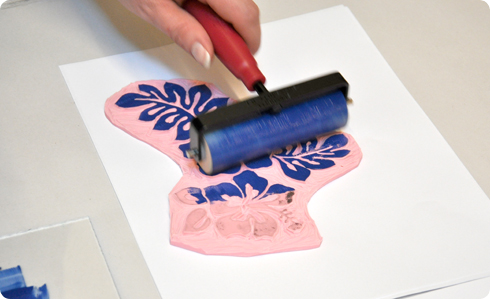
Flip your stamp and do one test print on a piece of scrap paper or fabric. If you see any areas that did not get carved down enough and leave marks you don't want then go back in with the linoleum cutter and trim them down. Repeat this testing process until you get nice clean prints.
Once all your stamps are carved and tested you are ready to print your shirt!
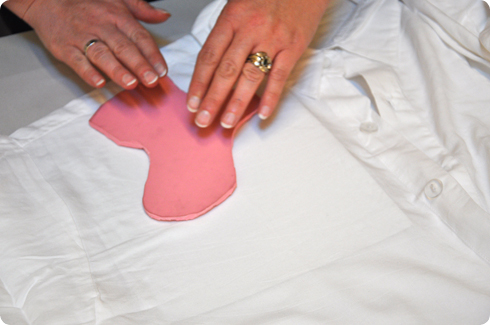
Lay out your shirt nice and flat. Place a piece of cardboard inside the shirt under the area you are going to stamp, in case the ink goes through the fabric.

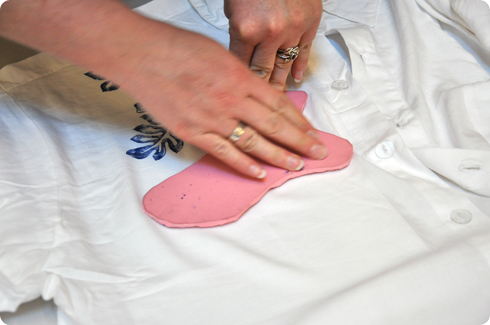
Re-ink your stamp and position it before pressing it down on the fabric. Press firmly and evenly to make sure the whole stamp surface makes good contact with the fabric.
Carefully peel up the stamp and go on to the next position, moving the cardboard inside the shirt if you need too.
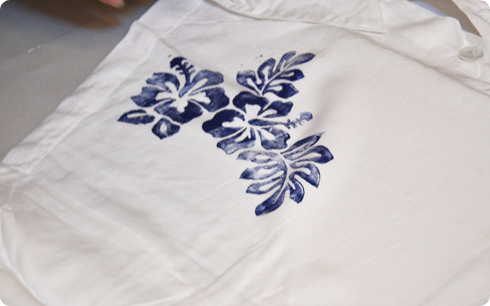
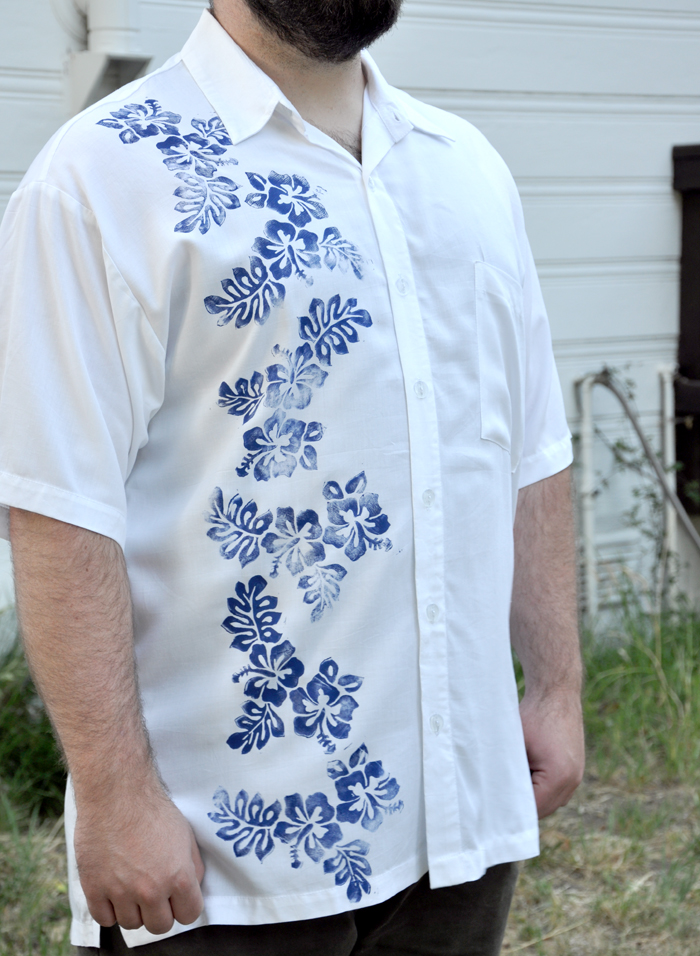
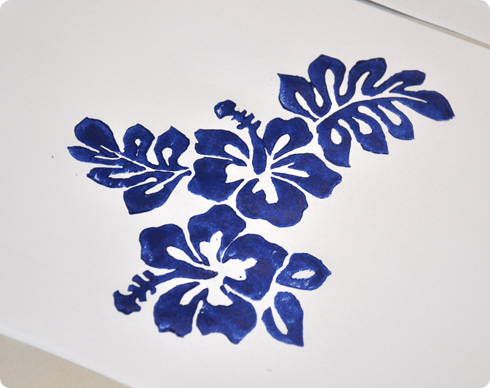
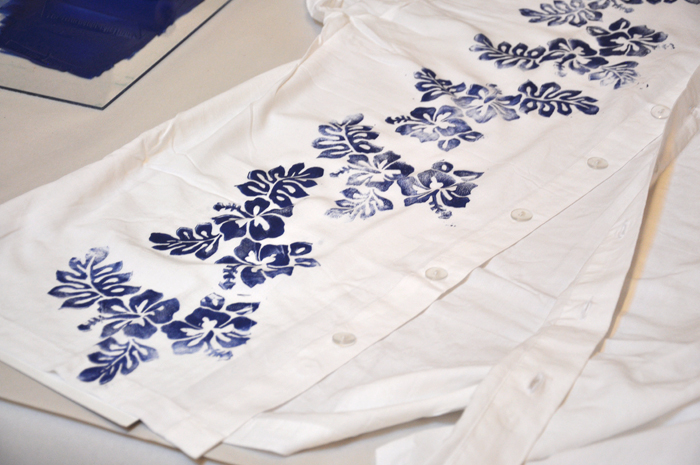
We printed the larger stamp with the Deco So-Soft blue paint down the right front of the Bali Rayon Shirt #BRRS, rotating the stamp to align the print so the flowers and leaves cascade down the front. You need to work quickly with this paint as it dries quickly. It is a great paint for kids and beginners because no heat setting is required.
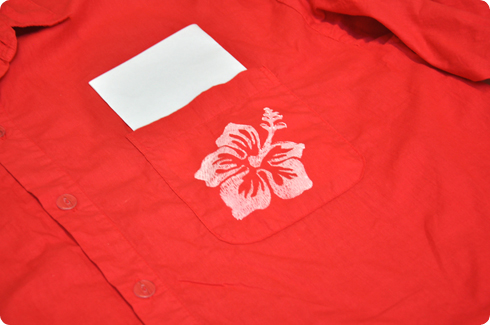
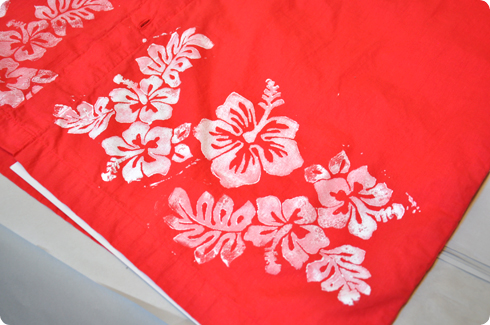
To finish off our Chinese Red Maui Shirt #BC55, we used the Versatex Printing Ink in Super Opaque White. (We noticed this paint gave us better coverage than the So-Soft. It is a true professional printing ink!) We printed the single flower on the pocket and combined the two stamps to create a design on the bottom front of the shirt. We didn't continue around the back of the shirt but you could if you wish, just give the front time to dry before flipping the shirt over to print the other side.
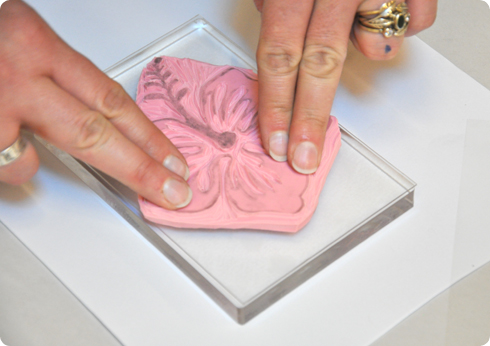
For the smaller flower we used an acrylic stamping block with the Tack 'n Peel adhesive to make the stamping easier. The clear block makes it easy to see where things are positioned and when you are done the stamp can be pulled off so you can use the block with another design.

Pro-Tip: For bigger stamps use several Tack 'n Peel sheets on a piece of plastic glass to make a larger stamp block. Big stamps can easily get floppy and be hard to control so stabilizing them will make things much easier.
Once the paints are dry, it's important to give them a good ironing to set the paint (according to the paints' directions). The DecoArt is air cured but the iron won't hurt. After a wash and press your shirt is ready for the big luau!