


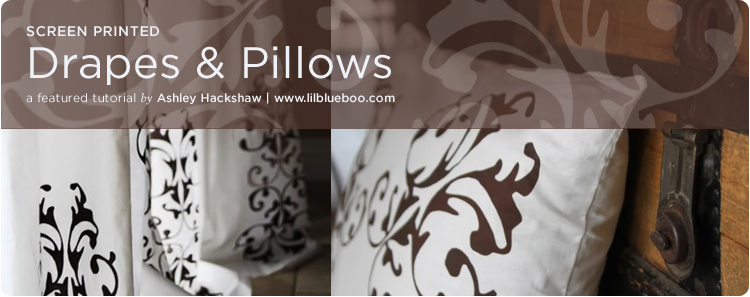
My husband has been bugging me for years to add window treatments around the house....but they are always either too expensive or I haven't found ones I like. So I made my own....and it was so much easier than I thought it would be!
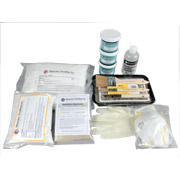
Shopping list:
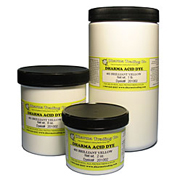
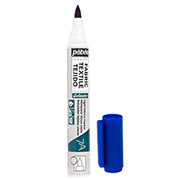
- Versatex Screen Printing Inks
- Versatex Fixer
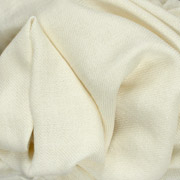
- 108" plain white muslin
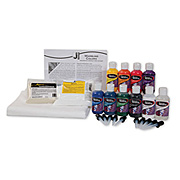
- Speedball Screen Printing Kit
Let's get started!
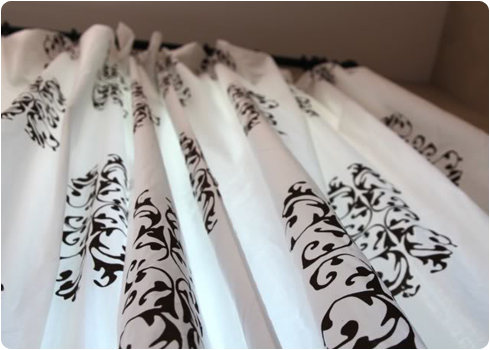
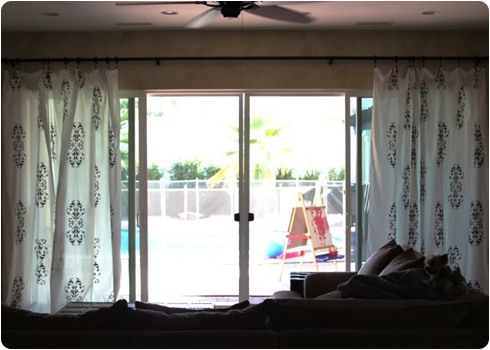
So happy with the result.
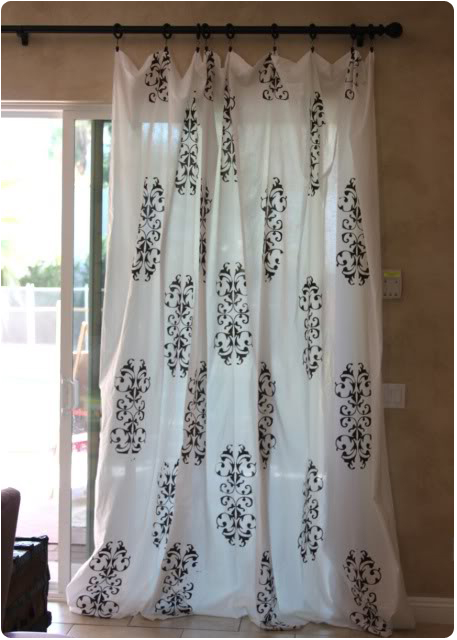
I wanted drapes that were simple and elegant but also that fit our informal living style. I love how they "pool" on the floor.....adds a little drama to our everyday living space.
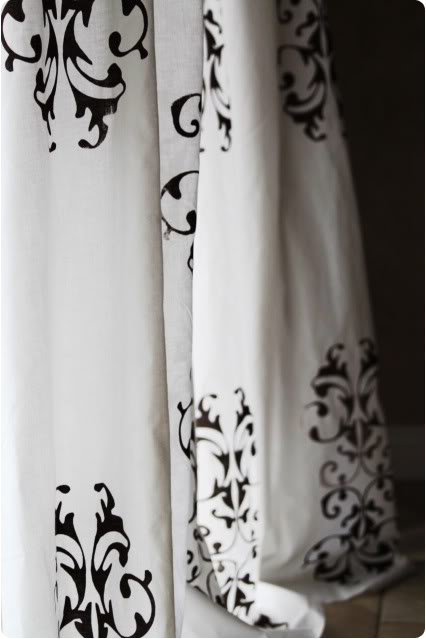
I especially love how the morning sunlight comes through the sheer fabric.
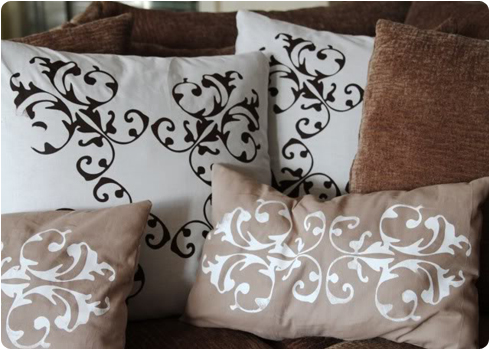
With my leftover fabric I made some simple covers for our existing couch pillows to coordinate the room.
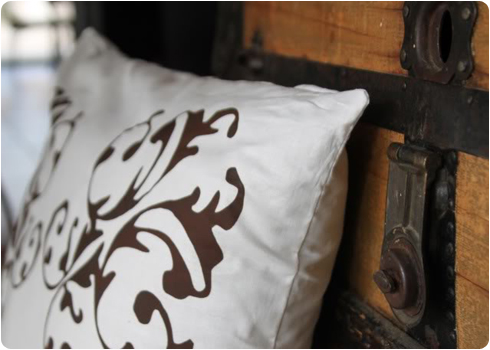
I made the small rectangular pillows from scratch with linen-like fabric.
How to:
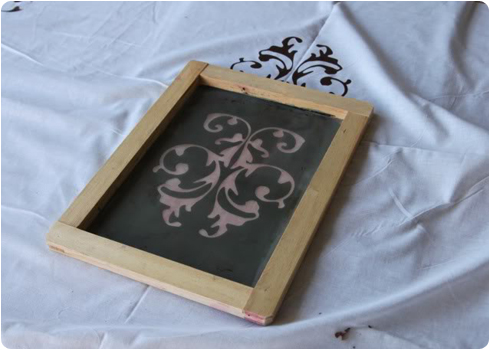
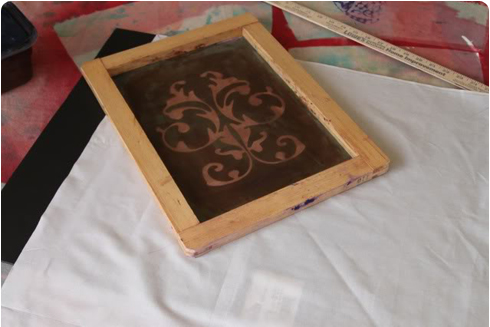
Note: Before starting your screen printing you will need to create a screen. See my Screen Printing 101 tutorial on how to create a screen using photo emulsion. If you want to use a simpler design than shown below you can also try the contact paper screen printing method.
Here is the design I created using "damask" dingbats. You are welcome to use it (just click on the image and then save to your desktop). I couldn't find my original file so this is a scan.

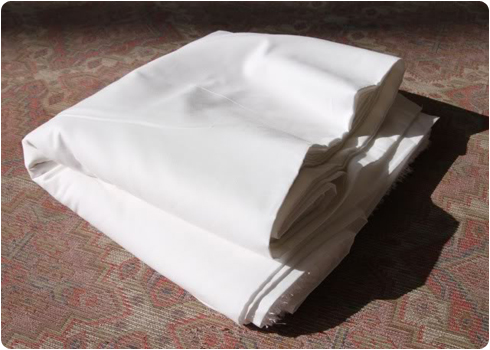
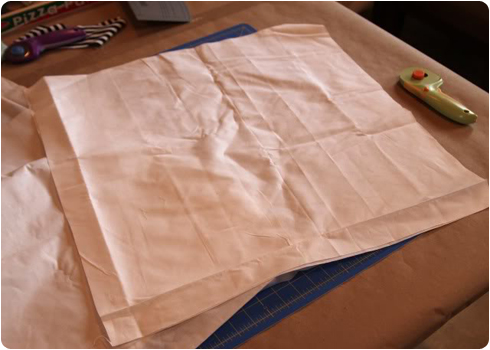
I started with 108" plain white muslin. For tips on measuring your window for the amount of fabric needed see my curtain tutorial (with download).
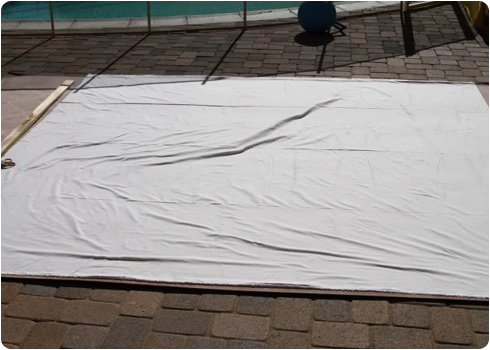
You will need a large area to spread your muslin out onto. I used my back patio, but you could use a driveway as well. Just spread a tarp or large drop cloths out to protect the muslin.
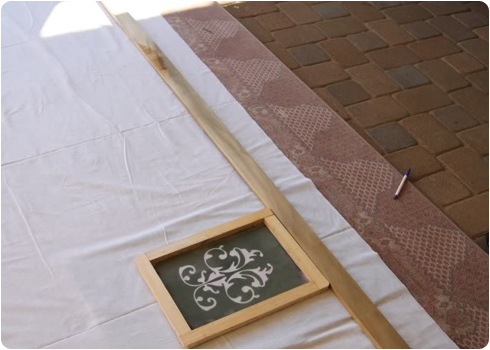
You can use the "fold" lines on the muslin as vertical guides and use a long piece of wood to mark your horizontal guide lines. I used a disappearing ink pen to mark out where my designs would be.
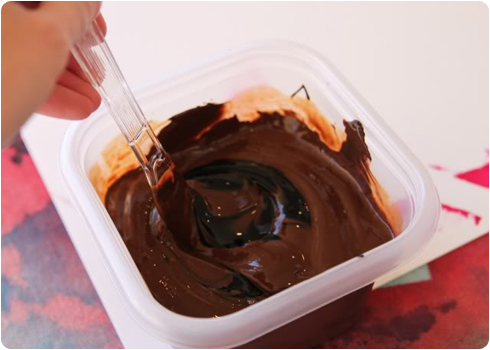
I used Versatex screen printing inks in the colors: Umber and Brown. I added Versatex Fixer which eliminates the "heat setting" step (i.e. no ironing to set the ink).
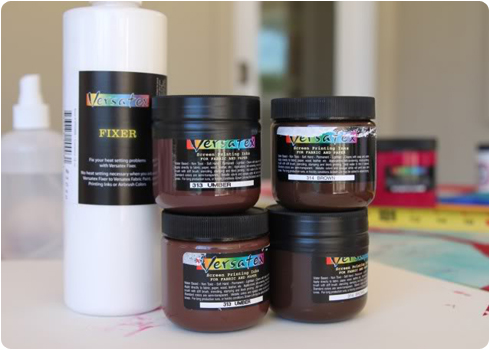
Mix your inks together (four 4oz tubs was plenty for pillows and drapes). I added a little black to get a darker brown.
Start your printing! Allow yourself to have errors (for character!).....it will look like you meant to have imperfections. Place your screen flat onto the fabric. You will probably want to have a piece of cardboard underneath each section you are printing (I used flat boxes). Apply a small glob of ink at the top of side of the image........and pull the ink down the screen with the squeegee. You might have missed some areas so I like to go over it a few times carefully. Do a test run first on a scrap!
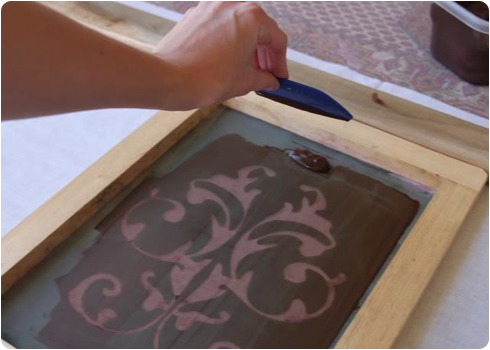
The first one is the hardest! Then it gets easy!
You can do several rows at at time. Just keep your tape measure and disappearing ink pen nearby so you can mark guides as you go.
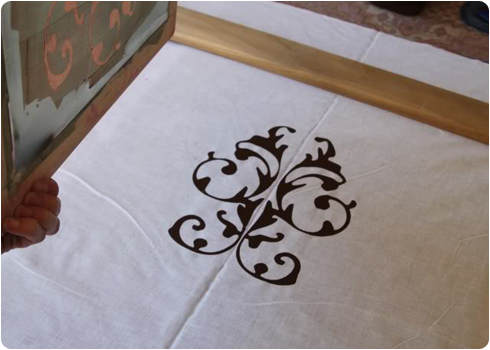
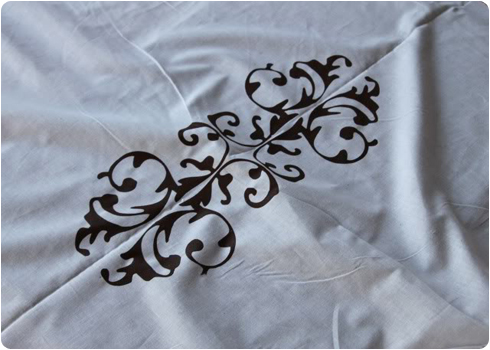
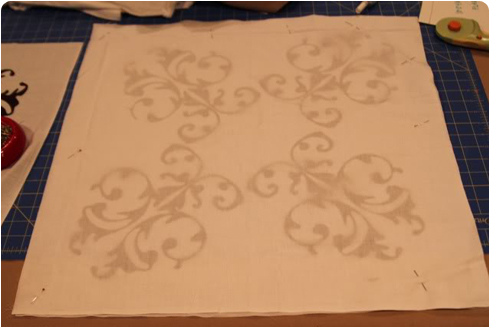
After the first layer has dried, turn your design around and screen the mirror image.
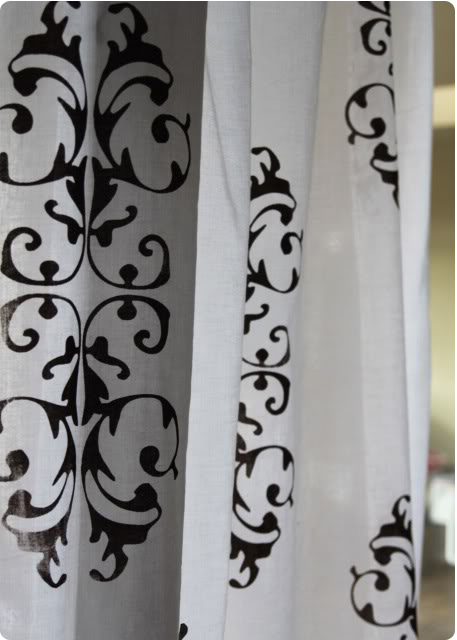
A finished complete image.
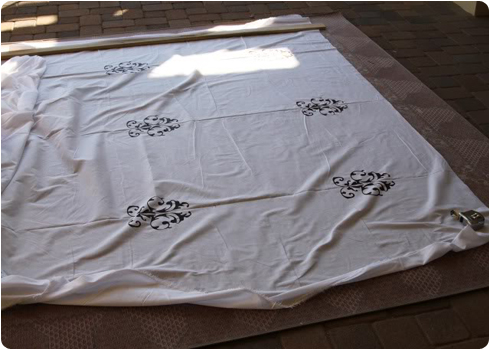
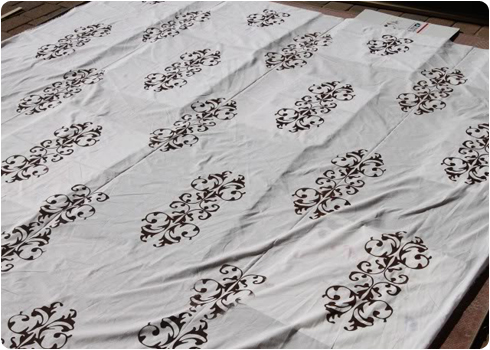
A finished drape! I screened in the hot sun and it only took minutes to dry.
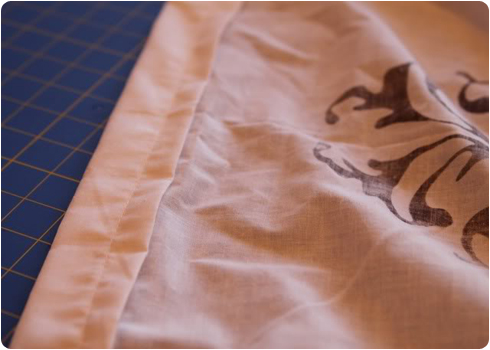
Once all my drapes were dry I brought them inside for sewing. For the top of the drapes, I folded the edges over 1.5" and then over again 1.5" and sewed all the way across. I didn't even hem the sides or bottom, I just serged them with white thread.
A curtain rod for a 16 foot slider was not really in my budget so I modified a store-bought rod to fit across the 17 foot span. You can buy 6 foot finished wood rod pieces at your hardware store, just make sure to buy the connecting screws too. I bought three rods and cut about 6" off the ends. I had to re-drill holes for the finials at the end. I purchased 4 brackets for the rods to sit on.
I cut 2 squares from my leftover fabric for each coordinating pillow.
I screen printed the design diagonally onto the pillow squares.
Once the pillow fronts had dried I pinned them together and sewed the outside edges leaving a small opening for stuffing.
I had my best helper stuff the pillows.
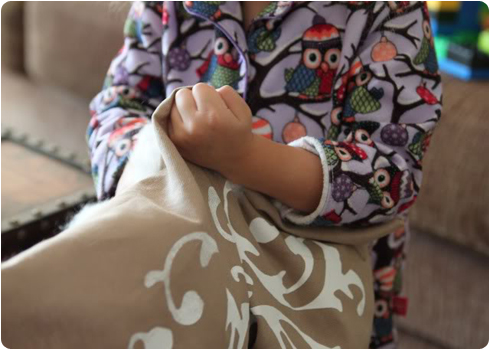
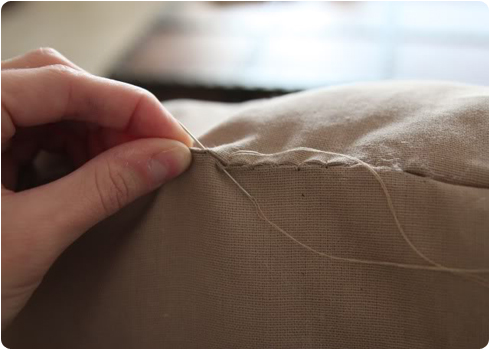
And I sewed the pillows shut with a blind stitch.
This technique is so versatile that you could use it in any room of the house. How about printing a similar duvet and large square euro pillows for a master bedroom!
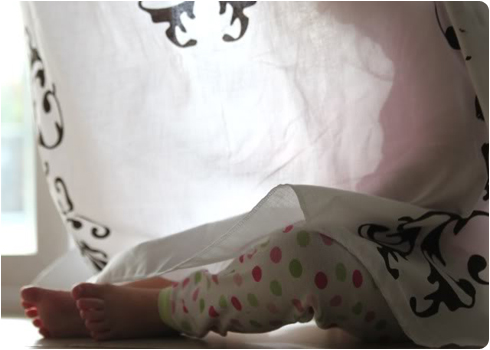
My little one is the most excited about our new drapes because she gets another hiding place!