


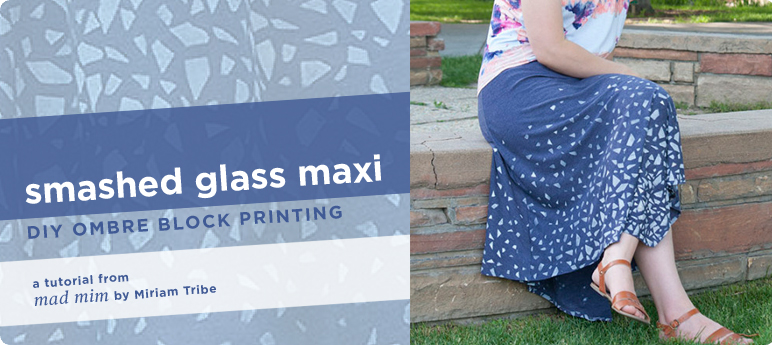
Doesn't this ombre print remind you of broken glass mosaic tiling? I was going to entitle it thus, but it seemed a little excessive. I could have also appropriately named it never-give-up-even-when-you-are-super-frustrated-and-want-to-throw-it-out-the-window- maxi. Some ideas (it feels like most of mine), seem so brilliant in my head, but once I try them out, I'm usually disappointed because they just don't work like I want. So I brainstorm, and trouble shoot, and try try again which SOMETIMES results in a successful technique, and sometimes results in the good-idea-fail file. I have had this printing technique in my mind for a long time, but when I tried it out I wasn't getting clear printing at all - it looked pretty crappy! My problem was that the acrylic block is so solid and hard that it doesn't provide any give, and I wasn't able to apply even and heavy enough pressure towards the middle of the stamp which resulted in a bad print. I tried unsuccessfully for quite sometime, before I decided to put the project to bed for a while until I wasn't so frustrated and could look at it with a fresh perspective. That happened to be the next day when I had the idea to print on the top of some folded yardage of muslin to provide that give I needed. No dice. So I put it aside again, and thought about it again the next day. It occurred to me that maybe I just needed MORE give, so I tried printing over some thick knit folded a few times. BETTER! So I folded it again (at least 8 layers of fabric I think), and BAM. A clear print. I also discovered that adding the tiniest bit of water to the printing ink also resulted in a much more solid and clear print. It took quite a while to figure this beast out, but once I did, the printing went quick and well. I wanted to share the behind-the-scenes on this project because it represents so much of my process. Good ideas usually take a lot of work, but through much trial and error I finally discovered an awesome printing trick that helped me make this skirt that I really really love. And hopefully it will help you too!
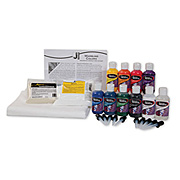
Shopping list:
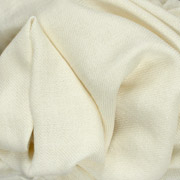
- Something to print. I used a lovely heathered jersey that is sturdy but so light and drapey. Like always, I printed each piece (in this case front and back) BEFORE I constructed.
- Easy-Cut printing plate. This stuff is so awesome! It cuts easily, and it's so great for creating precise silhouettes and designs. It's great to use with
- Acrylic Stamp Mounting Block
- Tack 'n Peel, which is a very thin, double sided almost-gelly-like adhesive sheet (reusuable!!) that you apply to your acrylic blocks in order to temporarily (and very securely) adhere you different carved or cut stamps. This stuff is the shiz, I was very happy with it.
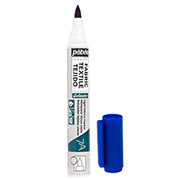
- printing ink. I tried out Jacquard's Neopaque line for the first time, and loved it - ;I think it may be be my favorite printing medium to date.
- a brayer and plastic lid to roll it in
- Scrap knit fabric to use as a print surface.
Let's get started!
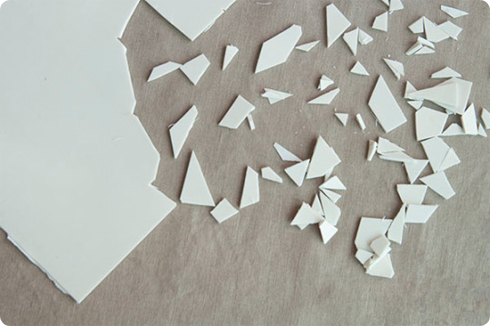
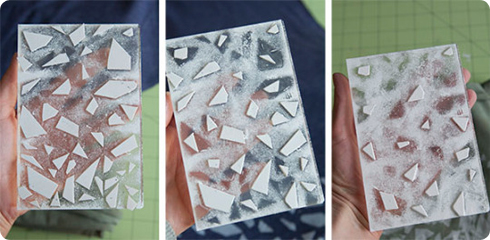
Begin by snipping some of your printing plate into geometric shapes - no rhyme or reason here, just go to town.
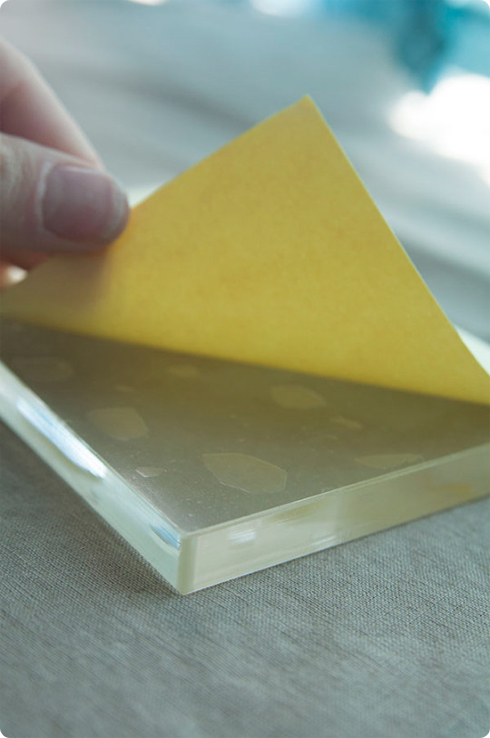
Then apply your Tack 'n Peel to the acrylic block,
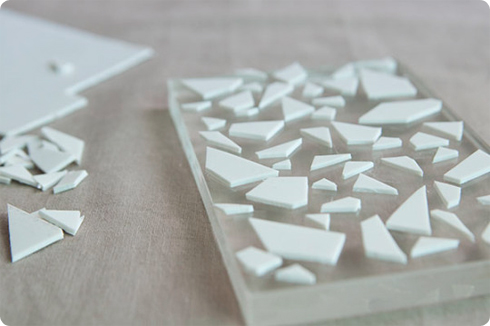
and stick those suckers onto the block in a close design. Think mosaic tiling.
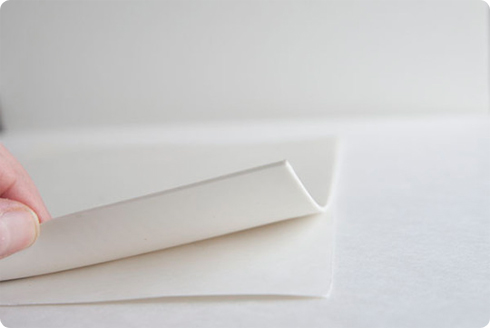
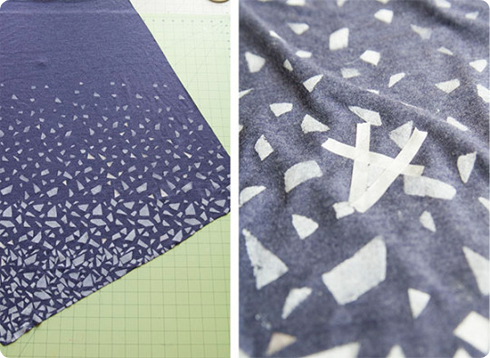
Using your folded knit as a printing surface (very important!), apply your paint to the stamp, and make a test print to see how you're looking. Practice how close to print each print to each other, and see if your paint needs to be thinned down slightly to create a more solid design. You also might need to play around with the thickness of your folded knit. NEVER start printing on your actual fabric/garment until you have produced a good practice print!
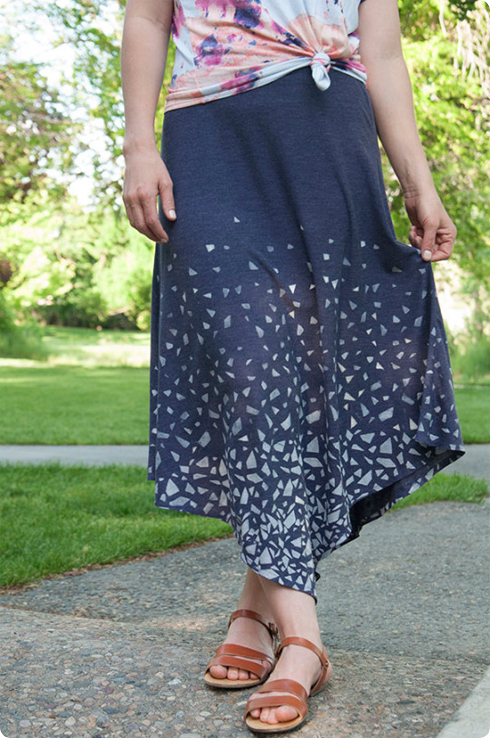
Now print your bottom row, in my case it was just the point of the skirt. For your second row, your will remove some of your geometric printing bits from the stamp - leaving the bottom more dense then the middle and top. You may have to rearrange your printing bits a little to get the right distribution. Make a practice print, and then print your second row, taking care to print close to your first pass. Sometimes I find that built up paint on the stamp and roller can affect the printing, so I rinsed both off between each row. The third and fourth rows are done exactly the same, you just continue to remove your printing plate bits before each row, until the last row when your block will be quite sparse. On the last two rows it's important to make sure your don't get paint on the block itself so that excess paint doesn't mess up your print.
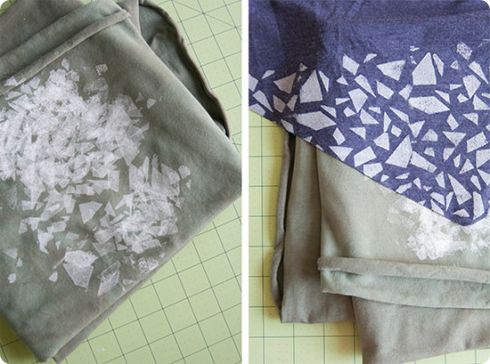
See if you can distinguish between rows here, there are four in total. By removing the printing plate bits as you go you get such a cool ombre effect! My back skirt panel was much less clean than my front, so I used quilter's tape to stencil around some of the individual shapes to clean up the overall look.


Isn't this a cool technique? I love love really dig the result, and can imagine it would be awesome on so many applications - everything from tea towels to lamp shades!
This tutorial was provided by Miriam Tribe.


