


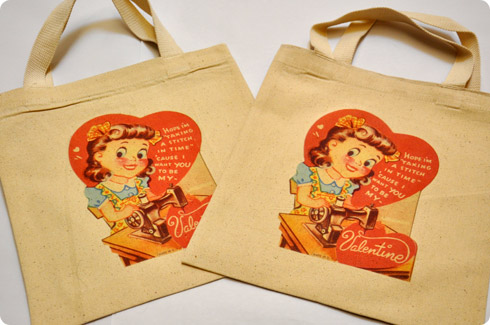
Love is in the air! And what more classic way to spread the love than with some funky retro vintage valentines! If you're like us, you've got a lotta love to share, and that means lots of valentines. Here is a nifty retro tote to hold your valentines while you deliver them, or to send to school with the kids for the whole class.
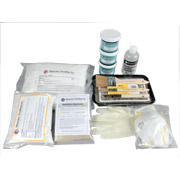
Shopping list:
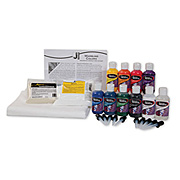
- Inkjet Transfer Paper- Professional Style
- Low Cost Promotional Tote Bags- size 11"
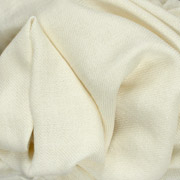
- Dyeable Cotton Lace- we used a 1.5" wide lace
- Dye-Na-Flow Fabric Paint- we used #805 Scarlet but #806, #807, and #809 would be good options too
- Foam Brush - 1"
- Needle and Thread or Aleene's Ok to Wash-It Adhesive
- Geo Knight Heat Press- or standard home Iron
- Teflon Sheet
- Extra Bling Options:
Jewels and Studs
Foils & Glue
Lumiere 3D Paints
Fabric Markers
Let's get started!
First we need a great vintage valentine image. We have pinned a bunch to our Valentine Pinterest Board and there are lots to be found with a quick search, as most vintage images are copyright free. Adjust the image to the size you want for your bag. Depending on your printer, you may need to flip the image so it will be turned the right way once you transfer it. Some printers are so smart that when you select "T-shirt transfer" in your paper media settings, it will flip it for you!
Once your image is all ready to go, print it on the transfer paper, making sure that your paper is loaded so the image prints on the matte, slightly rough side of the paper. That is the side coated with the transfer polymer.
Turn on your heat press to warm up to 350-375º F, or set your home iron on the cotton setting. While things are heating up, cut out your transfers.
Pro-Tip: cut about 1/16-1/8th of an inch away from your design to avoid cutting anything off and reduce the transfer outline once it is pressed on the bag. If there are any fine details/open prints leave more of the transfer paper to help keep things from shifting in the press.
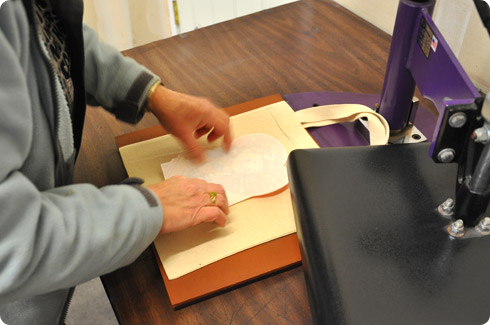
Once your press/iron is hot enough, press the bags for a few seconds to smooth out any wrinkles and get rid of any moisture in the fabric. You don't want it to steam out while you are trying to press your transfer as this will prevent the polymer from adhering properly. Make sure, if you are using an iron, that the steam function is OFF.
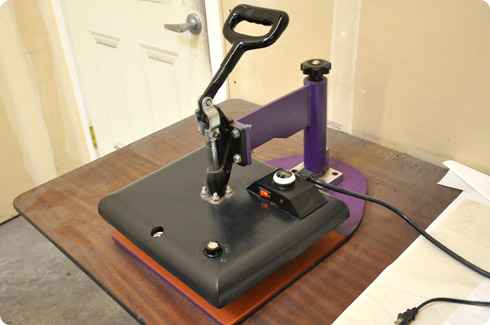
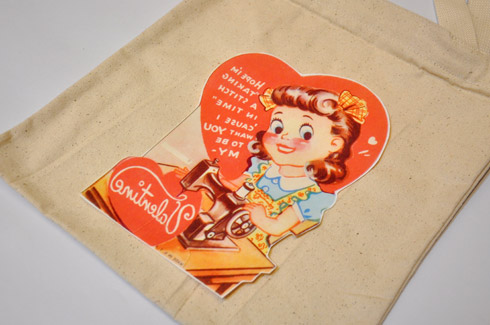
Place your transfer with the printed side down on the fabric. If it starts to curl up a little from the heat of the pre-press use a teflon sheet or scrap paper to hold it in place. If you are using the heat press, swing the plate into place and press it down until it clamps into place. Hold for 25-30 seconds and then release the plate and remove the bag. If you are using an iron you need to iron on a hard, heat resistant surface, not a soft ironing board. Press firmly with your iron one section at a time. Lift the iron straight up and then down on the next section. Do not push it around on the transfer as this can cause things to shift around.
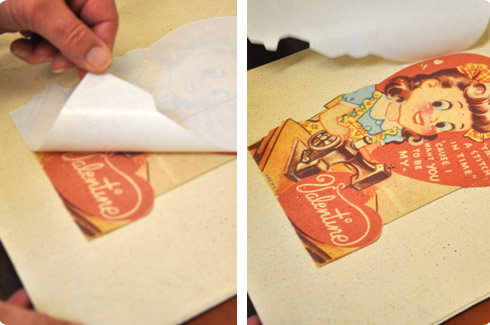
Once you have pressed the transfer you can do a hot or cold peel. A hot peel (what we did) is done right away before the transfer cools and gives a soft matte finish. For a slightly glossy smooth finish, let the transfer paper cool a few minutes before carefully peeling the paper off.
At this point your bag could be done, but why stop here?!
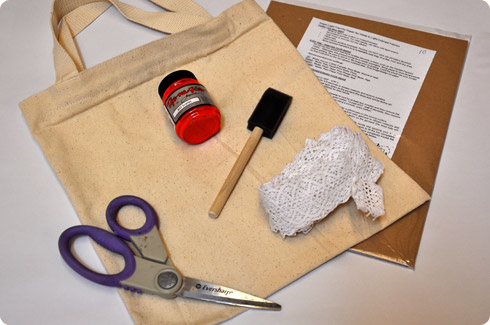
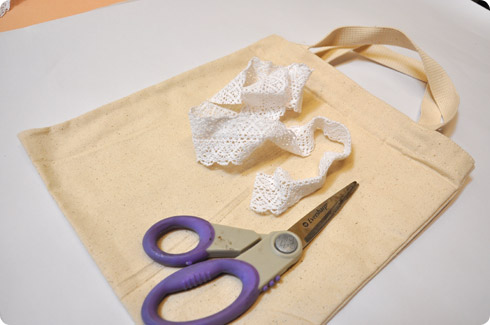
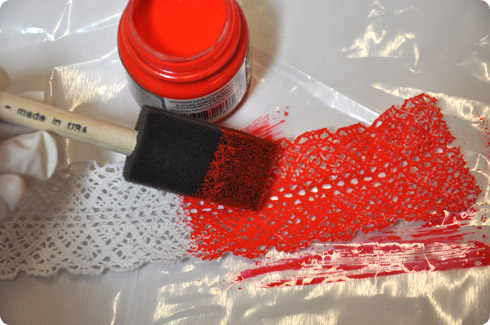
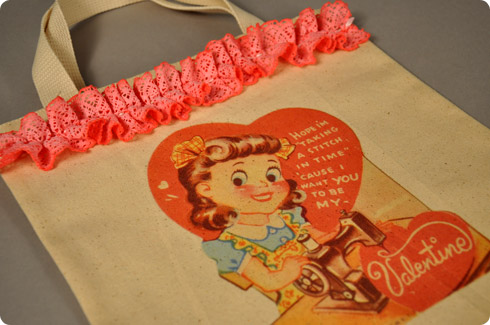
We wanted to add some frills so we grabbed some of our dyeable cotton lace and some 805-Scarlet Dye-Na-Flow Fabric Paint. We cut a piece twice as long as the front of the bag, so we could gather it up into ruffles. We only applied it to one side, and you may want more, so cut as much as you need for the look you want.
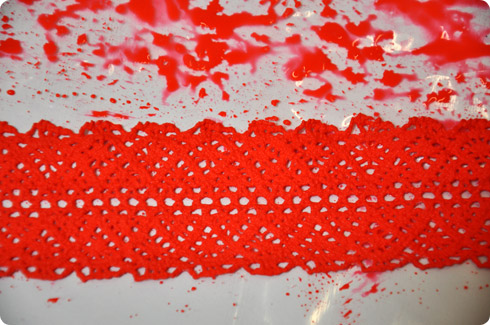
Lay out some plastic wrap or newsprint on your work surface and lay out your lace. Using the foam brush, paint one side and then the other with Dye-na-Flow. We let it dry for about 30 minutes and then we took it to the sink and (GASP!) washed out most of the paint to have a more faded vintage look. Lay the lace back out on some paper towels and let it dry. Once it is dry, iron it to finish setting the paint.
Apply your lace to the bag: sew your lace on with a needle and thread, or glue it on, putting a bead of Aleene's Ok-To-Wash-It fabric glue on the bag. Press the center of the ribbon into the glue, then let it dry overnight before any hard use.
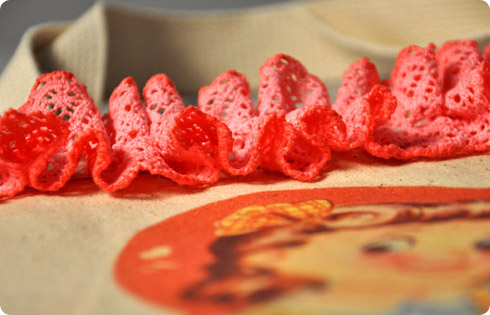
Pro-Tip: for easy gathers, run a ribbon through the center of the lace. It has special holes in the weave just for this. Push the lace toward one end to gather it and then adjust it to the width of the bag.
Now your bag is ready to start delivery service (or you can add even MORE bling!!! See extra bling options in the supplies list)
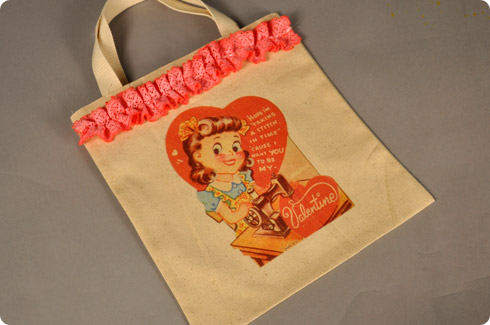
Have a Happy Valentine's Day with your friends and family!


