
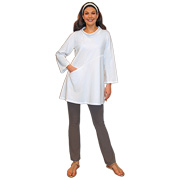


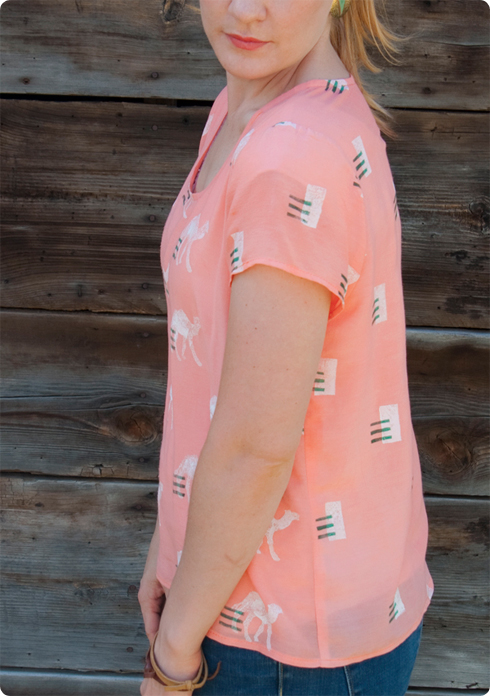
I must have a thing for aired animals, because this makes two shirts now with a beast of burden showcased (remember my llama tee?) Oh, this shirt. I'm so happy with how it turned out! There is something so satisfying and appealing about dying, printing and sewing a garment. It's "I made this" on steroids. And there are no limits! You can literally create the garment of your dreams give or take an imperfection or two. Well, actually my garments often turn out way different than I imagined, but it's always so cool to discover how your design comes alive and translates from your head to your hand.
Shopping list:
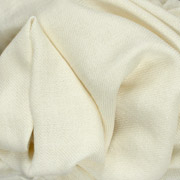
- Fabric. I used this gorgeous viscose silk/rayon blend, and am thrilled with the texture, drape and washability. I want a bolt of this stuff--it dyed so well, and was wonderful to sew with.
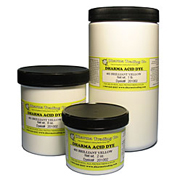
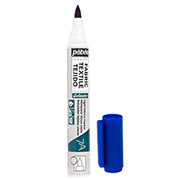
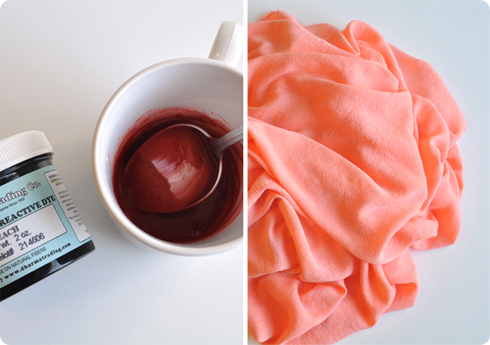
- Dye. I used this lovely fiber reactive Peach. Isn't the color a dream? Fiber reactive dyes are the bomb. The process is slightly longer, but the result is both completely permanent (won't fade), vibrant and even.
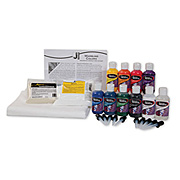
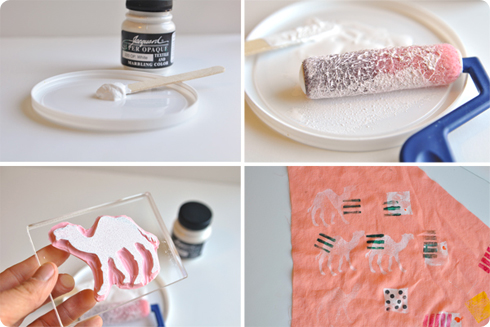
- Screen printing ink or fabric paint. I used Jacquard textile colors (opaque white and turquoise) for my layered print.
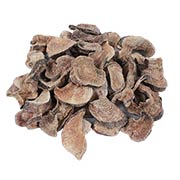
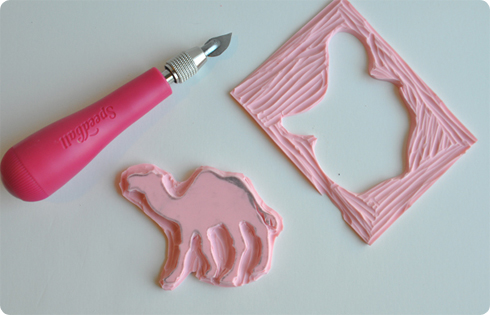
- carving block
- linoleum cutter
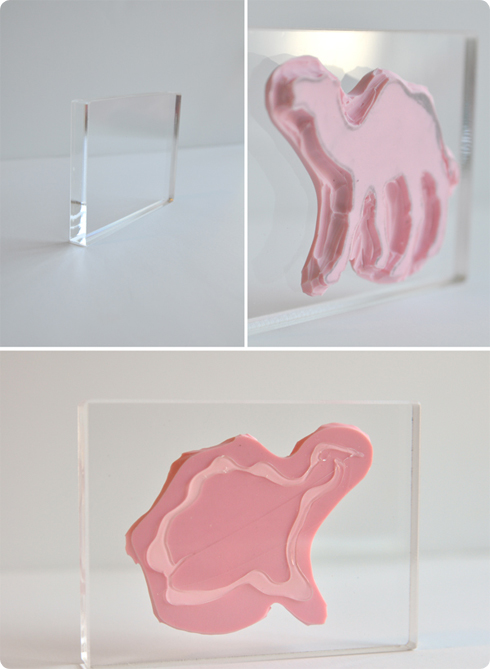
- acrylic mounting blocks
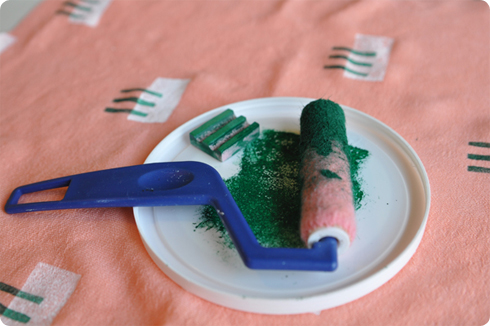
- brayer of some sort, I used the cheap little pink fuzzy one you can find a hardware store.
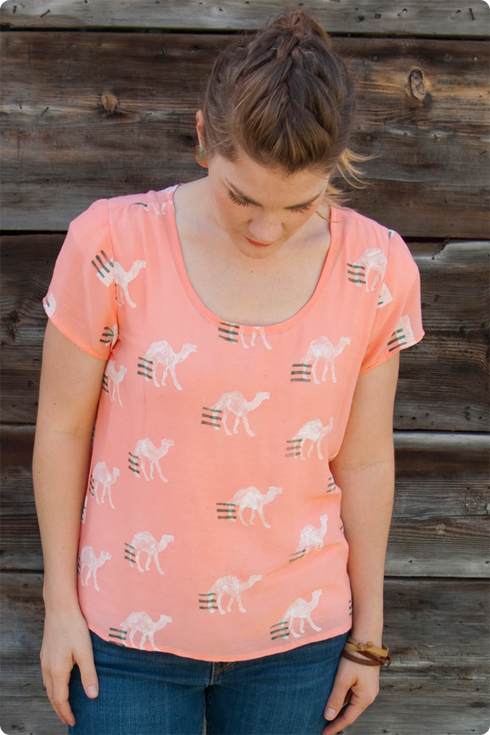
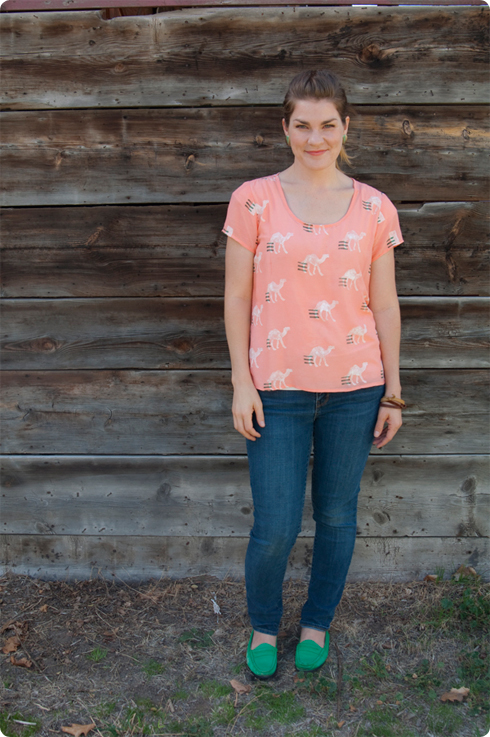
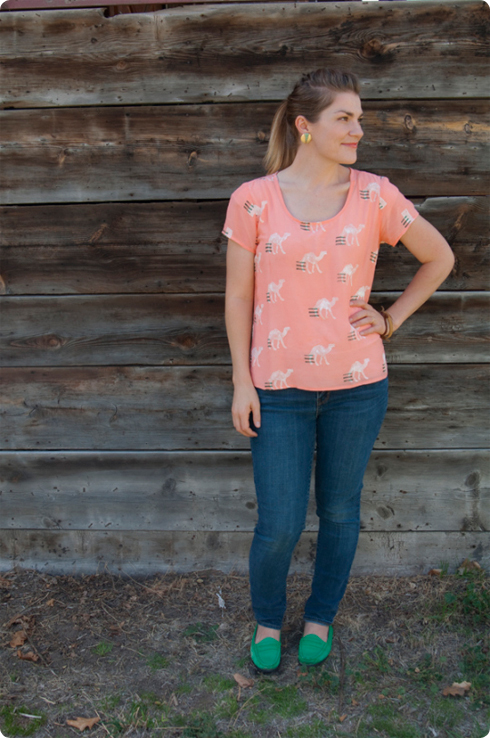
- blouse pattern. I used Grainline's Scout Tee, and am over the moon about it. It's so basic, but the shape and fit are perfect, and it comes together so fast. It's going into my favorite basic pattern rotation.
Let's get started!
Begin by dying your fabric according to package instructions. I still refer to Dharma's tub dying tutorial every time.
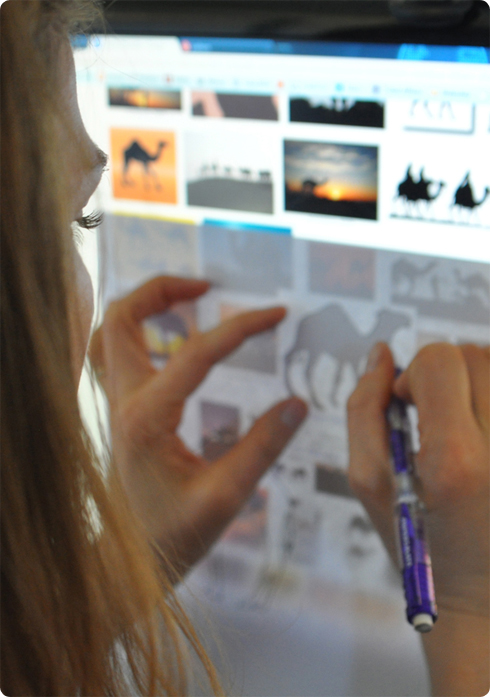
Draw your design onto your carving block. There are lots of ways to do this, but I'll tell you how I skinned this cat. I found the image I wanted, and then placed a sheet of computer paper directly on my computer screen and traced it with a pencil. The light of the screen makes this super easy.
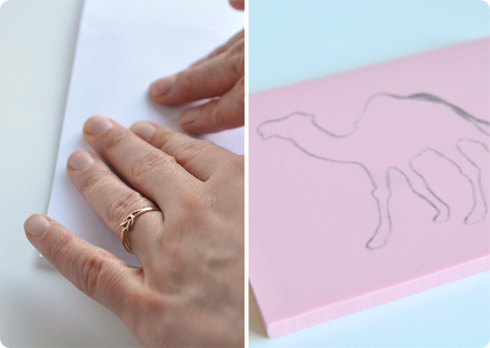
Then I placed my traced image (design down and centered) onto my carving block, and rubbed it firmly, being careful not to shift the paper at all. The design will easily transfer, but trace over it if you need to make it a little darker.
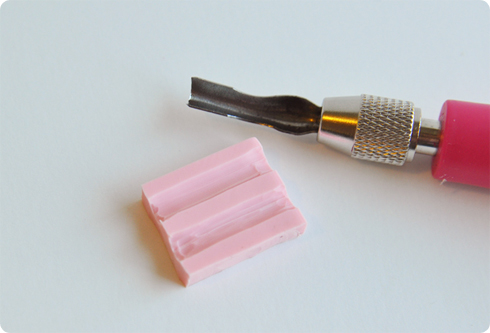
Now carefully carve around you design, always pushing the cutters away from you. I usually use the medium pointed tip for this. Once you have the direct outline you can go nuts and carve down everything around your design.
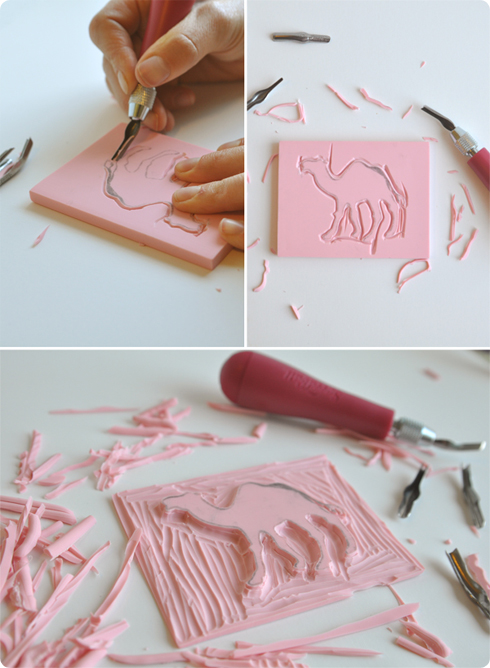
I found that once I carved down the rest of the block that my block was quite thin and flimsy, especially with my larger design. This is when a mounting block can be so useful!
I busted out my cutter again and cut the design from the block at about a quarter inch around it. *Note: If you have are planning on using the acrylic mounting block from the beginning (a good idea), you only need to shave down the carving block right around the design, and can skip carving down the whole block!
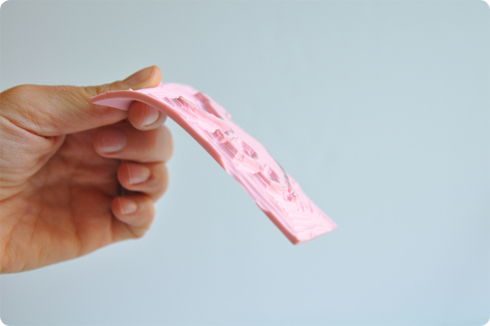
Then I simply glue the stamp to the acrylic block. (I used hot glue because it's easily applied and removed from both the carving and acrylic back, so I can reuse it again for different stamp projects.
My stamping techniques are pretty straightforward, but here are some of my tricks that help produce a really clean print.
- Plastic lids from something like an oatmeal container makes a great place to work from because it doesn't absorb the paint, and is easily cleaned.
- ALWAYS use a brayer or roller. This makes the biggest difference in producing a clean print!
- Roll the paint onto your stamp quickly and evenly
- ALWAYS do a test print to check your stamp (you may need to carve down a few areas that are still too high) experiment with your design, and find out your fabric's printing qualities. The tighter/finer the weave of the fabric, the cleaner your print will be. Finer weaves produce super clear prints whereas looser weaves like knits absorb a lot of the paint, and are less clear and neat. Because of this it's ideal to use very simple and larger designs for knits and larger weaves, and save the smaller more detailed designs for the tighter weaves.
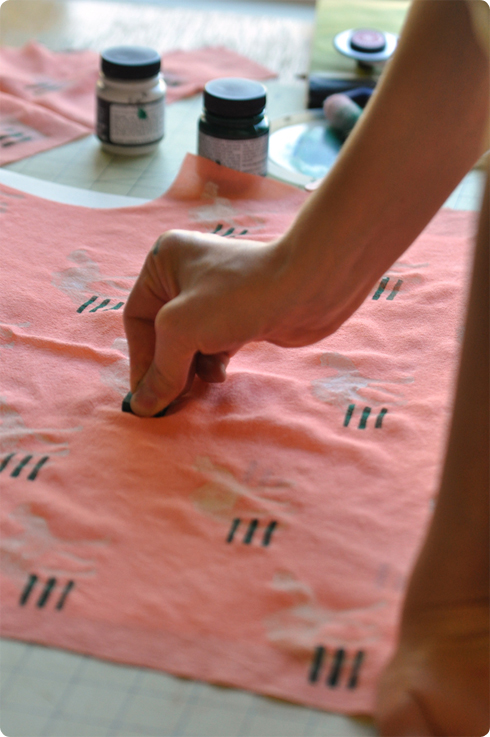
- When applying the stamp, press firmly and evenly and quickly. If you allow the stamp to be on the fabric for too long, the paint seems to adhere to the stamp and not the fabric and it results in a lighter print. You're not in a rush per se, but don't lollygag. The acrylic mounting block was so great for this, because the transparency of the block made it easy to position the stamp well.
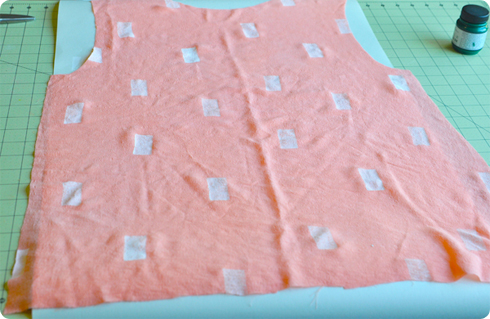
- I like to stamp my garment after I've cut it out, but before I've sewn it together so I'm just working with flat pieces. Have fun at this point customizing your printed design to the design of the garment.
- Sometimes it can be helpful to use quilter's tape or masking tape to help establish a grid when printing. (I didn't do that with this design, because I was going for an imperfect repeat.
One of my favorite parts of this shirt is the layered print. This is so fun and easy to create, just wait til your base design is dry, and then layer it with another design.
Heat set your delicious printing by ironing on the appropriate setting for your fabric, and then construct as your pattern indicates! As you can see, I printed different designs on the front and back of the blouse. I did the same thing with my llama tee, and love the look.

Is your mind blowing up with hand printing + garment construction projects ideas? I hope so, because I-made-this-on-steroids projects are such a blast, and hopefully now you can see that they're way less intimidating than you might think. And you can do as little or as much as you like! Maybe you just want to start with dying the fabric, maybe you're ready to give hand-printing a whirl. Or maybe you're thinking Dying, hand printing and sewing my clothes is not enough!! I'm gonna weave the fabric too!
This tutorial was provided by Miriam Tribe.


