


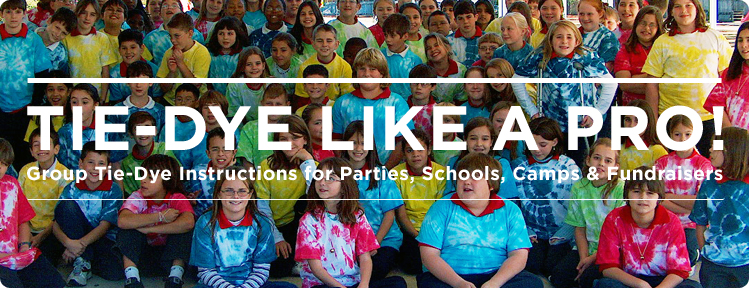
Tie-Dye Makes a Great Group Activity!
It's safe and fun for the participants and easy and inexpensive for the organizer.
Whether you're have a birthday party, a family reunion, fundraiser, camp group, a Boy Scout or Girl Scout troop, or a school class event, tie-dye is fun to do and everyone gets to go home with something to wear that will remind them of all the fun they had for years to come. From 10 at a party to 10,000 at a radio station parking lot fundraiser, we have helped plan them all!
The Soda Soak Tie-Dye Method is the best way to do tie-dye to have professional, bright and permanent results.
Let's get planning!
Step 1: Figure out how many people are coming.
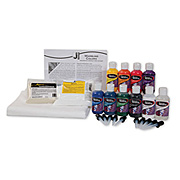
If 100 or less folks are coming, our Group Kits have all the basics. You can even customize the colors in the 50 and 100 person kits. All you need are the t-shirts or other dyeables and a few odds and ends like extra rubber gloves and squirt bottles.
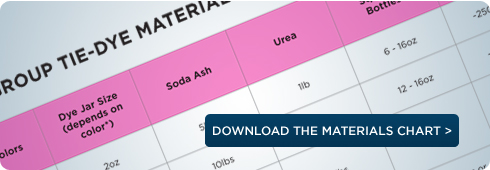
For 150 or more folks it is often less expensive to purchase supplies in larger sizes separately than to get multiple kits. We have a chart below to help you order.
Step 2: Decide on what everyone wants to dye.
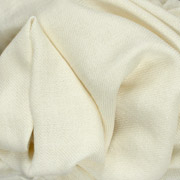
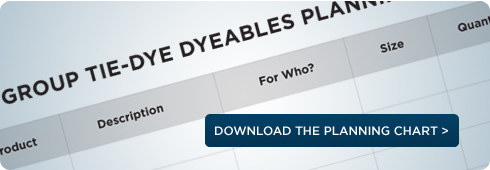
Our white clothing is 100% cotton or rayon and tie-dyes beautifully. We have everything from basic T-shirts to cute sun dresses and all very reasonably priced with quantity discounts. Use this handy chart to plan your dyeable list. If you do decide to get your clothing elsewhere, make sure it's not a polyester blend or some other synthetic fabric! You'll get a very washed out look, at best.
![]() Pro-Tip: Remember, some people will want to dye two or more shirts so plan for the number of items not just the number of people.
Pro-Tip: Remember, some people will want to dye two or more shirts so plan for the number of items not just the number of people.
Step 3: Pick your colors and supplies
For basic tie-dye we recommend the primary colors, which we include in our kits:
If your group has a special set of school or team colors be careful during application, the dye colors can mix when squirted next to each other, yellow + blue = green, orange + blue = brown, etc., and you don't want to end up with muddy looking shirts.
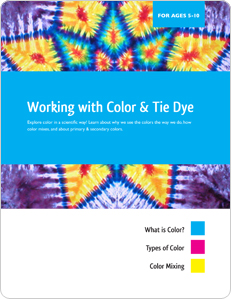
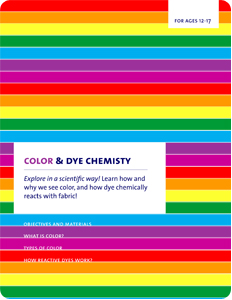
If you want to incorporate a color or chemistry lesson with your event check out our lesson plans for teachers and students.
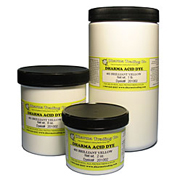
For groups of 100+ we suggest getting an 8 oz jar of each color as it is more cost effective than lots of little 2 oz jars. Groups of 200-300 will want 1 lb jars of dye. Reference this materials chart to make things easier!
PREPARATION (before the session starts):
It is best to have the tables all set up, covered with plastic, etc., before everyone shows up. Each work area should have newspapers, rubber bands, gloves, finger rinsing bowl, paper towels or a sponge, a bucket of premixed soda ash (allow about a gallon of soda ash mix for each 8-10 adult t-shirts (1 lb of soda ash makes 2 gallons), and squirt bottles of premixed dye in the selected colors. It is always best to use freshly made up dye, so you can mix it the morning of the class, or the night before at most. This allows for the brightest possible color. Mix the dye in bulk, like in gallon jugs with tight fitting lids, then use funnels to fill and re-fill the squirt bottles as needed.
An example:
Tie-dyeing 50 t-shirts in 3 colors, using 4 "stations" with 12 to13 students at each station:
Soda ash soak: 4 buckets, ~2 1/2 gallons each, will take 5 lbs of Soda Ash total'
Dye: 3 colors in 16 oz squeeze bottles will tie-dye 12-13 shirts at each station, unless people really pour on the dye - (so for 4 stations, you need 12 bottles)
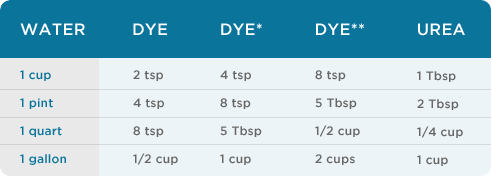
Use this as a guide to help you decide how much dye to mix up. Check the name of each color on the label of the jar, some colors need more dye, they are marked with an * or ** by the name. An already wet, tied up adult tee will absorb about 4 oz of liquid dye, depending on how much you apply. So 1 cup of dye (8oz) will dye 2 adult tees, 1 pint (16 oz) - 4 tees, 1 quart (32 oz)- 8 tees, and a gallon of dye will dye about 32 adult tees, so 3 gallons - 1 each of 3 different colors would obviously be enough dye solution to tie-dye about 100 adult shirts. With little kids tees, you can dye 2 to 3 times as many! Dresses would equal 2-3 adult tees, etc.
For our complete tie-dye instructions click here. For a downloadable PDF great for printing, click here.
PREPARATION (before the session starts):
You can demonstrate tying to the whole group first, showing them how to tie their garments, then have everyone do it at their station while it is fresh in their memory. Then all the shirts can be soaked in the soda ash 5-10 min. (Use gloves!) During that time you can demonstrate how to apply the dye on a pre-tied and soaked garment. Be sure to demonstrate how to get the dye into the folds! Then turn 'em loose! After garments are dyed, lay them all out on newspaper with plastic over the top to keep them damp for the damp curing process (min. 4 hours, ideal-overnight), making sure that shirts don't touch each other, or (easiest for teachers!) have each student put their garment in a zip lock plastic bag if they will be taking them home to wash. Our kits include a page of reproducible wash out instructions, 8 sets per page, so you can send everyone home with a little sheet. Then, have the students help clean up!
Caution!
The soda ash solution is mildly caustic - it can irritate your skin, a few folks may experience allergies from the dye powder. Wear gloves and eye protection. Rinse off at once to avoid eye and skin irritation. Always wear a dust mask when mixing dry dye and the Soda Ash!
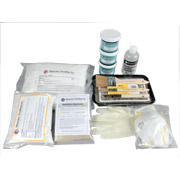
Things you might need:
If buying seperately for larger groups or to add to kits:
Other things you might need:
Zip-Lock Bags
Instructional Book or DVD - Large group kits come with a book.


