


Shopping list:
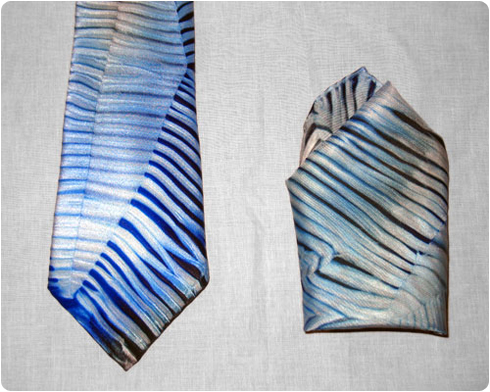
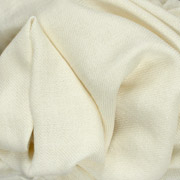
- Silk Charmeuse Necktie
- Men's Silk Handkerchief
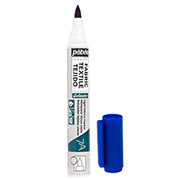
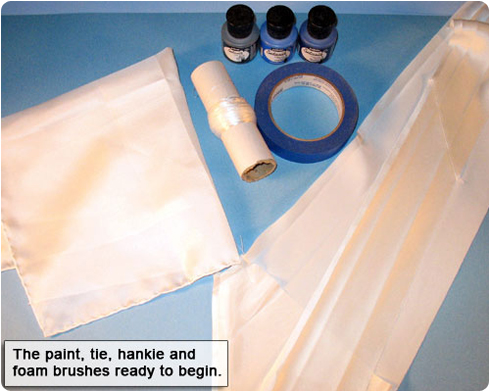
- Setasilk Paint - We used #12 Gitane Blue, #14 Azure Blue, & #26 Onyx
- 4 1" Foam Brushes
- 4 Small Empty Cups
- PVC pipe at least 2 to 4 feet tall with a diameter of about 6"
- Non fraying string (Unwaxed dental floss works)
- Masking tape
Let's get started!
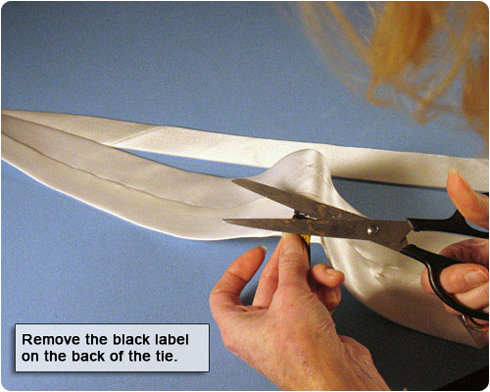
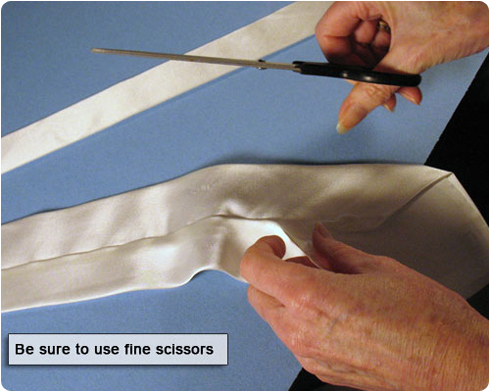
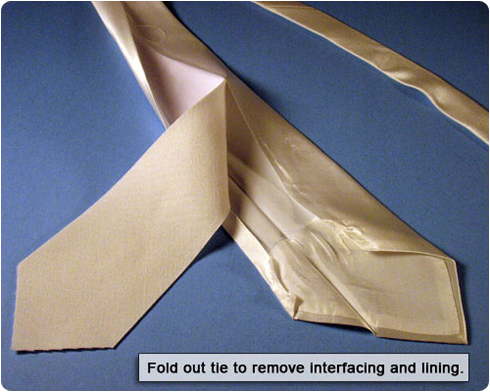
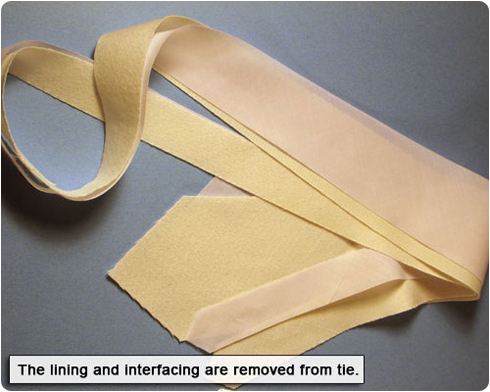
1. Gently remove the handstitching along the back of the length of the tie. The tie MUST be taken apart like this or it will end up lumpy (the silk will shrink, the interfacing will not, and the tie will be unwearable). Use fine scissors from the craft store. Remove the interfacing and lining but not the lining sewn around the tips of the tie. While you do this pay close attention to how the tie is constructed so that you can back track and restitch the tie back together by hand at the end of the project.

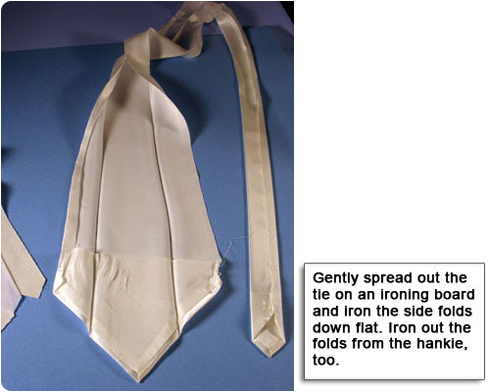
2. Gently spread out the tie on an ironing board and iron the side folds down flat. Iron out the folds from the hankie, too.
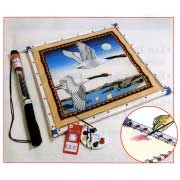
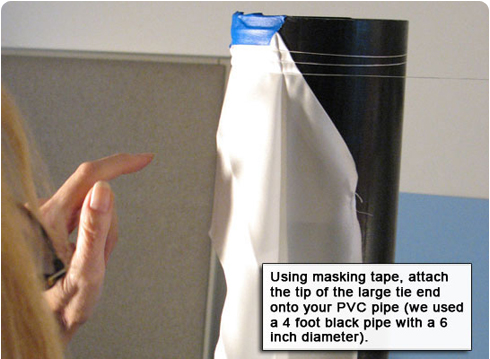
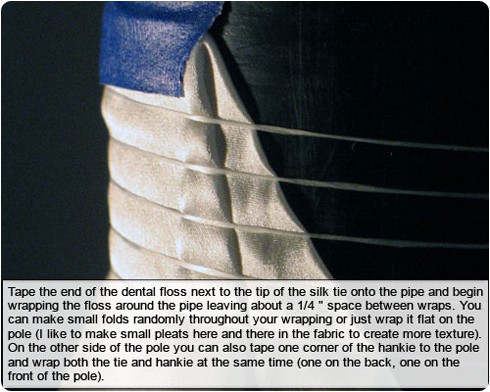
3. Tape the tip of the large end of the tie onto your PVC pipe. Tape the end of the dental floss next to the tip of the silk tie and begin wrapping the floss around the pipe leaving about a 1/4 " space between wraps. You can make small folds randomly throughout your wrapping or just wrap it flat on the pole (I like to make small pleats here and there in the fabric to create more texture). You can also tape one corner of the hankie to the pole and wrap both the tie and hankie at the same time.
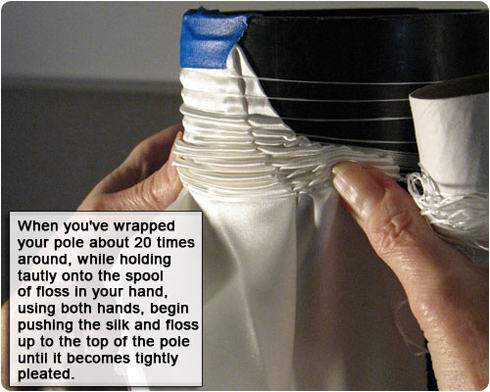
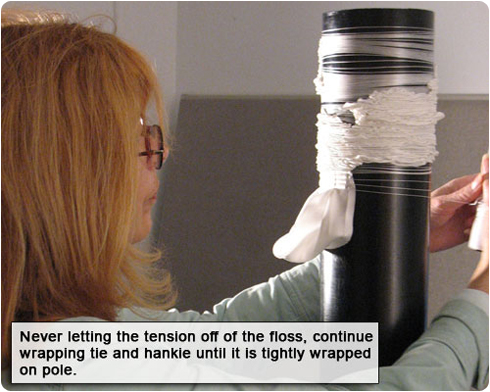
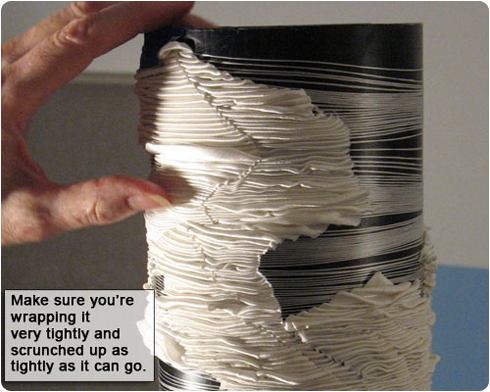
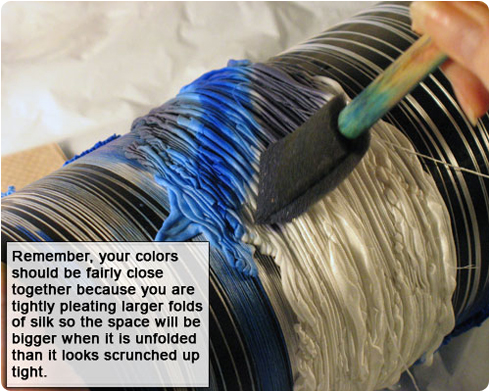
4. When you've wrapped your pole about 20 times around, while holding tautly onto the spool of floss in your hand, using both hands, begin pushing the silk and floss up to the top of the pole until it becomes tightly pleated. Continue wrapping tie and hankie until it is tightly wrapped on pole.

5. Pour about 3 tablespoons of each color paint into 3 containers. Use the fourth container for clear water. At this point you can dilute slightly if you want lighter colors or use as is.
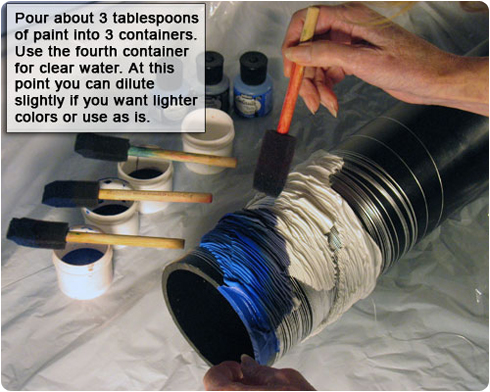
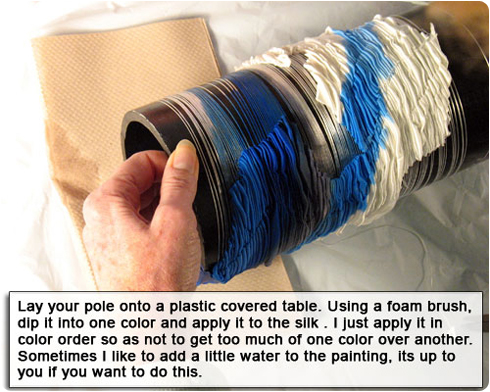
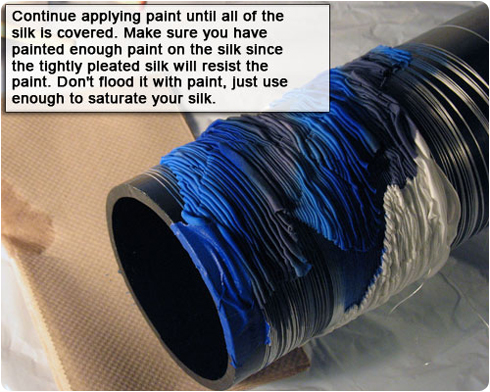
6. Lay your pole onto a plastic covered table. Using a foam brush, dip it into one color and apply it to the silk (see photo). I just apply it in color order so as not to get too much of one color over another. Sometimes I like to add a little water to the painting, its up to you if you want to do this. Continue applying paint until all of the silk is covered. Make sure you have painted enough paint on the silk since the tightly pleated silk will resist the paint. Don't flood it with paint, just use enough to saturate your silk.

7. You can either just allow your silk to dry on the pole or you can set it out in the sun to dry. How easy is that! I like putting it in the sun because it will form darker "marbled" lines and add more interest to the piece. While it is drying in the sun, turn the pole so all sides will react with the sun and display this added "marbled" darkness.

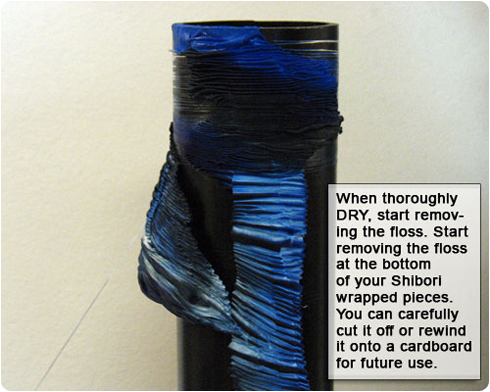
8. When thoroughly DRY, start removing the floss. Start removing the floss at the bottom of your Shibori wrapped pieces. You can carefully cut it off or rewind it onto a cardboard for future use.
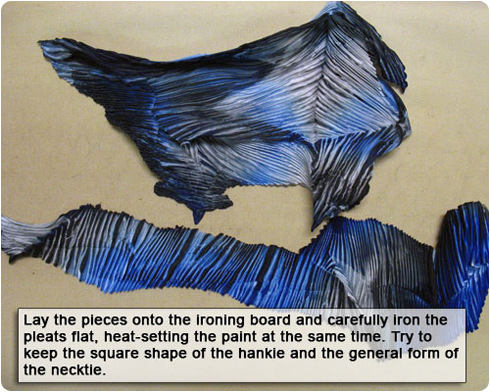
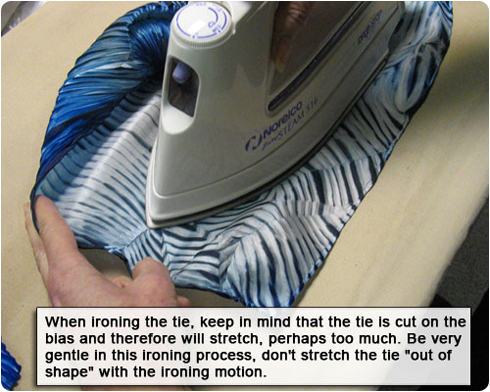
9. Lay the pieces onto the ironing board and carefully iron the pleats flat, heatsetting the paint at the same time. Try to keep the square shape of the hankie and the general form of the necktie. When ironing the tie, keep in mind that the tie is cut on the bias and therefore will stretch, perhaps too much. Be very gentle in this ironing process, don't stretch the tie "out of shape" with the ironing motion.
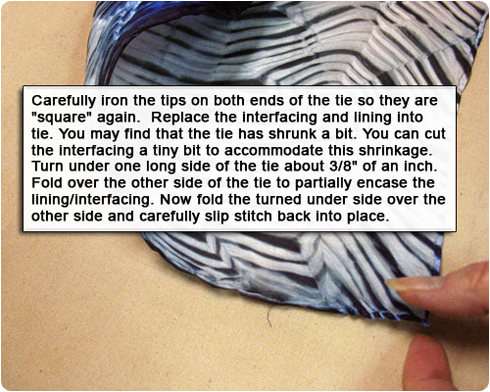
10. Replace the interfacing and lining into tie. You may find that the tie has shrunk a bit. You can cut the interfacing a tiny bit to accommodate this shrinkage.
11. Turn under one long side of the tie about 3/8" of an inch. Fold over the other side of the tie to partially encase the lining/interfacing. Now fold the turned under side over the other side and carefully slip stitch back into place.