


Holiday Photo Transfer Placemat

For most of us the Holiday season usually entails gorging oneself on many home-cooked meals (or gorging others if you are a mother). What better way to mark the occasion than with customized table settings! Following is an easy and fun way to create a lasting memento for everyone, and it couldn't be easier.
Materials:
Shopping list:
Let's get started!
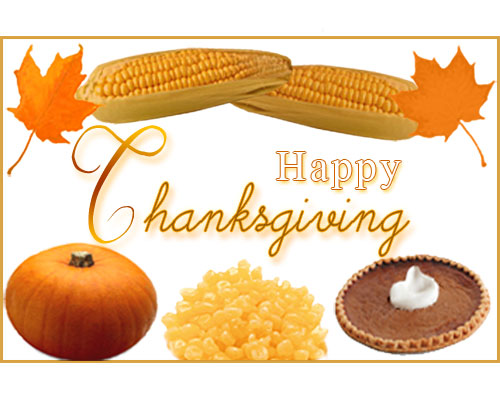
1. Pick out some images to transfer onto the placemats and coasters. If you like the holiday theme, grab some
pics of autumn leaves, turkeys, Santa, whatever. Get your images into your computer by whatever means necessary
(we don't recommend beating them in). Cool idea: use your camera to snap photos of your dinner guests so you can
arrange the seating at the table with personalized photo placemats!
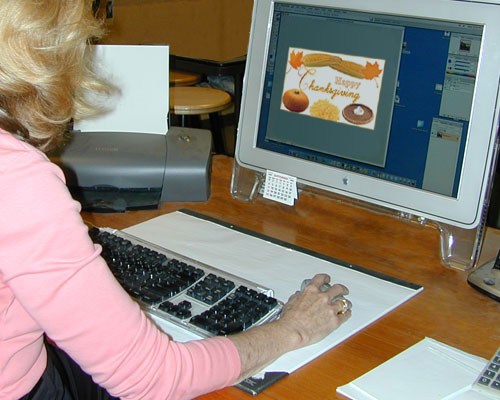
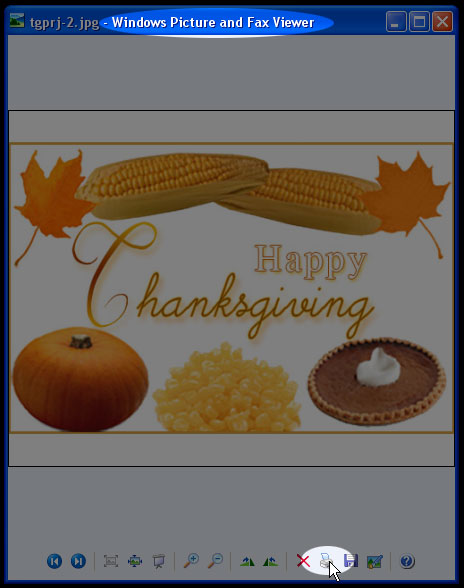
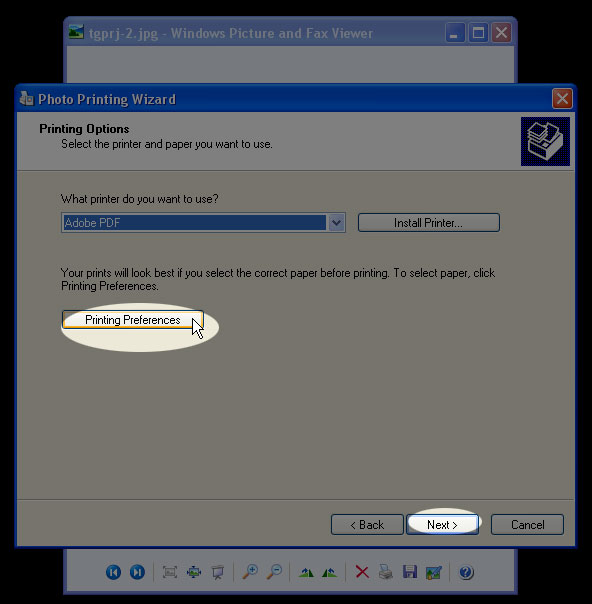
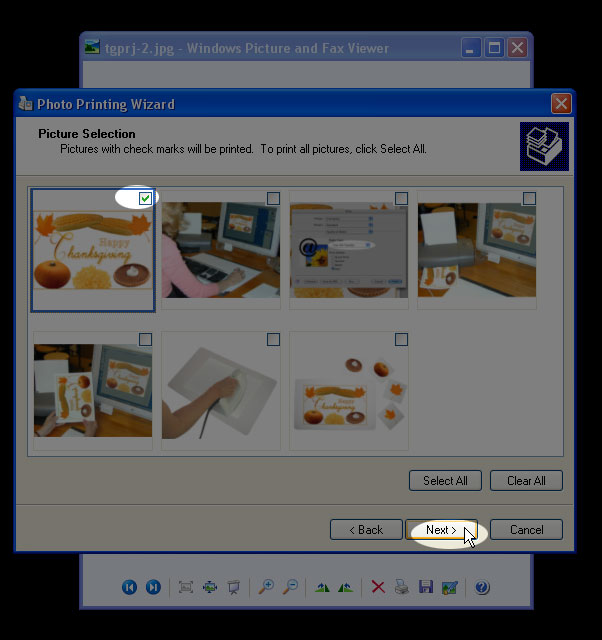
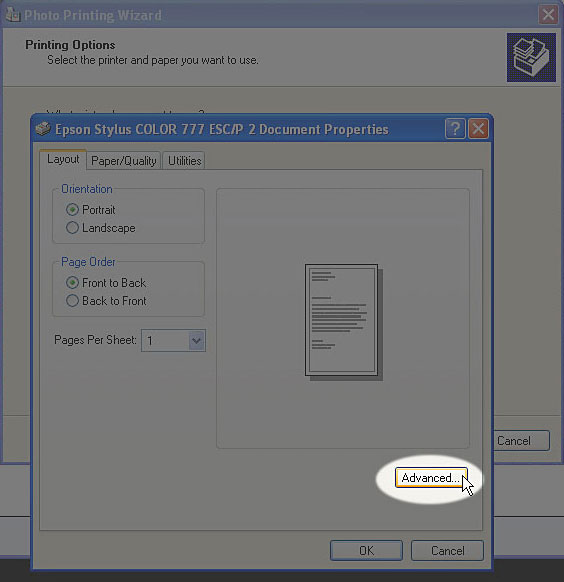
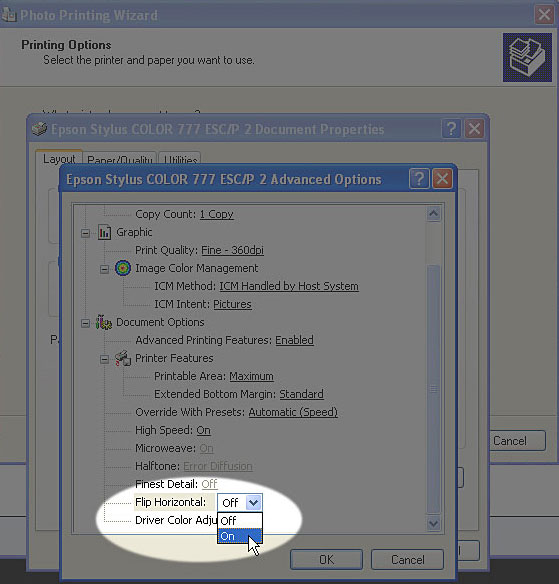
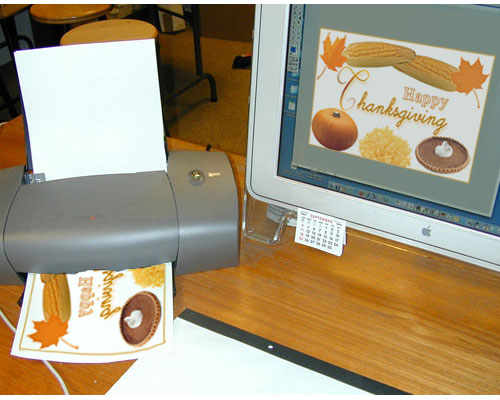
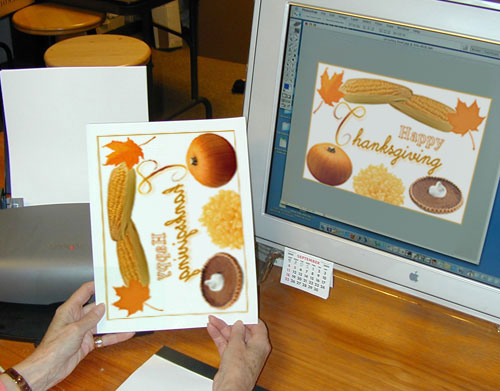
2. Make sure you reverse your images before printing (follow images 1-5 below) or select the inkjet transfer mode (shown in image on right) on your computer when you choose your printing paper selection or your image will end up backwards! Also, check your print setting and make sure it is on the 360 dpi or normal setting. Usually a good idea to print a test onto regular printer paper to make sure the quality and picture are what you want. Please note: your images and text should be backwards on the paper!

3. Print your image onto the coated side of your transfer paper.
4. Cut out the images to be transferred from the transfer paper and place the image photo side down onto the placemat or coaster.
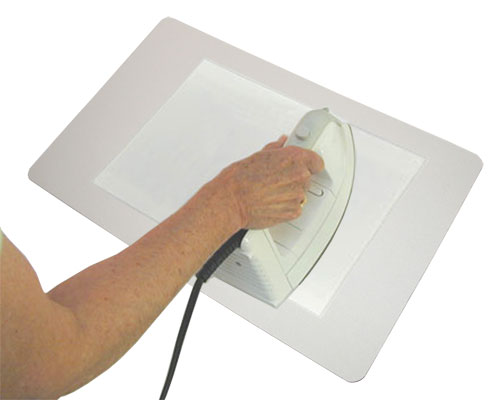
5. Place a parchment paper or a piece of plain paper on top of your transfer paper and iron your transfer with firm pressure for 3 minutes using the cotton heat setting with NO STEAM. Make sure to cover all areas of your image with the iron. Continue to iron until the corners of the paper start to curl and the paper comes up easily. If the paper sticks while carefully peeling the paper off, continue to iron and press until the paper comes up easily. Allow the transfer to cool slightly, then remove the paper backing. Your image should now be transferred to the coaster or placemat, and appear correctly.
6. Sit back and enjoy your personalized, holiday specific table settings.


