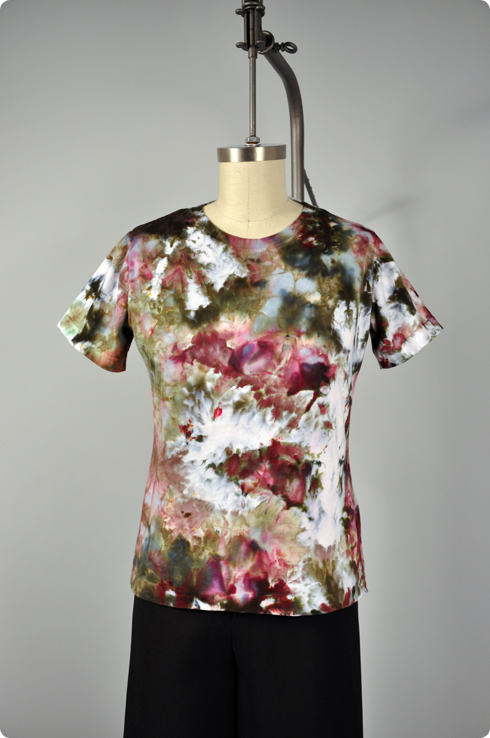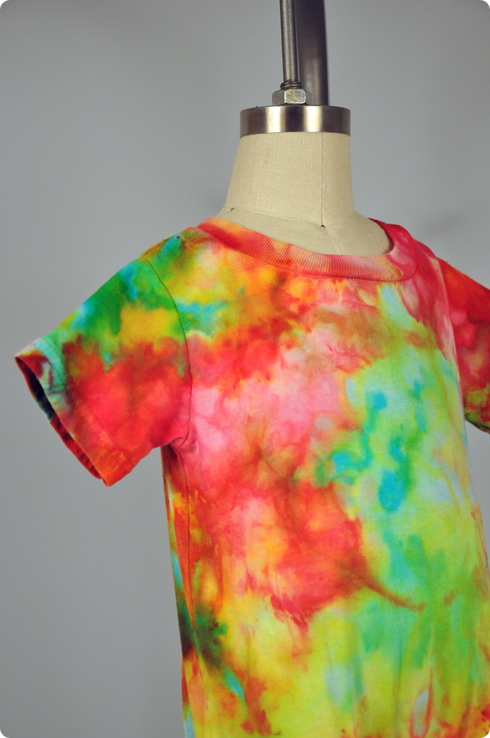
We Dyers like to chill out!
We got the idea for ice dyeing from folks who were sharing their snow dyeing projects with us. With ice dyeing you don't need to depend on Mother Nature providing any snow, just get some ice, dye and a bucket and you are off to the races! (But obviously snow works too) This technique is great for unique dyed garments or for one-of-a-kind dyed fabric for quilting.
Shopping list:
- Fiber Reactive Procion Dyes: we used #141, 145, 150, 3, 12, 29, 140 and 20
- Soda Ash Fixer
- Dharma Dyer's Detergent
- Dust Mask
- Protective rubber gloves
- A dish tub or two
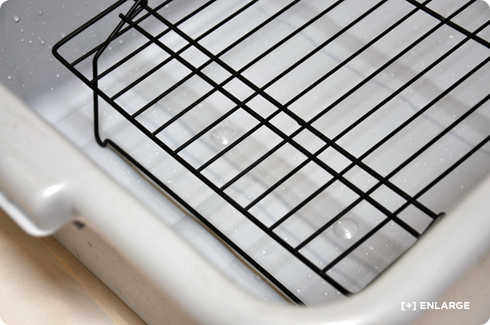
- Cookie cooling racks (or something similar)
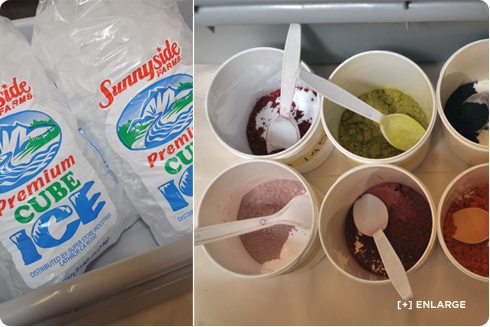
- Ice: cubed or crushed (we used about 10 lbs)
- Items to dye: we used an infant romper, 3516-WHIT- Ladies Tee, KC45- Kona Cotton 45"
Let's get started!
Pre-wash your garments or fabric with the Dyer's Detergent. This will remove any fabric softeners, oils, dirt, etc that might have gotten on your dyeable blanks or fabrics during manufacturing or through handling.
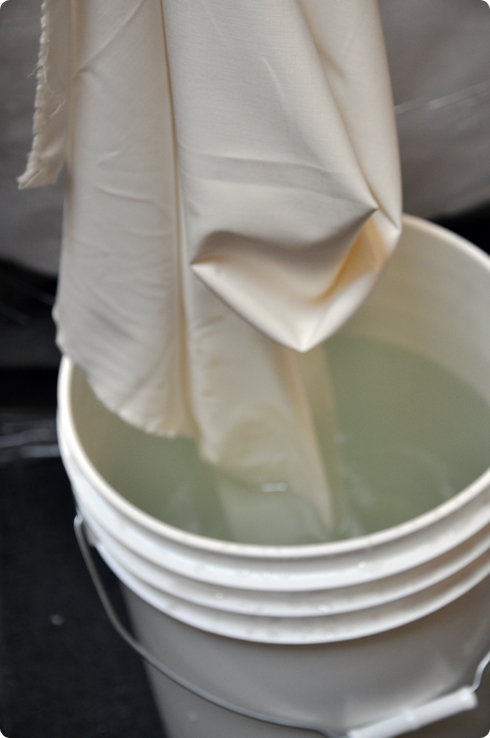
Mix up your soda ash, 2 cups per gallon of water, and add in your dyeable items. Let them soak for about 15 min. Pull them out and squeeze out the excess solution (wear good rubber gloves). You can save the soda ash for more dyeing later.
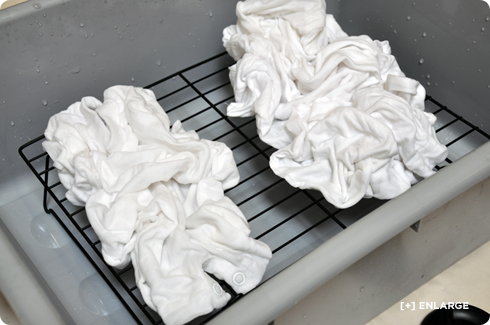
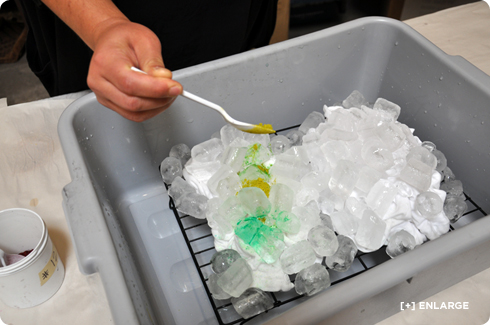
Place your cooling rack in a tub (we used this for the shirt and baby romper).
Scrunch up your soda-soaked dyeables randomly and put them on the rack. If you want to, you can pleat them or tie them up more like tie-dye. It's up to you.
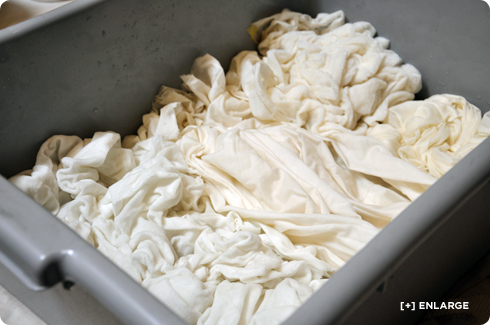
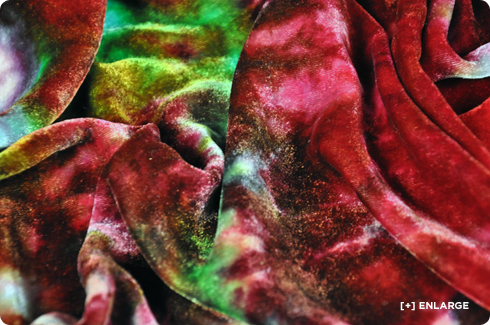
For the fabric we roughly pleated the Kona Cotton and scrunched some remnants of Silk/Rayon Velvet and Cotton Velour to fill the bottom of the tub.
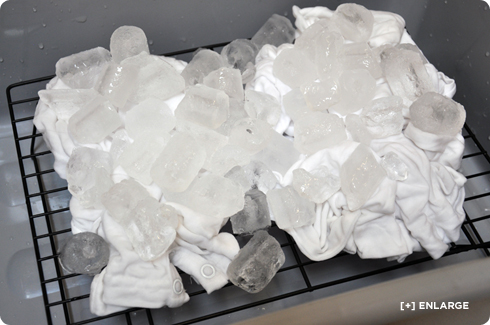
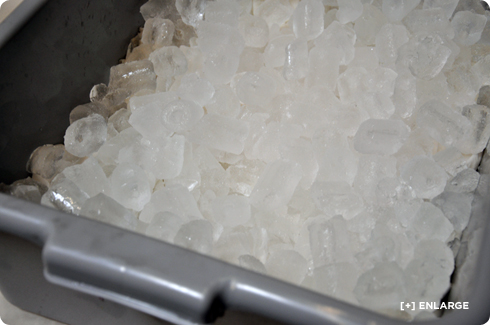
Next, cover everything in ice. We used one 7.5 lb bag of regular cubed ice on the fabric and about half a bag on the shirt and romper.
Pro-Tip: You want to cover the dyeables as much as you can, as areas with no ice will likely end up staying white as the ice melts. Crushed ice may make it easier to cover everything without the ice falling off.
Time to put the dust mask on! We are going to be using the dye powder and we want to be safe about not inhaling any fine particles of dye.
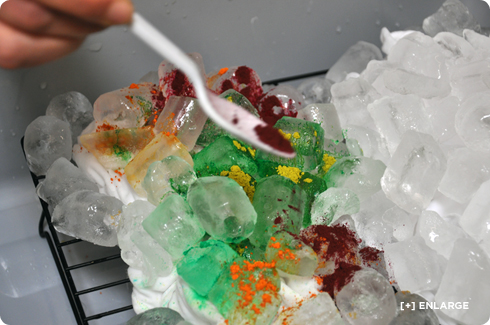
Grab your first color and start sprinkling the dye powder on the ice. Be as random or as specific as you want with how you spread the dye. Remember, as the ice melts colors will mix and blend as they hit the shirt. So if you put yellow and blue together, you will get greens. On the other hand, part of the fun is that "mix" colors will split up a bit into their component colors, giving you neat effects. You can use this to your advantage when choosing your colors.
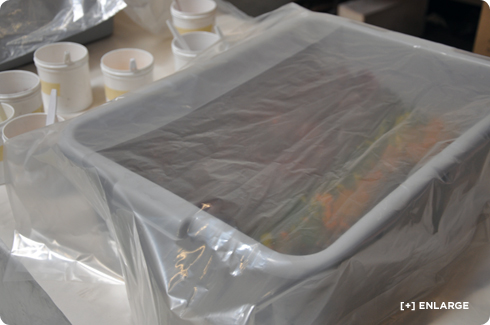
Once everything is sprinkled to your liking, cover the tubs with some plastic and let the melting progress. Putting the tubs in a warm place can speed things up. Let it all sit this way for 24 hours after the ice melts.
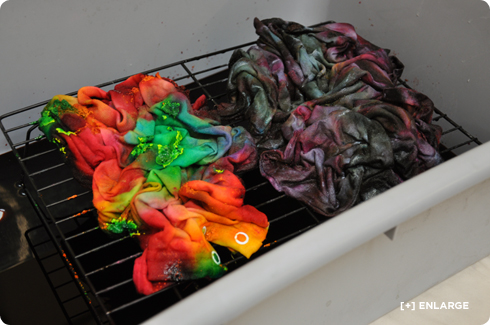
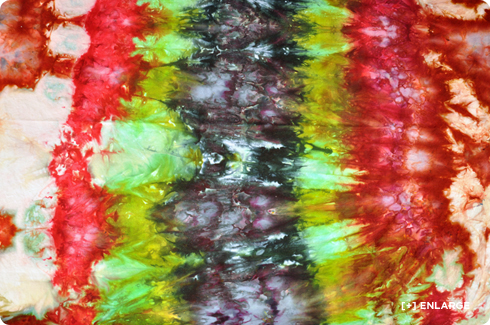
When you come back 24 hrs later, your items will look like this:
The fabric in the tub may look like a big pool of black or brown colors. Don't worry, it isn't going to end up all muddy, we promise. The items that were elevated so the melt water could drain away are a little less scary looking.
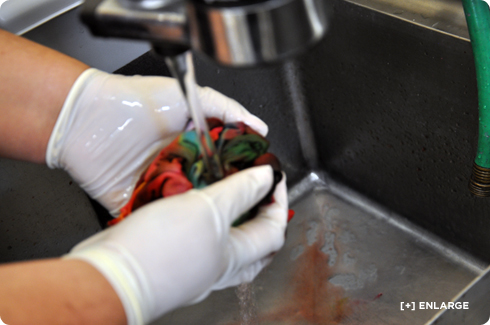
Take your tubs over to the sink and start rinsing your items in COLD running water. Rinse until the water is running mostly clear.
Finally, toss everything in the wash with HOT water and Dharma Dyer's Detergent. Dry and wear your ice dyed garment! Or cut and sew your ice dyed fabric!
