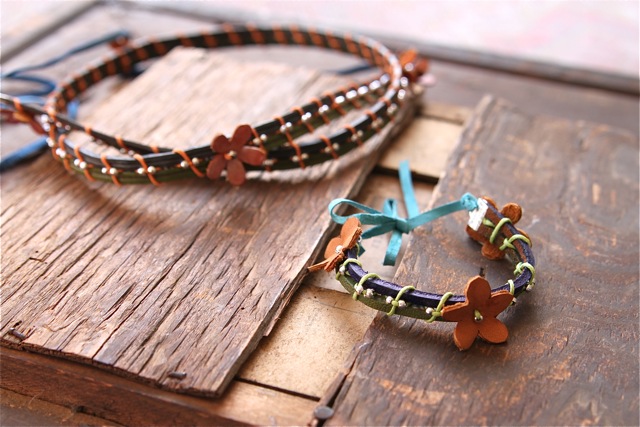
With this tutorial you can make bohemian-inspired accessories using ordinary leather shoelaces just like the headband Boo wore in the second week of Project Run and Play:
Shopping list:
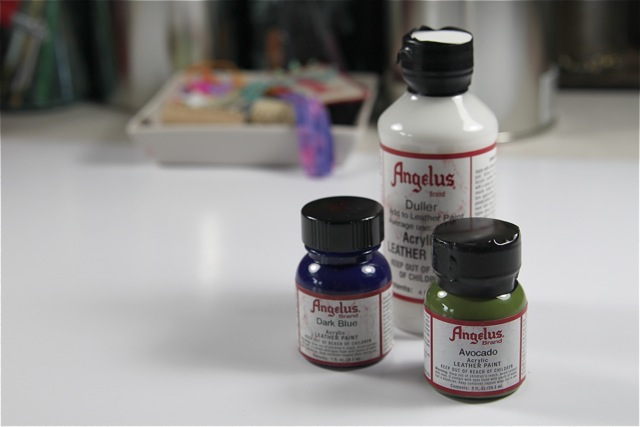
- Angelus Leather Paint
- Angelus Duller (if you want more of a matte finish to the paint)
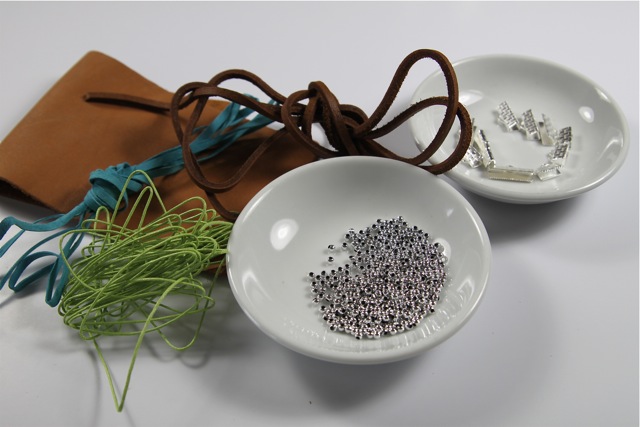
- Leather "latigo" laces (1/8" wide)
- Sueded laces (these come in a variety of colors....mine was turquoise)
- 3mm beads (I used 3mm silver plastic pearl beads)
- Ribbon clamps
- Soft leather trim (you can purchase this at a craft store or upcycle from an old purse or jacket)
- Waxed cotton cord (these come in a variety of colors....mine was lime)
Let's get started!

In this tutorial, I make a shorter version of the headband resulting in a bracelet. You could also make a belt, keychain...so many options just by varying the length of the braid.
Here's what I used to make mine...most supplies can be found at your local craft store in the jewelry section and the leather paints are available through Dharma Trading:
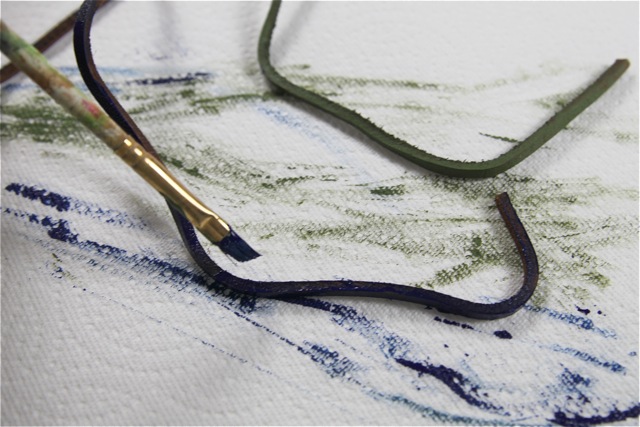
Step 1: Paint the leather laces using the Angelus leather paint.
Note: I used a light coat so that some of the original leather color showed through to give it a distressed look.
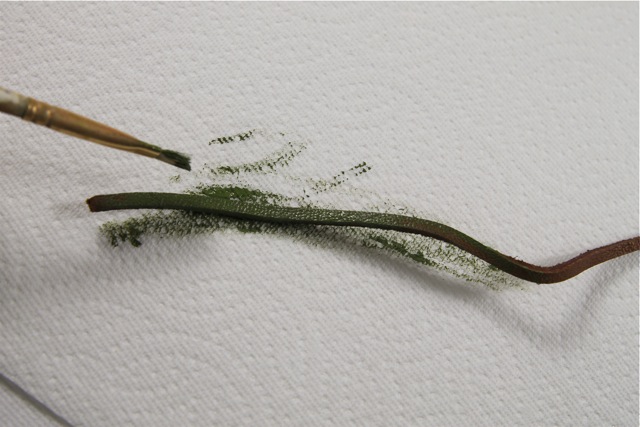
Paint both pieces and allow to dry for about 15 minutes.
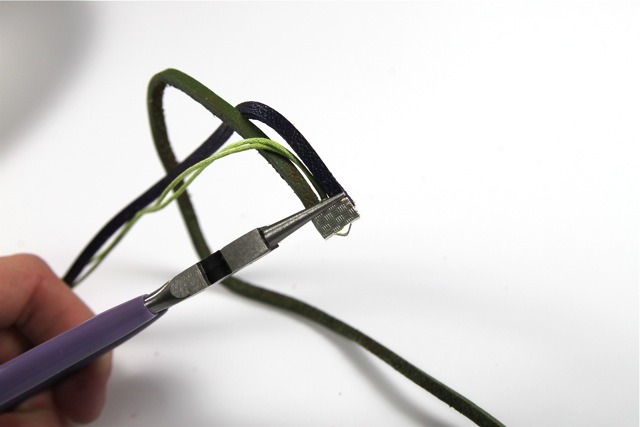
Step 2: Cut two long pieces of waxed cord and sandwich them together between the 2 leather pieces and apply your ribbon clamp:
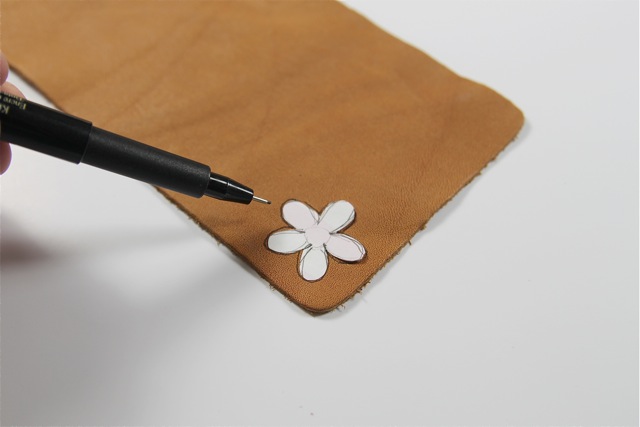
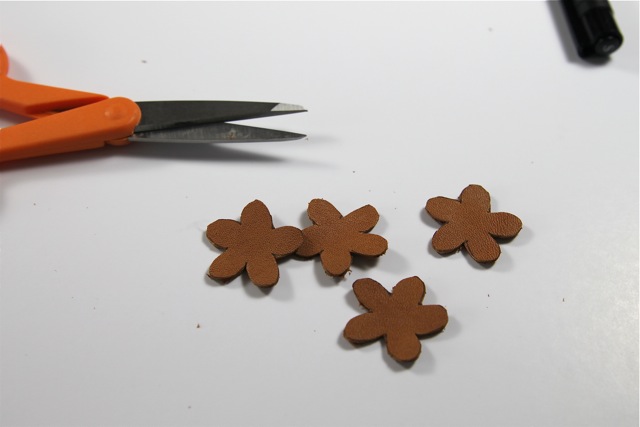
Step 3: Draw out a few flowers onto the soft leather trim piece.....
.....and cut them out using detail scissors:
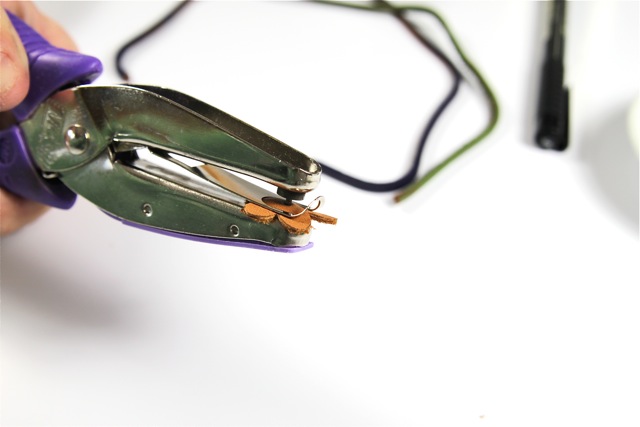
Step 4: Punch a small hole into the center of each leather flower (you can also punch a hole through using a small nail and a hammer):
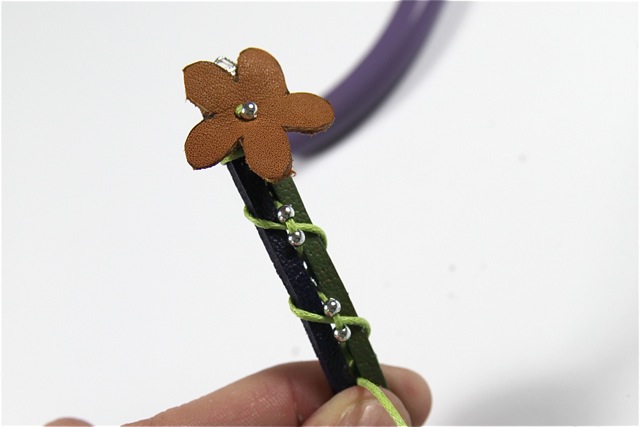
Step 5: Take one piece of the waxed cord and place it through one of the flowers. Follow the flower with a bead.......
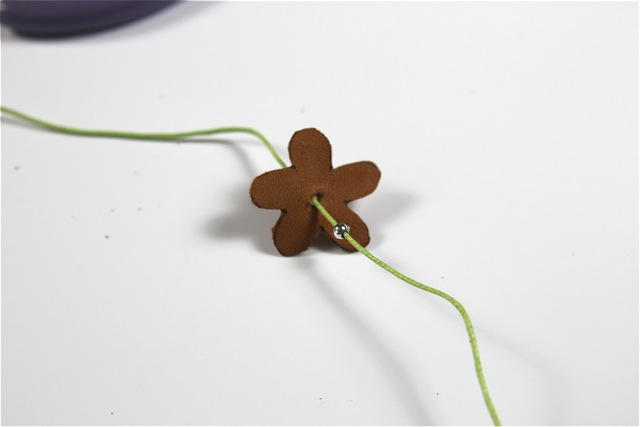
....and then thread the cord back through the hole in the flower. Work the cord through the bead and flower until it is flush with the top of the clamp. The bead will keep the flower in place:
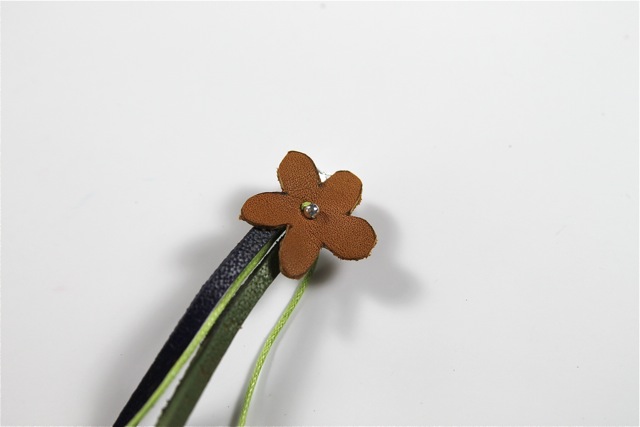
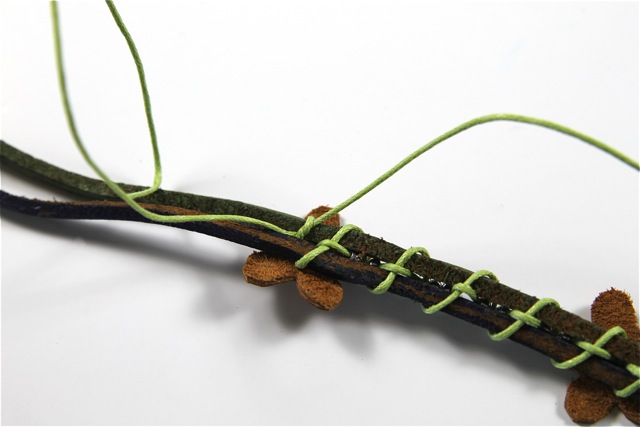
Step 6: (Note....this might get a little confusing but once you see all the photos it will start to make sense.) With the flower in place, follow the flower with 2 more beads. Take the 2nd piece of waxed cord and wrap it around the back left of the 2 leather pieces.
The 2nd cord piece will go under the 1st cord piece with a single bead settling on either side as shown. The 2nd cord piece then wraps around to the back again and to the other side where it began, going under the 1st cord piece:
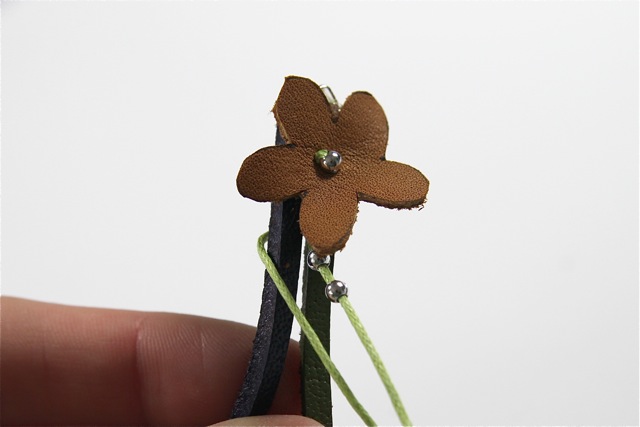
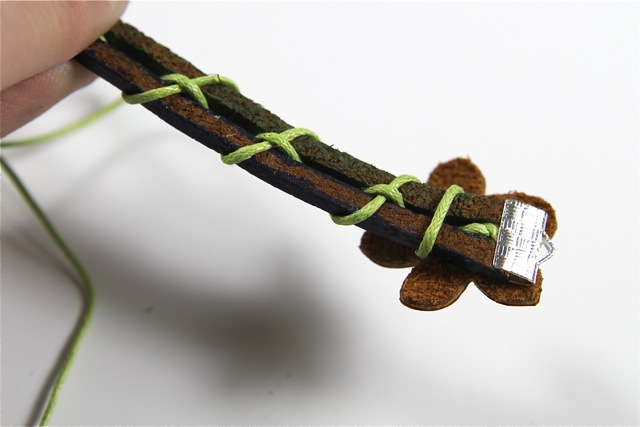
Step 7: You will repeat Step 6 over and over again and the top will look like this:
The back will begin to look like this:
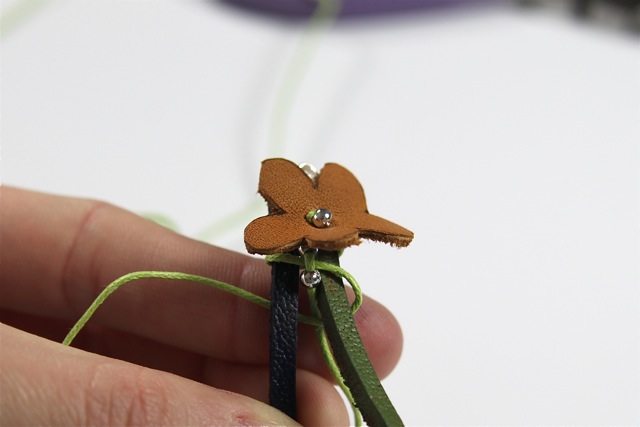
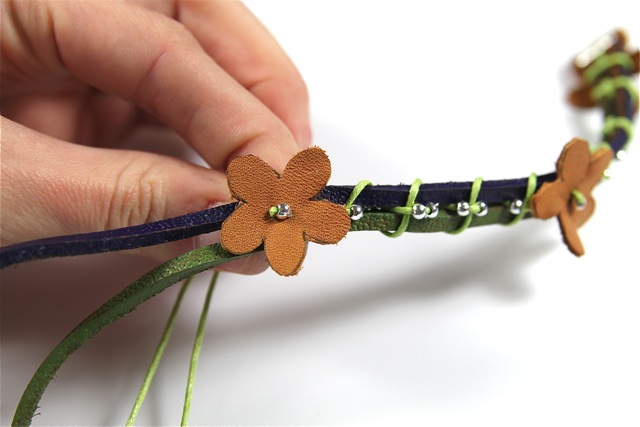
Step 8: Whenever you want to add a leather flower just add it onto the 1st cord piece instead of the 2 beads, follow the flower with one bead......
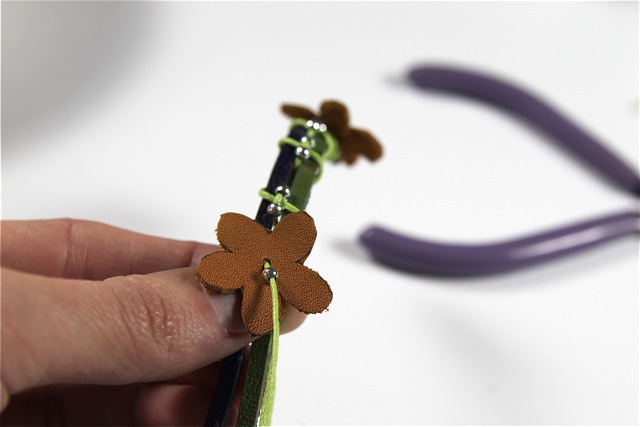
.....and then thread the cord back through the same hole like the first one you did. Continue the beading and braiding as in Step 6.
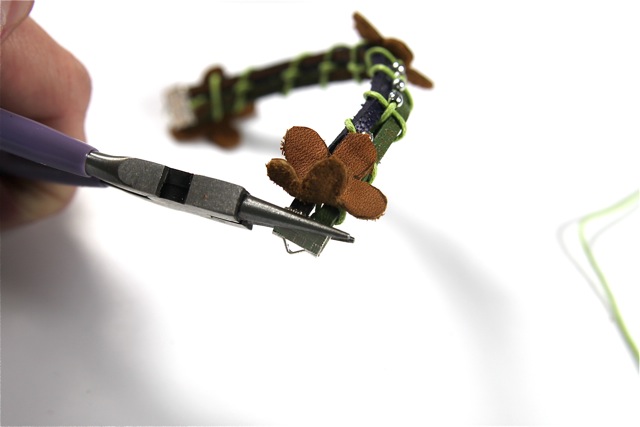
Step 9: Once your braid is as long as you want it, tie off the cord....
....and add a ribbon clamp to the end making sure to secure both pieces of leather and the 2 pieces of cord:
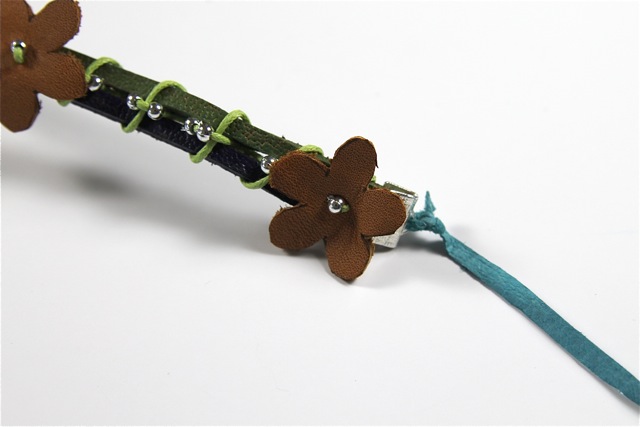
Step 10: Tie a piece of suede lace to each ribbon clamp:
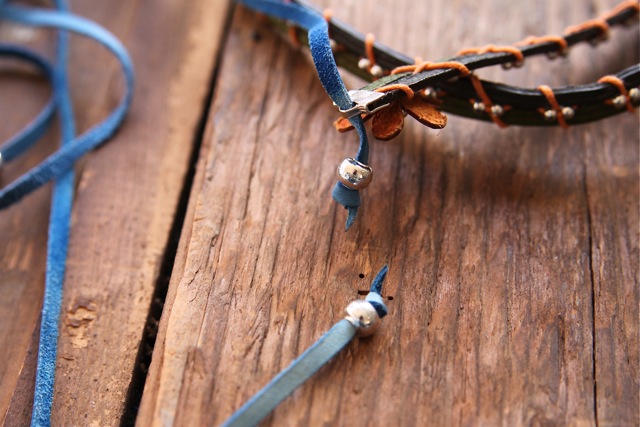
You can also decorate the suede lace with a bead if you don't want to tie it directly to the clamp:
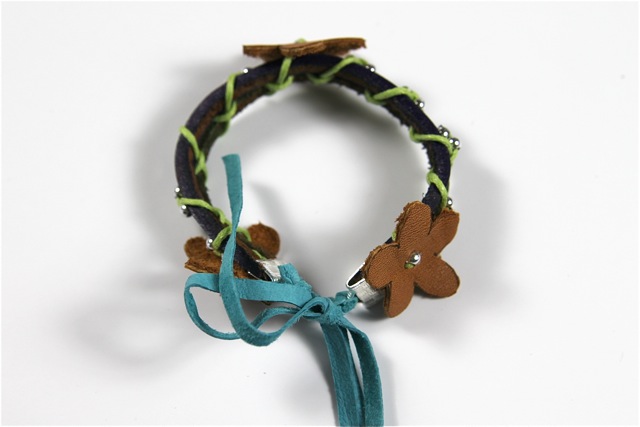
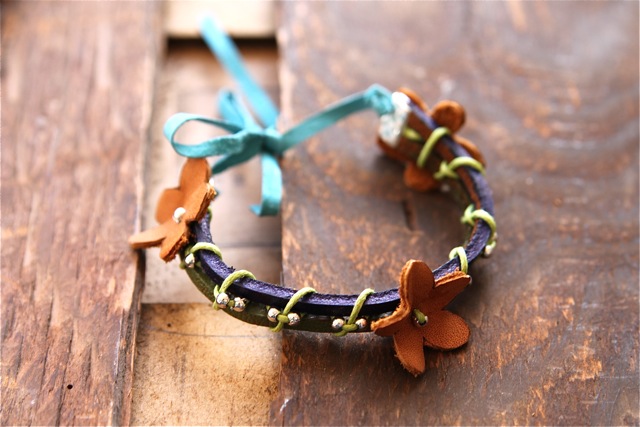
A finished braided leather bracelet....made from latigo laces!