


Let's get started!
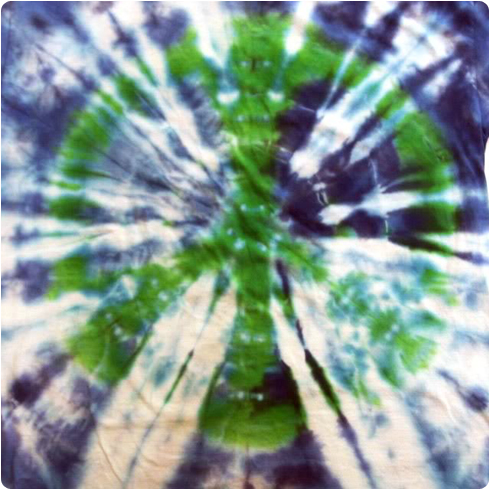
Since peace signs are back I wanted to come up with an easy way to tie dye one. I like how the result was a starburst effect.
I've been brainstorming for a week or so with this napkin in my car on how I wanted to do it....folding and refolding the peace sign while sitting at stoplights:
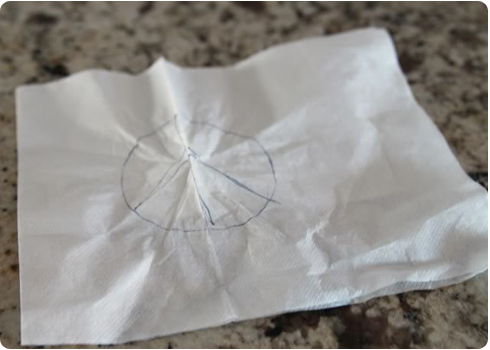
So here's what I came up with.....peace sign tie dyeing....origami-style:
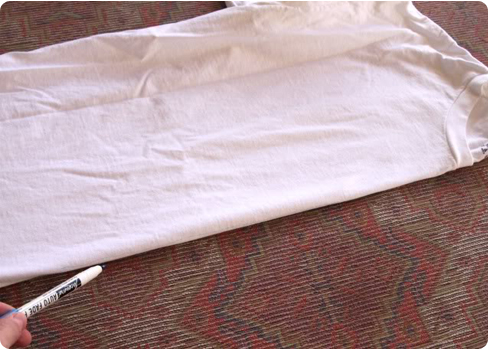
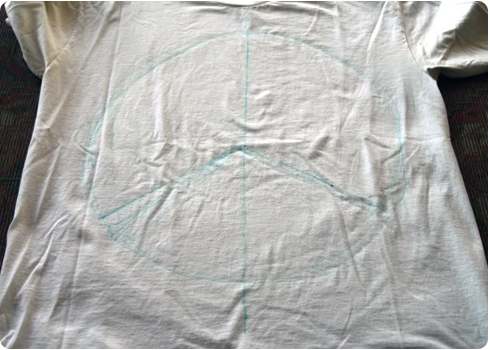
Step 1: Take your shirt or fabric and fold it in half and mark the center of the shirt with a disappearing ink pen:
Open the shirt up and draw a large circle around the center line to estimate how large you want the peace sign to be (it doesn't have to be perfect):
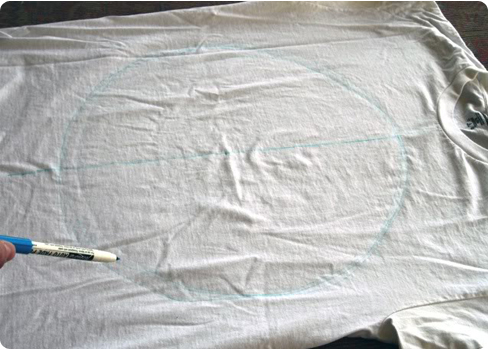
Starting at the center of the circle draw the two legs to your peace sign (again, these don't have to be perfect....they will just be guide lines):

Step 2: Once you are happy with the size and placement of your peace sign.....
....refold your t-shirt in half.
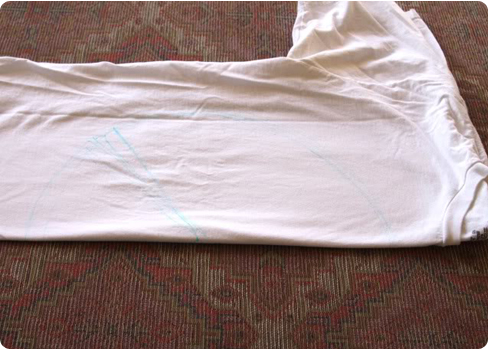
Take the bottom front center of the tee and fold it up to meet the "leg" of the peace sign:
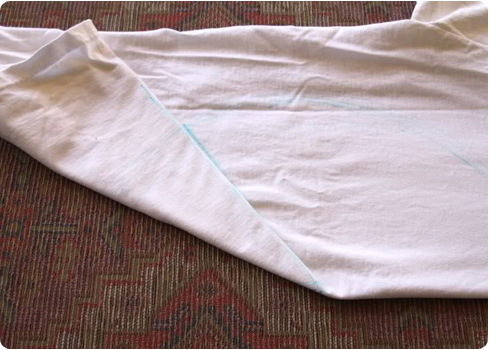
Next take the center of the neck and fold it down to the "leg" as well so that the two edges meet:
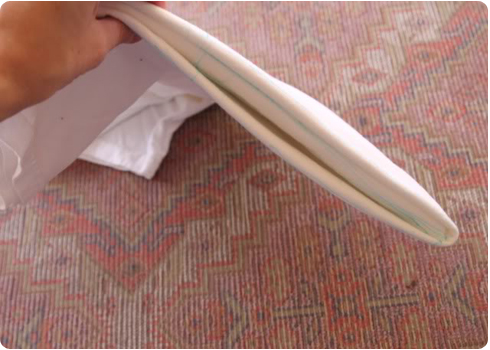
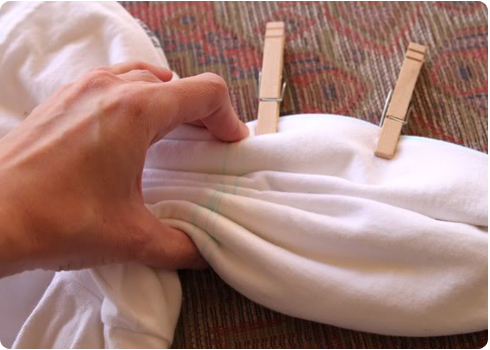
Step 3: Pinch where the edges meet and pull the shirt upward.......
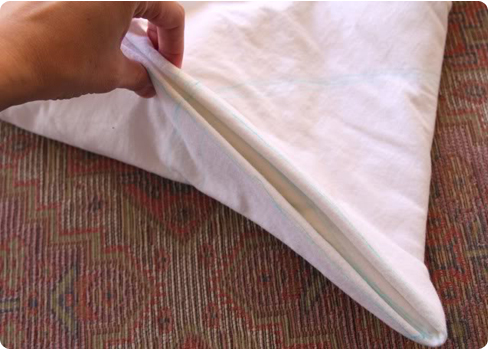
........so that the shirt folds in half:
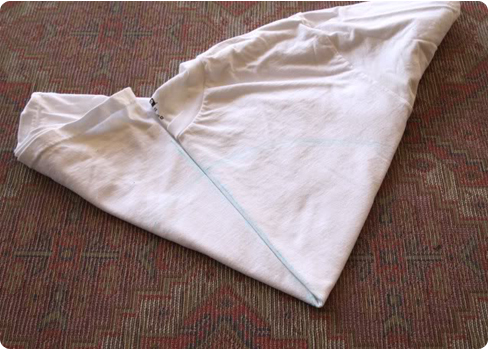
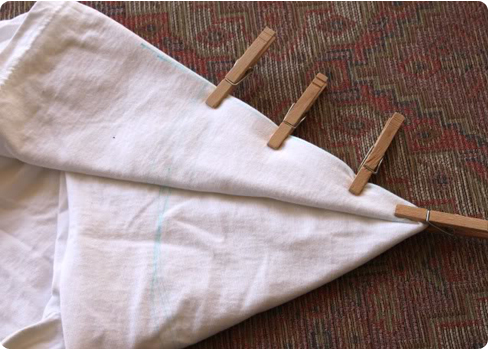
Use clothes pins or large safety pins to hold the edges where your two legs and center line of the peace sign meet:
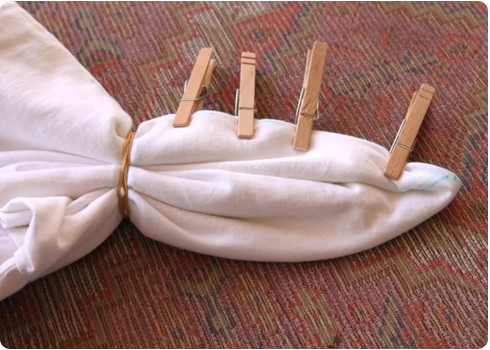
Step 4: Starting gathering at one edge of the line indicating the outer circle of the peace sign......
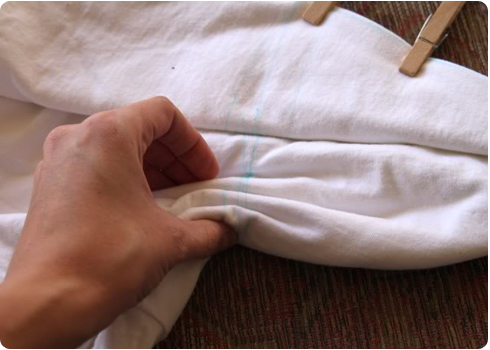
.....and gather all the way across to the other side......
......and secure it with a rubber band (as you add more rubber bands make a mental note of THIS band so that you know which one to dye)
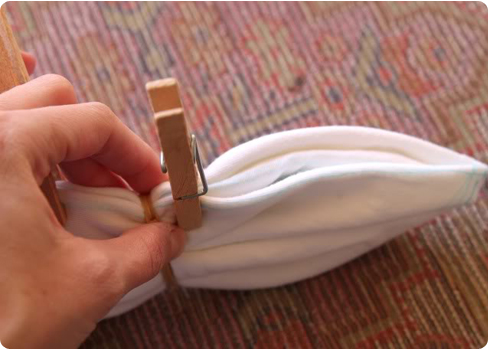
Step 5: Add on other rubber bands along the shirt (if using clothes pins it is easier to remove them, add on your rubber band, restraighten all the edges and then reattached the pins)......

.....just make sure to restraighten your three edges as you go:
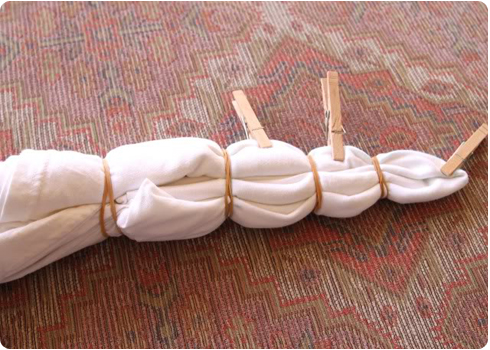
Here is what your shirt will look like at this point:
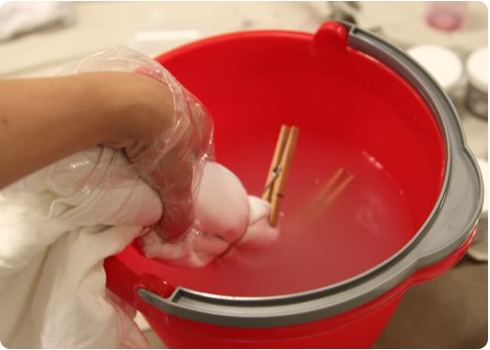
Step 6: Soak the entire shirt in soda ash/water mixture until damp and squeeze out the excess liquid (see my tutorial on using Procion dye for specifics on the soda ash and mixing your dye):
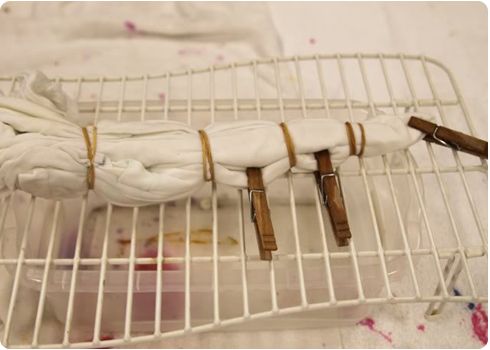
Step 7: To prevent too much bleeding with your design set up a small rack (like the kind used for cabinet shelving or locker storage) over a tub or bucket:
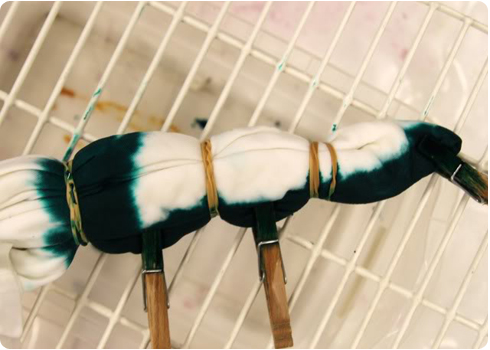
Step 8: Apply a generous amount of dye along the three edges secured by the clothes pins (which are the "legs" and center of your peace sign).....
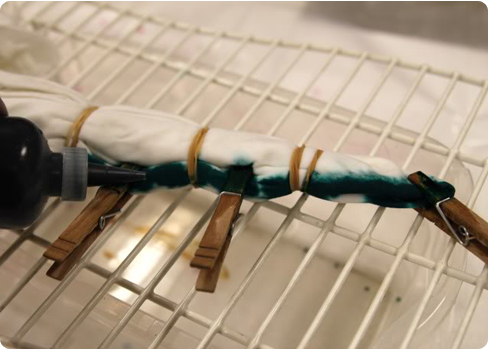
.....and to the rubber band marking the outer circle of your peace sign:
In this example, I've dyed the outer circle and legs of the peace sign Kelly Green:
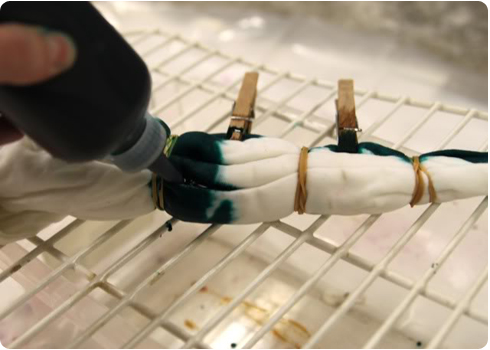
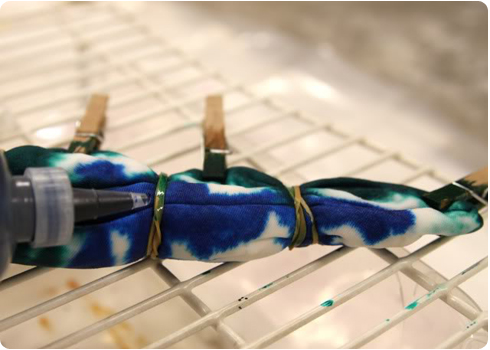
Step 9: Using contrasting dye colors fill in the other areas of the shirt:
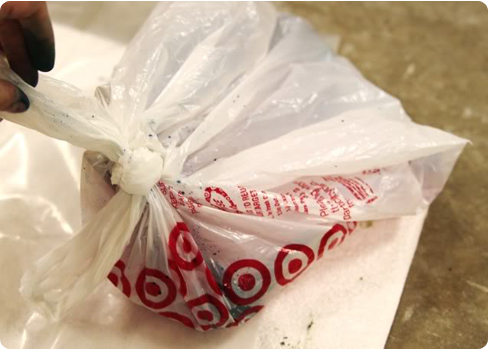
Step 10: Place the shirt in a plastic bag and leave overnight for the colors to set!
Step 11: The next day remove the fabric from the bag and while still tied rinse off the excess dye using cold running water and then run through your washing machine. Dharma recommends the final wash with HOT water and Kieralon or something similar so that the garment will never bleed on anything.


