


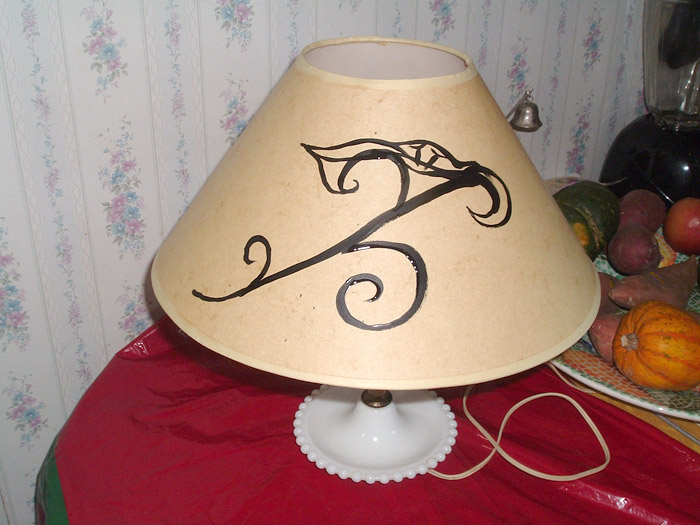
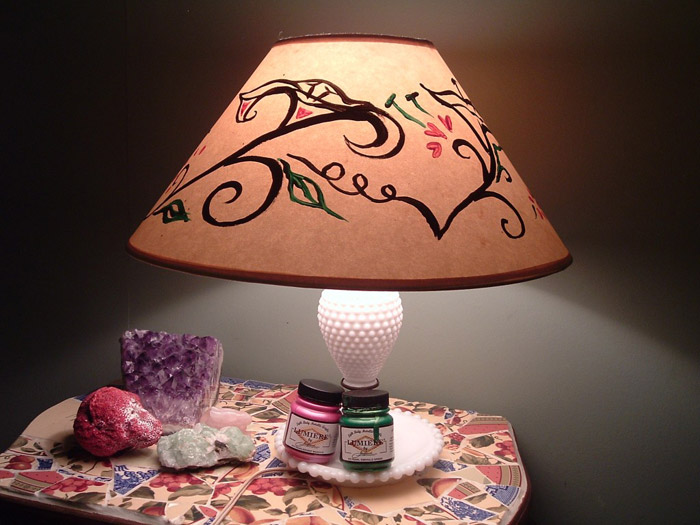
Scored at the second-hand store! Hobnail milk-glass lamp: $5. Plus a $2 lampshade with masculine, modern lines to counterpoint the lamp's old-fashioned femininity. Nevertheless, the shade required tweaking to harmonize with the lamp. The shade also had stains that needed covering.
The design had to look good both with the lamp's bulb shining through the shade and when the light was off. This got me thinking about silhouettes. I also decided a modern floral pattern would "girl up" the lampshade enough to go with the lamp. Your silhouettes might be stick-figures for a child's room, simple spirals, complex faces, or anything else. It depends on the lampshade, its lamp, and your personal taste.
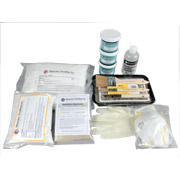
Shopping list:
- Lamp & Lamp Shade
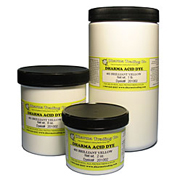
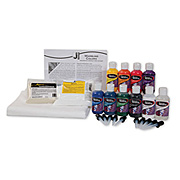
- Lumiere & Neopaque Paint
- iCraft DecoFoil
- iCraft Deco Foil Glue
- Paint Brushes
Let's get started!

Lumiere and Neopaque are opaque paints, which are needed for silhouettes, and these paints look great when no lite shines through a shade. They also work on either paper or cloth shades, allow precision of line, and create a crisp edge for silhouettes. Below are the yummy colors I chose for my floral design.
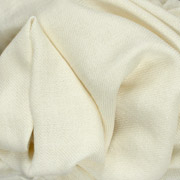
The shade needed more: gold iCraft DecoFoil was perfect for the lampshade's lovely cream paper, which has fibers in it like homemade paper. What color foil would best accent your particular lampshade?
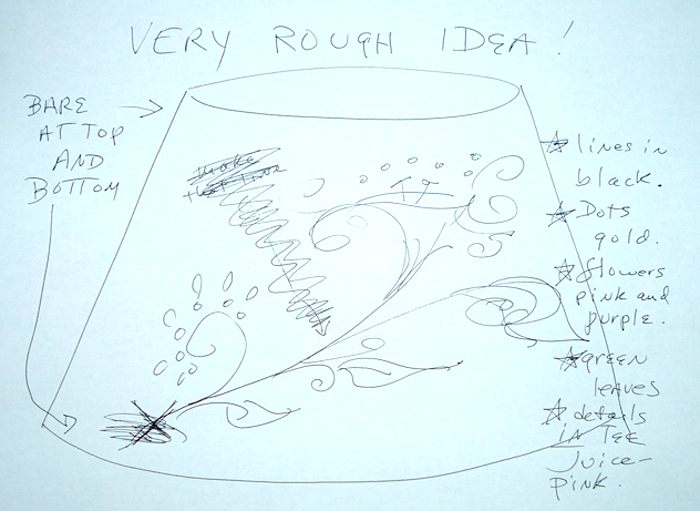
Sketch your design. Take time deciding what you want. Myself, I like combining modern, masculine aesthetics with vintage girlishness. I played around til my design was feminine, but bold and simple so that it wouldn't look over the top girlie, once it was combined with the milk glass. (Helpful hint: Make a design sparse, so light still shines through the shade to illuminate the room.) My final sketch gave me rough guidelines for style and placement, but you may prefer exact plans:
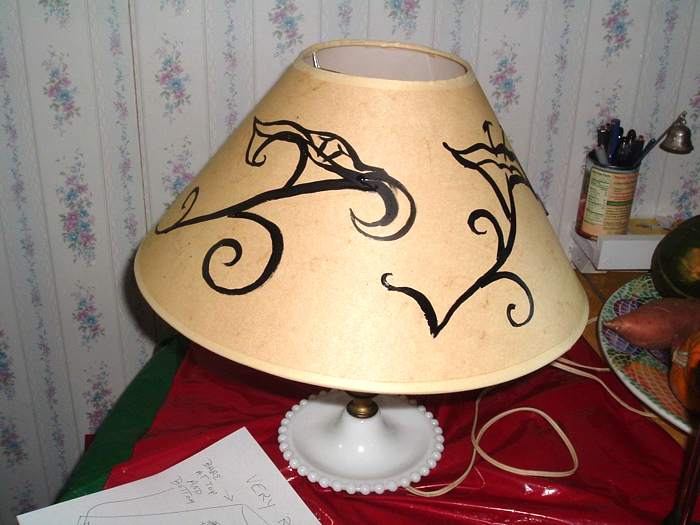
I painted the dominant lines from the sketch. (Helpful hint: You've an ad hoc painting stand; put the shade on a lamp, and turn the lamp as you paint.)
I improvised the rest of the dominant lines. But you might want to plan them or make a repeating pattern.
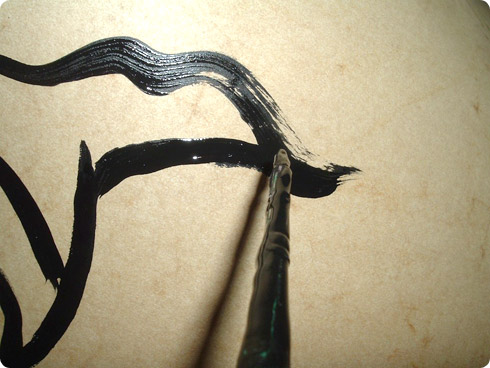
Unless you prefer brush strokes as part of the silhouette, you might have to go over a line a few times, to fill it in and create a strong sharp line:
I plugged the lamp in to see how the initial work looked with the light on, and realized I didn't need to add the purple Lumiere that I'd planned.
So I moved onto the next thing I'd planned: Pearlescent Magenta Lumiere accents. I didn't make them completely opaque, but I love the way they look. Had I cared, I probably could've gotten 100% opacity. Then I realized the pale green Lumiere I'd planned was not quite right and chose a medium green Lumiere. (Helpful hint: All in all, I used three sizes paint brushes but a size-two would have been fine alone. My others were only a bit smaller or bit larger.) After adding the green, I checked again. Here is how it looked:
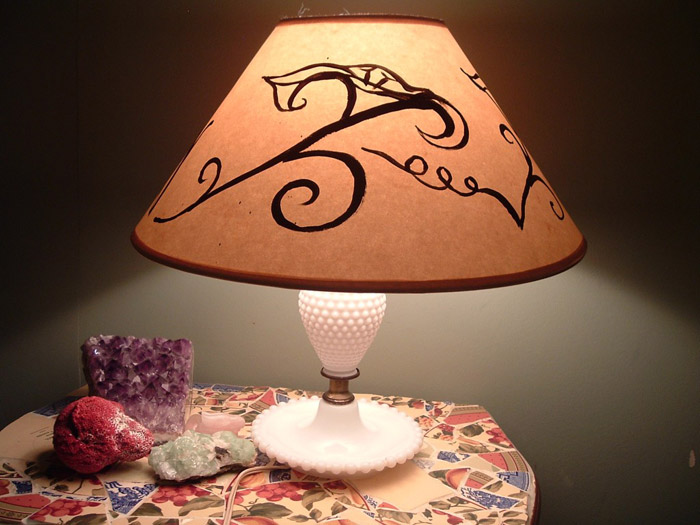
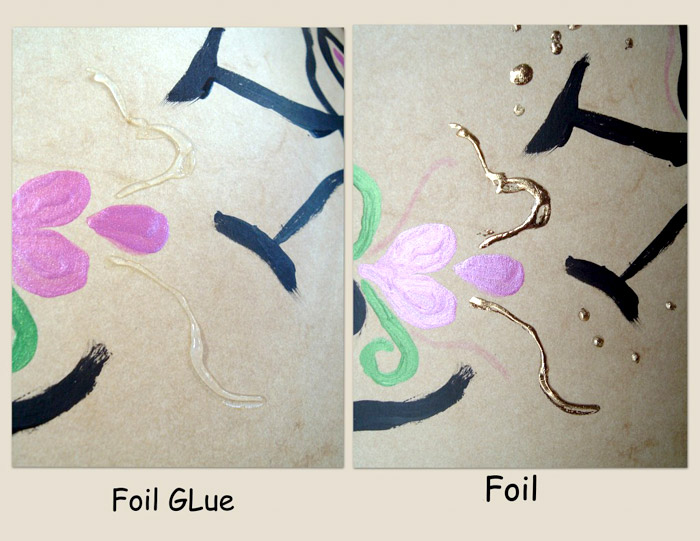
Next came foil, which I'd never used. It is so stunning that it astonished me. (Helpful hints: 1) After removing the shade from the lamp, hold it so that the part you're about to put the foil glue on is basically horizontal, because the glue falls straight down from the tube. 2) Do not be intimidated. The foil glue bottle is easy to use as a pen. If you want to stick to something simple, drops of glue become strikingly gorgeous gold accents.)
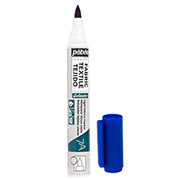
Examine your shade to see what else is needed. In my case, it was a Tee Juice fine point pink marker, to connect the different pieces of my design and add subtle dimensionality. Tee Juice pink, which is not opaque, was quiet on tan paper: the nuance I needed. Be forewarned, it only shows a bit when the lamp is on. But light-on and light-off make for almost two different lampshades, and I only felt the need for Tee Juice on the light-off version.

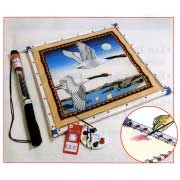
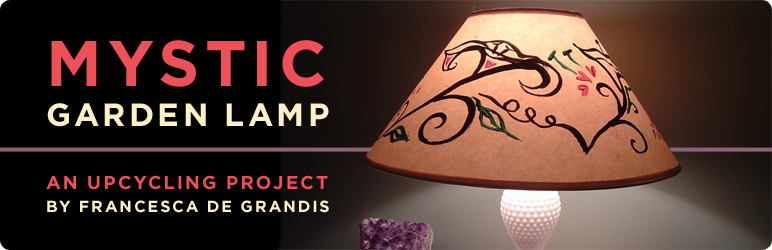
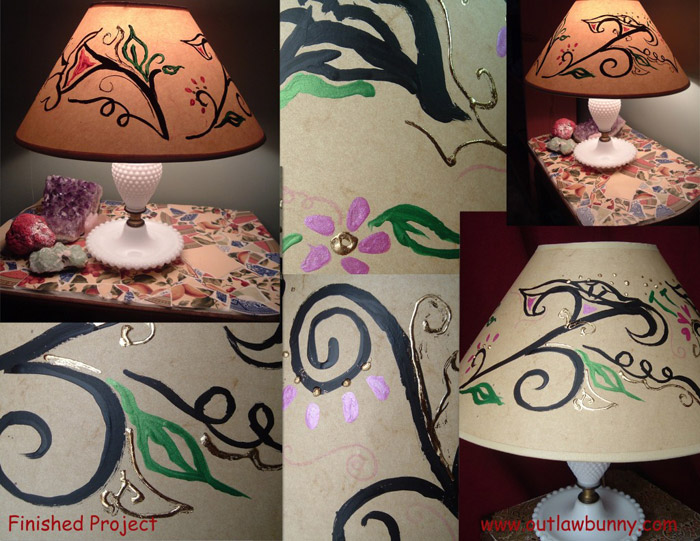
More pics of the final lampshade below. My hope was an illuminated mystic garden. What do you want to create from your old shade?
This tutorial was provided by Francesca De Grandis, from her site Outlaw Bunny.


