


Screen Printed Apron

Spring has sprung and the outdoor gatherings have begun! Screen print your own catch phrase, logo, or design on the front of your very own apron and be the center of attention at any party or barbeque.
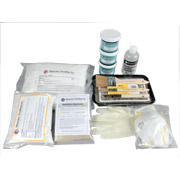
Shopping list:
- 1 Apron with Pockets (#AP) (we recommend pre-shrinking)
- 1 Screen (#BSF8 or #BSF10) - with image (click here to learn how to make your screen)
- 1 4oz. Container Versatex Printing Ink (#VPI)
- 1 Squeegee (#SQG)
- "Scrap Material" - A few random pieces of fabric large enough for test printing
Let's get started!
1. Lay out scrap material on a table or other smooth, flat surface. The next step works best if you try to do your test prints on a material similar to that you will be using for your project but you can also use newspaper or a paper shopping bag if you do not have fabric laying around. If you wish, you can tape down a Plastic Drop Cloth (#PDC) to make clean-up easy.

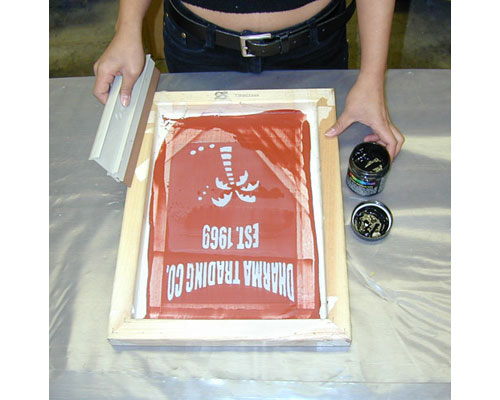
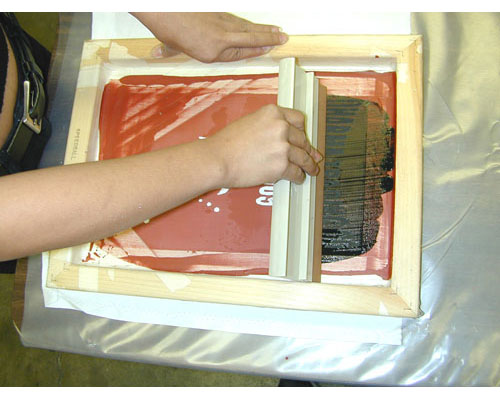
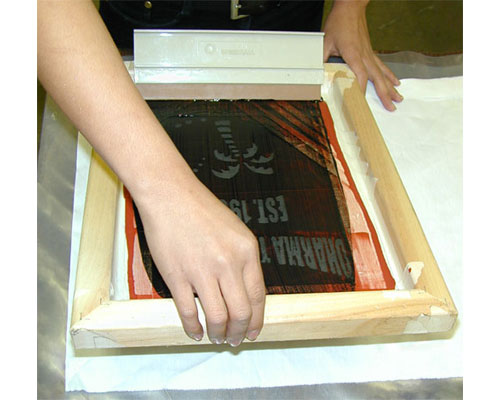
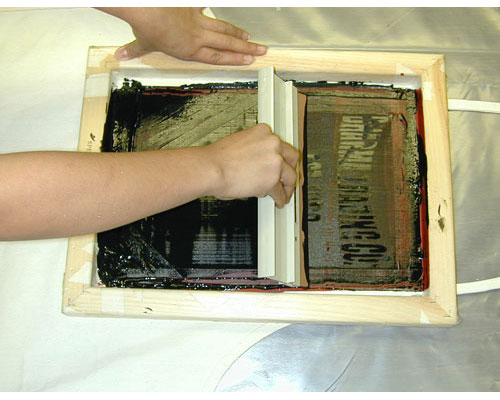
2. With your screen placed over a piece of scrap material, pour a little Versatex Printing Ink on the top portion on your screen and, using the Squeegee, swipe the ink downward across the image. Make sure all the open areas of the screen have been filled with ink. You may need to swipe the ink back up to the top of your screen in order to insure full coverage.
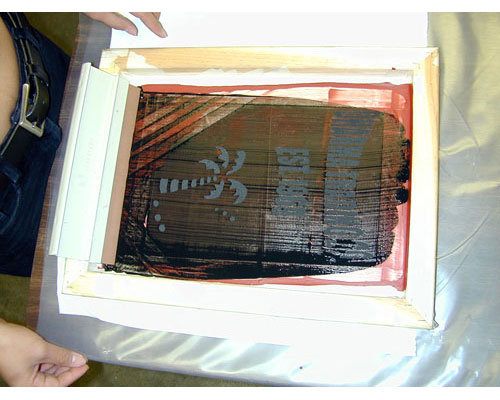
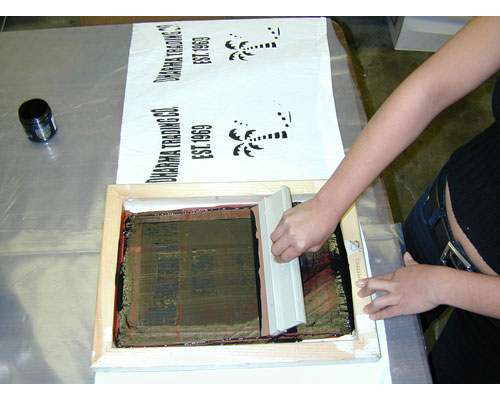
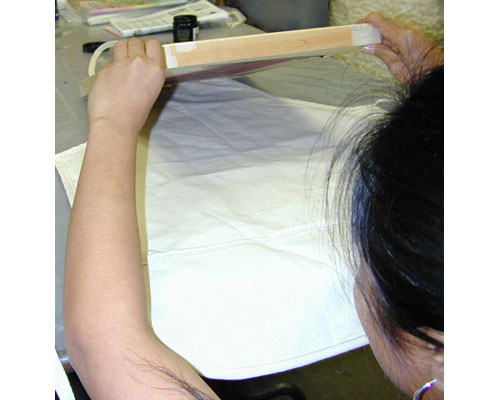
3. Holding down the material you just printed on, lift the screen starting with the side opposite you and examine the image for blank spots or errors. Feel free to test this procedure as many times as you wish or until you run out of "scrap" fabric. The more you test (unless your first time is perfect, of course), the better your results will be.
Note: Be careful not to place the screen over an already printed area as the ink, if not yet dry, will get on the bottom of your screen and could effect future prints. If you need to set the screen aside while switching up your work area, hold the screen above the printing surface and "flood" the screen with a swipe of the squeegee. This prevents the open areas of the screen from drying up. Put the screen frame on unused printing ink tubs, or four other objects of the same height. Balance on the wood of the frame so that you don't risk damaging the screen.
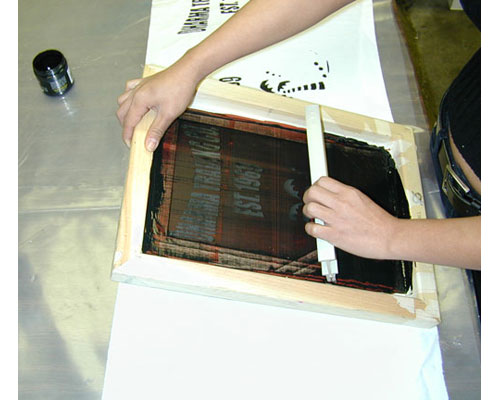
4. Once you are satisfied with your test results, line up the screen on the apron you wish to print. Using the same method as with your test which should, by this point, be rather familiar, swipe the squeegee and print your image.
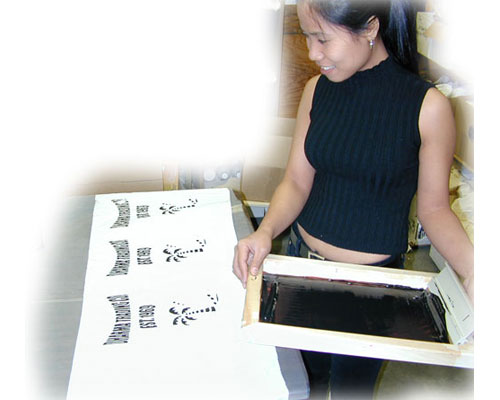
5. Look at your beautiful results. With all the test prints you did, it should be perfect but if there are any problems or mistakes, take the piece straight to the tub and wash it out before the ink dries. Otherwise, just allow the ink to dry and set it per the directions of the ink (in the case of Versatex, it needs to be heat-set with an iron). That's it! You're ready to go!


